background image

MANUAL - LEDBAR3/6/12-RC

2

LEDBAR  RGBW 4-IN-1

WITH DMX & REMOTE CONTROL

INSTRUCTION MANUAL

IMPORTANT SAFETY INSTRUCTIONS AND DANGER WARNINGS 

• 

Please read these instructions carefully, they include important information about the installation, usage and 

maintenance of this product.

• 

Please keep this User Guide for future reference. If you sell the unit to another user, be sure that he also 

receives this instruction booklet.

• 

Always make sure that you are connecting to the proper voltage, and that the line voltage you are connec-

ting to is not higher than that stated on the decal or rear panel of the fixture.

• 

This product is intended for indoor use only!

• 

It is essential that the device is earthed. A qualified person must carry out the electric connection.

• 

To prevent risk of fire or shock, do not expose fixture to rain or moisture. Make sure there are no flammable 

materials close to the unit while operating.

• 

The unit must be installed in a location with adequate ventilation, at least 20in (50cm) from adjacent sur-

faces. Be sure that no ventilation slots are blocked.

• 

Always disconnect from power source before servicing or replacing fuse and be sure to replace with same 

fuse size and type.

• 

Secure fixture to fastening device using a safety chain. Never carry the fixture solely by its head. Use its 

carrying handles.

• 

Maximum ambient temperature (Ta) is 104° F (40°C).  Do not operate the fixture at temperatures higher than 

this.

• 

In the event of a serious operating problem, stop using the unit immediately. Never try to repair the unit 

by yourself. Repairs carried out by unskilled people can lead to damage or malfunction. Please contact the 

nearest authorized technical assistance center. Always use the same type of spare parts.

• 

Don’t connect the device to a dimmer pack.

• 

Make sure the power cord is never crimped or damaged.

• 

Never disconnect the power cord by pulling or tugging on the cord.

• 

Avoid direct eye exposure to the light source while it is on.

• 

The product is for decorative purposes only and not suitable as a household room illumination.

• 

DISCONNECT DEVICE

: Where the MAINS plug or an appliance coupler is used as the disconnect device, the 

disconnect device shall remain readily operable.

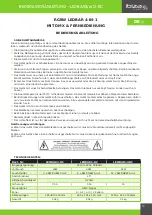
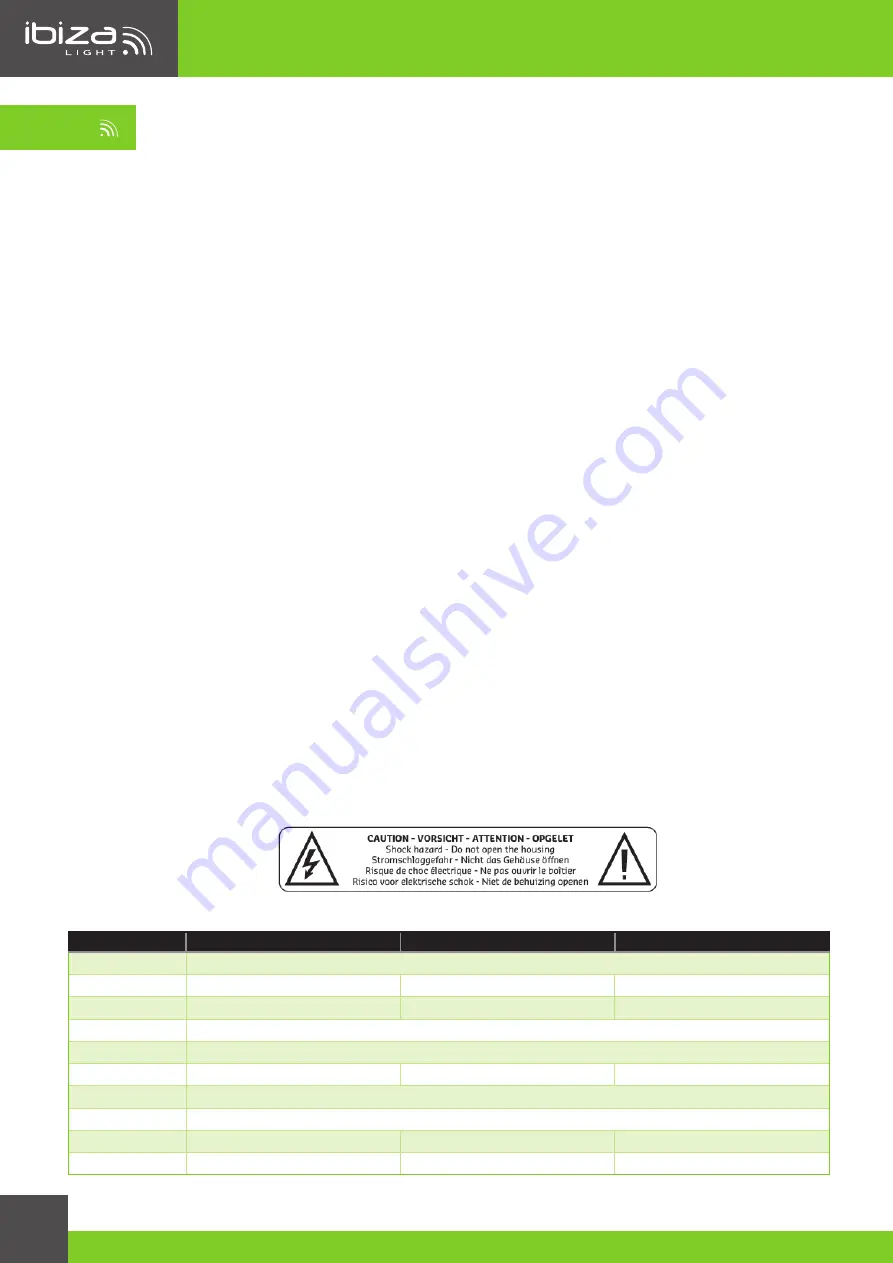
SPECIFICATIONS:

Ref.

LEDBAR3-RC

LEDBAR6-RC

LEDBAR12-RC

Input voltage

 AC100~240V 50/60Hz

Consumption

 24W

48W

96W

LED source

 3 x 8W RGBW 4-in-1

6 x 8W RGBW 4-in-1

12 x 8W RGBW 4-in-1

Beam angle

 25° 

Flash rate

0-20Hz

Fuse

0.5A

0.5A

1A

Control Signal

DMX signal

Channel

 8 / 4-1 / 4 / 3 / 2 Channels

Dimensions

 265×87×129mm

605 x 145 x 120 mm

1150 x 145 x 120mm

Weight

1.2kg

2.5kg

3.5kg

EN

Summary of Contents for LEDBAR3-RC

Page 1: ...H DMX REMOTE CONTROL MANUAL Ref LEDBAR3 RC LEDBAR6 RC LEDBAR12 RC FR Manuel d Utilisation p 7 DE Bedienungsanleitung S 13 NL Handleiding p 18 ES Manual de Uso p 24 RO Manual de Instruc iuni p 30 SI Na...

Page 2: ...d type Secure fixture to fastening device using a safety chain Never carry the fixture solely by its head Use its carrying handles Maximum ambient temperature Ta is 104 F 40 C Do not operate the fixtu...

Page 3: ...nnect a DMX signal terminator CAUTION Do not allow contact between the common and the fixture s chassis ground Grounding the common can cause a ground loop and your fixture may perform erratically Tes...

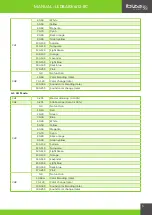
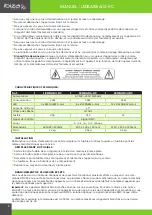
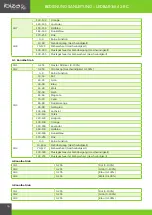
Page 4: ...ting DMX address value for Slave DMX code setting d1 d512 MANUAL SETTING MODE ON LED DISPLAY Mode Programming Description DMX mode Addr 8CH d001 d512 4 1CH 4CH 3CH 2CH Static colors Stat S 01 17 Stati...

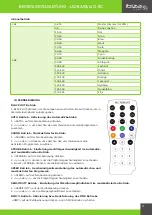
Page 5: ...lor blending rate 190 255 Sound color change rate 4 1 CH Mode CH1 0 255 Master dimming 0 100 CH2 0 255 Stroboscope Rate 0 100 CH3 0 9 No function 10 19 Red 20 29 Green 30 39 Blue 40 49 White 50 59 Yel...

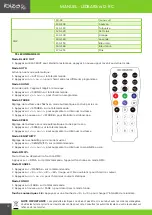
Page 6: ...een yellow 100 109 Salmon 110 119 Turquoise 120 129 Light Green 130 139 Orange 140 149 Lavender 150 159 Light blue 160 169 Dark blue 170 255 Pink IR REMOTE CONTROLLER BLACK OUT Mode 1 Press BLACK OUT...

Page 7: ...ne d passe pas la tension d alimenta tion indiqu sur la plaque signal tique de l appareil Uniquement pour utilisation l int rieur L appareil doit tre imp rativement reli la terre Afin d viter tout ris...

Page 8: ...x 8W RGBW 4 en 1 Angle de diffusion 25 Vitesse des flashs 0 20Hz Fusible 0 5A 0 5A 1A Signal de contr le Signal DMX Canal 8 4 1 4 3 2 canaux Dimensions 265 87 129mm 605 x 145 x 120 mm 1150 x 145 x 120...

Page 9: ...areil suivant etc BRANCHEMENT MA TRE ESCLAVE 1 Connectez le c t m le 3 broches du cordon DMX sur la sortie femelle 3 broches du premier appareil 2 Connectez l extr mit du cordon provenant du premier a...

Page 10: ...mme contr l par le son Esclave SLAV Slave Esclave Infrarouge InFr on oFF Activation d sactivation de la t l commande IR MODES DMX 8 canaux CH1 0 255 Variateur g n ral 0 100 CH2 0 255 Stroboscope vites...

Page 11: ...Bleu fonc 170 255 Pink CH4 0 9 Aucune fonction 10 69w Fondu couleur vitesse 70 129 Changement couleur vitesse 130 189 Fondu couleur command par le son vitesse 190 255 Changement couleur command par le...

Page 12: ...e en mode automatique et activ par le son 1 Appuyez sur SPEED sur la t l commande 2 Appuyez sur ou pour augmenter ou diminuer la vitesse Mode SENSITIVITY R glage de la sensibilit pour le mode musical...

Page 13: ...Ger t mit einer Sicherheitskette befestigen Das Ger t niemals nur am Kopf tragen sondern auch am Sockel Die Raumtemperatur darf 40 C nicht berschreiten Das Ger t niemals bei h heren Temperaturen betre...

Page 14: ...Stecker auf der einen und eine XLR Buchse auf der anderen Seite besitzen DMX STECKERBELEGUNG Der Endwiderstand verringert Signalfehler Um Signal bertragungsprobleme und St rungen zu vermeiden ist es r...

Page 15: ...gramm Sound Mode Soun So 1 2 Musikgesteuertes Programm Speed SPEE SP 1 9 Geschwindigkeit Mic Sensitivity SEnS SE 1 9 Mikrofonempfindlichkeit Edit color Colo r000 255 Rot 0 100 g000 255 Gr n 0 100 b000...

Page 16: ...Funktion 10 19 Rot 20 29 Gr n 30 39 Blau 40 49 Wei 50 59 Gelb 60 69 Magenta 70 79 Cyan 80 89 Dunkelorange 90 99 Gelb gr n 100 109 Lachsrot 110 119 T rkis 120 129 Hellgr n 130 139 Orange 140 149 Lavend...

Page 17: ...erter Betrieb 1 SOUND auf der Fernbedienung dr cken 2 oder dr cken um zwischen den verschiedenen musik aktivierten Programmen zu w hlen STROBE Betrieb Einstellung der Blitzgeschwindigkeit im Automatik...

Page 18: ...dus verplicht worden geaard Een bevoegde per soon moet de elektrische aansluiting uitvoeren Om vuur en elektrische schokken te verhinderen bescherm het toestel tegen regen en vochtigheid Wees zeker d...

Page 19: ...an een seri le data link 500 meters 1640 ft Maximaal aanbevolen aantal van toestellen in een seri le data link 32 DATA AANSLUITING Gebruik data kabels om toestellen met elkaar te verbinden Indien U uw...

Page 20: ...bevestig de selectie in het menu Indien een menu functie gekozen is toont de display direct de eerste beschik bare optie van de gekozen menufunctie Om een menu punt te kiezen druk ENTER Master modus...

Page 21: ...169 Donker blauw 170 255 Pink CH8 0 9 Geen functie 10 69 Color blending snelheid 70 129 Color change snelheid 130 189 Sound color blending snelheid 190 255 Sound color change snelheid 4 1 kanaals modu...

Page 22: ...3 0 255 Blauw 0 100 CH4 0 255 Wit 0 100 3 kanaals modus CH1 0 255 Rood 0 100 CH2 0 255 Groen 0 100 CH3 0 255 Blauw 0 100 2 kanaals modus CH1 0 255 Master dimming 0 100 CH2 0 9 Geen functie 10 19 Rood...

Page 23: ...eactiveerde modus 1 Druk SPEED op de afstandsbediening 2 Druk of om de programmasnelheid te veranderen SENSITIVITY Modus Instelling van de geluidsgevoeligheid in de geluids geactiveerde modus 1 Druk S...

Page 24: ...No haga funcionar el equipo a temperaturas superiores En caso de malfuncionamiento pare inmediatamente el equipo No intente jam s reparar usted mismo el equipo Una reparaci n mal efectuada puede prov...

Page 25: ...de transmisi n de la se al siempre es recomendable conectar una resistencia de terminaci n de l nea DMX ATENCION No debe haber ning n contacto entre el com n y el chasis de la m quina La puesta a tie...

Page 26: ...tro Modo esclavo Es necesario ajustar el equipo como Slave Direcci n DMX d1 d512 AJUSTE MANUAL EN EL DISPLAY DE LED Mode Programming Description DMX mode Addr 8CH d001 d512 4 1CH 4CH 3CH 2CH Colores e...

Page 27: ...do Velocidad 190 255 Fundido de color controlado por el sonido Velocidad Modo 4 1 canales CH1 0 255 Regulador general 0 100 CH2 0 255 Estroboscopio velocidad 0 100 CH3 0 9 Sin funci n 10 19 Rojo 20 29...

Page 28: ...ja oscuro 90 99 Amarillo Verde 100 109 Salm n 110 119 Turquesa 120 129 Verde claro 130 139 Naranja 140 149 Lavanda 150 159 Azul claro 160 169 Azul oscuro 170 255 Rosa MANDO A DISTANCIA IR Modo BLACK O...

Page 29: ...para aumentar o disminuir la sensibilidad del sonido Modo DMX Para activar desactivar la funci n DMX Apriete en DMX en el mando a distancia el equipo funcionar en modo DMX Modo MANUAL 1 Apriete en MA...

Page 30: ...siguran a cu aceea i m rime i tip de siguran Fixa i dispozitivul cu un lan de siguran Nu transporta i niciodat dispozitivul doar de cap Utiliza i m nere le pentru transport Temperatura ambiental maxim...

Page 31: ...n dispo zitiv final pentru semnal DMX terminator pentru reducerea erorilor de conexiune ATEN IE Nu permite i contactul ntre nul i p m ntarea dispozitivului deoarece poate provoca o bucl de curent i di...

Page 32: ...ul master Modul Slave trebuie s seta i valoarea adresei DMX pentru Slave Setarea codului DMX d1 d512 MOD DE SETARE MANUAL PE ECRANUL LED Mod Programare Descriere Mod DMX Addr 8CH d001 d512 4 1CH 4CH 3...

Page 33: ...ate 130 189 Amestecare culori la sunet rate 190 255 Modificare culori la sunet rate Mod 4 1 CH CH1 0 255 Master dimming 0 100 CH2 0 255 Stroboscope Rate 0 100 CH3 0 9 Nicio func ie 10 19 Ro u 20 29 Ve...

Page 34: ...100 109 Salmon 110 119 Turquoise 120 129 Verde deschis 130 139 Portocaliu 140 149 Lavand 150 159 Light blue 160 169 Dark blue 170 255 Pink TELECOMAND IR Mod BLACK OUT 1 Ap sa i BLACK OUT n afara modu...

Page 35: ...produs Mod Manual 1 Ap sa i MANUAL pe telecomand 2 Ap sa i R G B i W pentru a alege culoarea 3 Ap sa i sau pentru a alege culoarea static Mod FADE 1 Ap sa i FADE pe telecomand 2 Ap sa i FADE din noou...

Page 36: ...n vrsto varovalk Za itno napravo pritrdite z varnostno verigo Nikoli ne nosite napeljave samo z glavo Uporabite ro ice za pre nos Najvi ja temperatura okolice Ta je 104 F 40 C Naprave ne uporabljajte...

Page 37: ...nala Da bi se izognili te avam pri prenosu signala in motnjam je vedno pripo ro ljivo priklju iti DMX terminator POZOR Ne dovolite stika med skupnim in pritrdi em asije Ozemljitev skupnega lahko povzr...

Page 38: ...napravo Slave na in morate nastaviti vrednost DMX za Slave DMX koda nastavitev d1 d512 RO NA NASTAVITEV NA INOV NA LED ZASLONU Na in Program Opis DMX na in Addr 8CH d001 d512 4 1CH 4CH 3CH 2CH Stati n...

Page 39: ...stopnja 130 189 Zvo no barvno me anje stopnja 190 255 Zvo ne barvne spremembe stopnja 4 1 CH na in CH1 0 255 Master dimming 0 100 CH2 0 255 Strobo 0 100 CH3 0 9 Brez funkcije 10 19 Rde a 20 29 Zelena...

Page 40: ...e 120 129 Svetlo zelena 130 139 Oran na 140 149 Lavender 150 159 Svetlo modra 160 169 Temno modra 170 255 Pink IR DALJINSKI UPRAVLJALNIK BLACK OUT na in 1 Pritisnite BLACK OUT da izklopite na ine Prit...

Page 41: ...nemogo iti DMX na izdelku Manual na in 1 Pritisnite MANUAL na IR daljinskem upravljalniku 2 Pritisnite R G B in W da spremenite va o barvo 3 Pritisnite ali da spremenite stati ne barve FADE na in 1 Pr...

Page 42: ...www ibiza light com 42 Imported from China by LOTRONIC S A Avenue Z nobe Gramme 9 B 1480 Saintes LEDBAR3 RC LEDBAR6 RC LEDBAR12 RC...

Reviews: