background image

Manual - PAR-MINI-UV

2

©Copyright LOTRONIC 2020

UV LED PAR CAN 12 X 2W

INSTRUCTION MANUAL

UNPACKING INSTRUCTIONS

Immediately upon receiving a fixture, carefully unpack the carton, check the contents to ensure that all parts are 

present and have been received in good condition. Notify the freight company immediately and retain packing 

material for inspection if any parts appear to be damaged from shipping or the carton itself shows signs of mis

-

handling. Keep the carton and all packing materials. In the event that a fixture must be returned to the factory, it 

is important that the fixture be returned in the original factory box and packing.

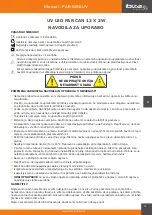
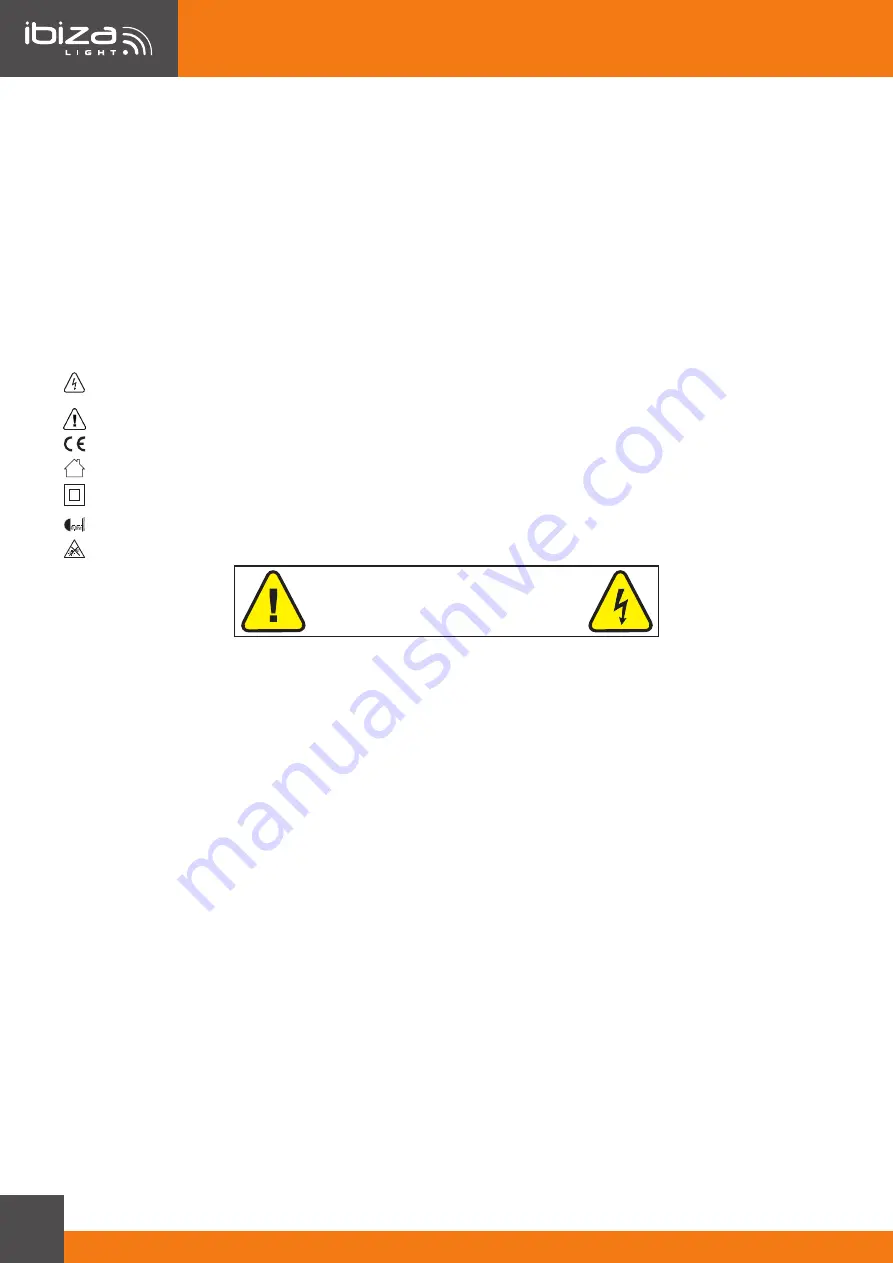
EXPLANATION OF SYMBOLS

The triangle containing a lightning symbol is used to indicate whenever your health is at risk (due to electro

-

cution, for example).
An exclamation mark in a triangle indicates particular risks in handling or operating the appliance.
The unit complies with CE standards

For indoor use only

Class II protection with dual protection without earth connection

0.5m

Minimum distance between the appliance and other objects
Don’t stare into the light beam

CAUTION

DO NOT OPEN THE HOUSING

SHOCK HAZARD

IMPORTANT SAFETY INSTRUCTIONS AND DANGER WARNINGS 

• 

Please read these instructions carefully, they include important information about the installation, usage and 

maintenance of this product.

• 

Please keep this User Guide for future reference. If you sell the unit to another user, be sure that he also 

receives this instruction booklet.

• 

Always make sure that you are connecting to the proper voltage, and that the line voltage you are connecting 

to is not higher than that stated on the decal or rear panel of the fixture.

• 

This product is intended for indoor use only!

• 

To prevent risk of fire or shock, do not expose fixture to rain or moisture. Make sure there are no flammable 

materials close to the unit while operating.

• 

The unit must be installed in a location with adequate ventilation, at least 20in (50cm) from adjacent surfaces. 

Be sure that no ventilation slots are blocked.

• 

Always disconnect from power source before servicing or replacing fuse and be sure to replace with same fuse 

size and type.

• 

Secure fixture to fastening device using a safety chain. Never carry the fixture solely by its head. Use its carry

-

ing handles.

• 

Maximum ambient temperature (Ta) is 104°F (40°C).  Do not operate the fixture at temperatures higher than 

this.

• 

In the event of a serious operating problem, stop using the unit immediately. Never try to repair the unit by 

yourself. Repairs carried out by unskilled people can lead to damage or malfunction. Please contact the near

-

est authorized technical assistance center. Always use the same type of spare parts.

• 

Don’t connect the device to a dimmer pack.

• 

Make sure the power cord is never crimped or damaged.

• 

Never disconnect the power cord by pulling or tugging on the cord.

• 

Avoid direct eye exposure to the light source while it is on.

Summary of Contents for PAR-MINI-UV

Page 1: ...V LED PAR CAN 12 x 2W MANUAL Ref PAR MINI UV FR Manuel d Utilisation p 5 DE Bedienungsanleitung S 8 NL Handleiding p 11 RO Manual de Instruc iuni p 14 SI Navodila za uporabo p 17 ES Manual de uso p 20...

Page 2: ...keep this User Guide for future reference If you sell the unit to another user be sure that he also receives this instruction booklet Always make sure that you are connecting to the proper voltage an...

Page 3: ...en the common and the fixture s chassis ground Grounding the common can cause a ground loop and your fixture may perform erratically Test cables with an ohm meter to check correct polarity and to make...

Page 4: ...xture operates damp smoky or particularly dirty surrounding can cause greater accumulation of dirt on the unit s optics Clean with soft cloth using normal glass cleaning fluid Always dry the parts car...

Page 5: ...e pas exposer cet appareil la pluie ou l humidi t Assurez vous qu aucun objet inflammable ne se trouve proximit de l appareil pendant son fonctionne ment Installez l appareil un endroit bien ventil un...

Page 6: ...es c bles l aide d un ohm m tre afin de v rifier la polarit et de vous assurer que les broches ne sont pas connect es la masse ni court circuit es sur le blindage ou mutuellement FONCTIONNEMENT Toutes...

Page 7: ...sale favorise l accumulation de poussi re sur les optiques Utilisez un chiffon doux et du nettoyant vitres classique S chez toutes les pi ces soigneusement Nettoyez les optiques externes au moins une...

Page 8: ...pannung bereinstimmen und darf auf keinen Fall h her sein Dieses Ger t ist nur f r Innengebrauch Um Brand und Stromschlag zu vermeiden das Ger t vor Regen und Feuchtigkeit sch tzen Keine brennbaren Ma...

Page 9: ...es Controllers stecken 2 Das vom Controller kommende Kabel mit der 3 pol Buchse an den 3 pol Eingangsstecker des folgenden Ger ts stecken 3 Dann den Ausgang des Ger ts an den Eingang des folgenden Ger...

Page 10: ...KANALTABELLE KANAL WERT BESCHREIBUNG FUNKTION CH1 0 255 Master Dimmer Master Dimmer CH2 0 255 UV Color UV CH3 0 255 Strobe Strobe CH4 0 9 ON Macro 10 200 Auto Mode 201 250 Sound Mode 250 255 Sound Mod...

Page 11: ...or gebruik binnenshuis Om vuur en elektrische schokken te verhinderen bescherm het toestel tegen regen en vochtigheid Wees zeker dat geen ontvlambare materialen in de buurt van het toestel zijn tijden...

Page 12: ...en handmatig via de display zonder DMX controller bestuurd worden Druk de ENTER toets en kies het menu item via de UP DOWN toetsen Druk ENTER om u keuze te bevestigen Verhoog of minder de waarde d m v...

Page 13: ...geving veroorzaakt meer vuil op de optische delen Reinig de lamp met een hoogwaardig glasreinigingsmiddel en een zachte doek Droog de delen altijd zorgvuldig Reinig de externe optische delen tenminste...

Page 14: ...efectua conexiunea electric Pentru a preveni riscul unui oc electric nu expune i aparatul la ploaie sau umezeal Asigura i v c nu sunt materiale inflamabile n apropierea unit ii n timpul func ion rii U...

Page 15: ...ul de control si care are un conector de 3 pini mama la conectorul de intrare al urmatorului dispozitiv format dintr un conector de 3 pini tata 3 Continuati apoi sa conectati asa cum este mentionat ma...

Page 16: ...ata periodic pentru a optimiza nivelul de lumina Frecventa curatarii de pinde de mediul in care functioneaza dispozitivul de prindere umed fum sau mediu murdar care provoaca o acumulare mai mare de mu...

Page 17: ...izpostavljajte pritrditve na de ali vlago Prepri ajte se da med delovanjem v vro ini ni vnetljivih materialov Enota mora biti name ena na mestu z ustreznim prezra evanjem najmanj 50cm od sosednjih po...

Page 18: ...nski XLR konektor na drugem koncu KONFIGURACIJA DMX KONEKTORJA Terminator zmanj a napake signala Da bi se izognili te avam pri prenosu signala in motnjam je vedno priporo ljivo priklju iti DMX termina...

Page 19: ...l se mora izvajati redno za optimalno oddajanje svetlobe Po gostost i enja je odvisna od okolja v katerem deluje naprava vlaga dim ali zelo umazano okolje lahko povzro i ve je nabiranje umazanije na o...

Page 20: ...exponga el equipo a la lluvia o la humedad Aseg rese de que ning n objeto inflamable se encuentra cerca del equipo durante el funcionamiento del mis mo Instale el equipo en un lugar bien ventilado a u...

Page 21: ...untos debe de utilizar cables de transmisi n de datos Usted puede comprar los cables DMX certificados directamente a su vendedor distribuidor o construir sus propios cables Si usted quiere construirlo...

Page 22: ...immer CH2 0 255 UV Color UV CH3 0 255 Strobe Strobe CH4 0 9 ON Macro 10 200 Auto Mode 201 250 Sound Mode 250 255 Sound Mode Strobe LIMPIEZA DEL EQUIPO Limpie regularmente las lentes del equipo para op...

Page 23: ...Manual PAR MINI UV 23 www ibiza light com EN...

Page 24: ...Copyright LOTRONIC 2020 www ibiza light com Assembled in PRC for LOTRONIC S A Avenue Z nobe Gramme 9 B 1480 Saintes View the item on our website Any questions Please contact us on facebook...

Reviews: