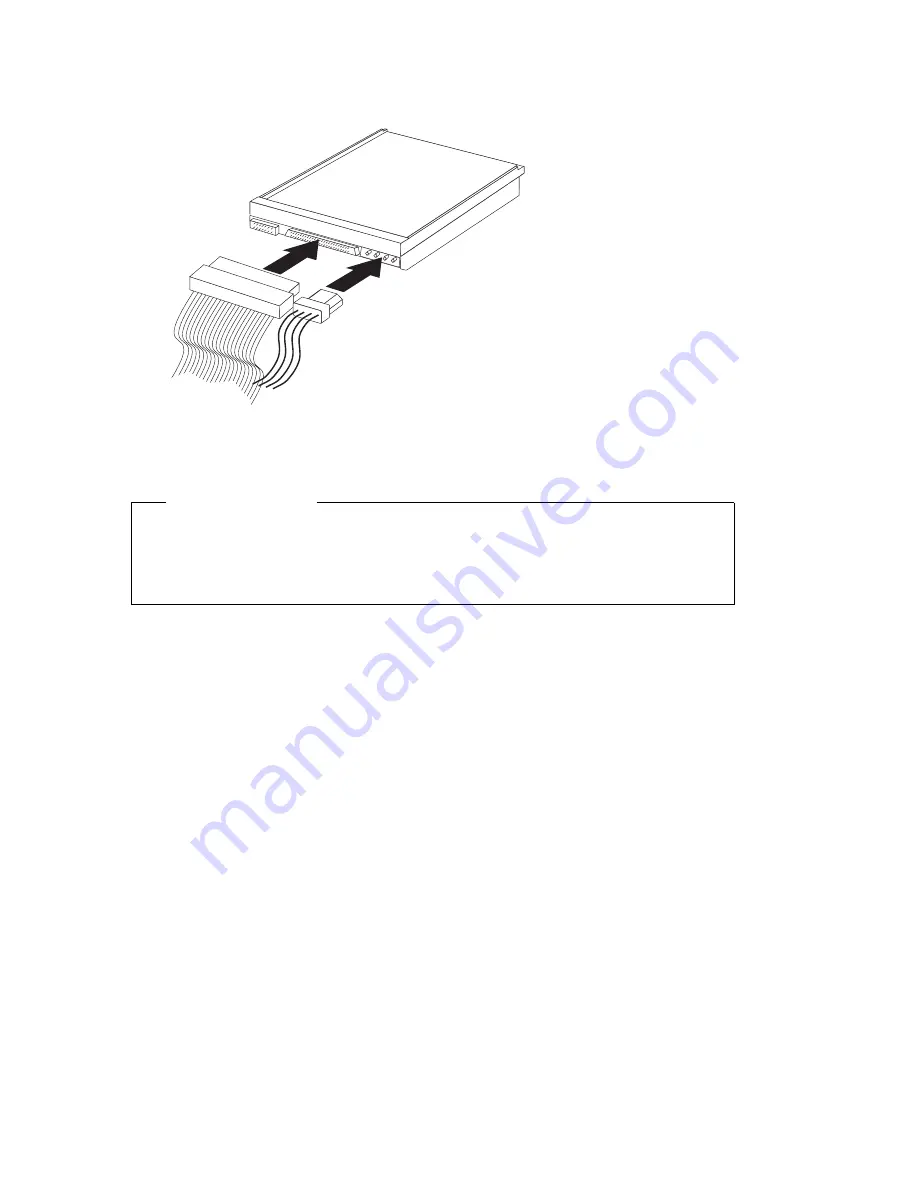
6. Connect the power and signal cables to the drive.
7. Replace the power supply by reversing the steps in “Moving the power
supply — tower model” on page 71
What to do next:
To work with another option, go to the appropriate section.
To complete the installation, go to “Completing the installation” on
page 94.
92
PC 300PL and PC 300GL User Guide
Summary of Contents for 300GL
Page 1: ...PC 300PL User Guide Type 6565 PC 300GL User Guide Types 6563 6564 6574...
Page 2: ......
Page 3: ...PC 300PL User Guide Type 6565 PC 300GL User Guide Types 6563 6564 6574 IBM...
Page 10: ...viii PC 300PL and PC 300GL User Guide...
Page 16: ...xiv PC 300PL and PC 300GL User Guide...
Page 18: ...xvi PC 300PL and PC 300GL User Guide...
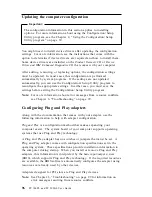
Page 20: ...Desktop model Tower model 2 PC 300PL and PC 300GL User Guide...
Page 26: ...8 PC 300PL and PC 300GL User Guide...
Page 38: ...20 PC 300PL and PC 300GL User Guide...
Page 78: ...60 PC 300PL and PC 300GL User Guide...
Page 90: ...4 Rotate the power supply toward the opened side slightly 72 PC 300PL and PC 300GL User Guide...
Page 113: ...Desktop Tower Chapter 5 Installing options 95...
Page 116: ...98 PC 300PL and PC 300GL User Guide...
Page 180: ...162 PC 300PL and PC 300GL User Guide...
Page 189: ......
Page 190: ...IBM Part Number 09N1180 Printed in U S A August 1999 9N118...


