© Copyright IBM Corporation 2019, 2020, 2021 Customer Install Guide, 1U Chassis
25
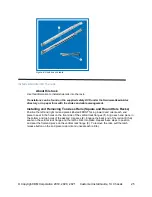
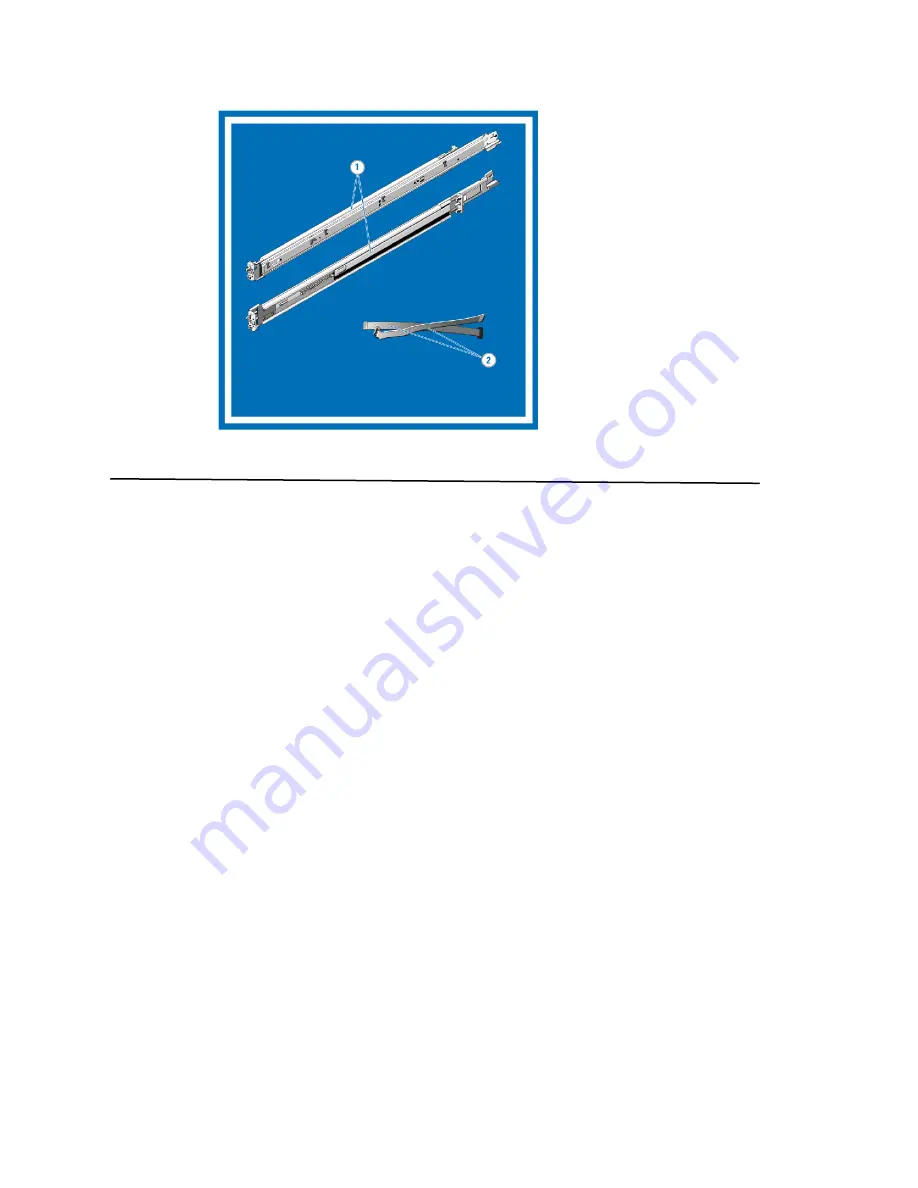
Figure 6. Slide box contents
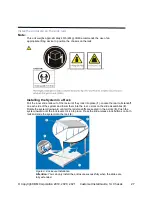
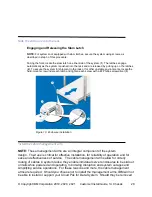
Install slide rails into the rack
About this task
Use this information to install slide rails into the rack
.
Translations can be found on the supplied safety DVD under the HardwareUserGuides
directory or in paper form with the slides and cable management.
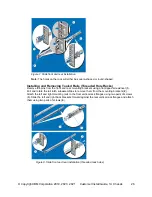
Installing and Removing Tool-less Rails (Square and Round Hole Racks)
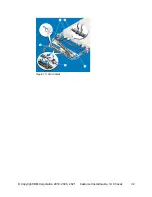
Position the left and right rail end pieces labeled FRONT facing inward and orient each end
piece to seat in the holes on the front side of the vertical rack flanges (
1
). Align each end piece in
the bottom and top holes of the desired U spaces (
2
). Engage the back end of the rail until it fully
seats on the vertical rack flange and the latch clicks into place. Repeat these steps to position
and seat the frontend piece on the vertical rack flange (
3
). To remove the rails, pull the latch
release button on the end piece midpoint and unseat each rail (
4
).

