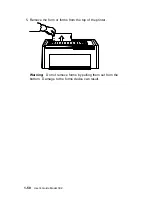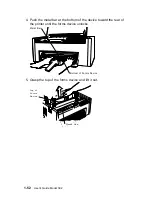
4. Look through the front bottom opening in the printer and find the
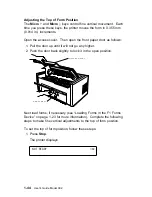
metal bar at the bottom of the forms device.
5. Grasp the
metal bar with BOTH hands and pull firmly toward you
and then upward until both ends LOCK into place.
B o t t o m o f F o r m s D e v i c e
M e t a l B a r
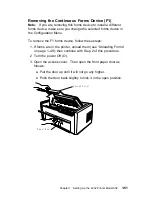
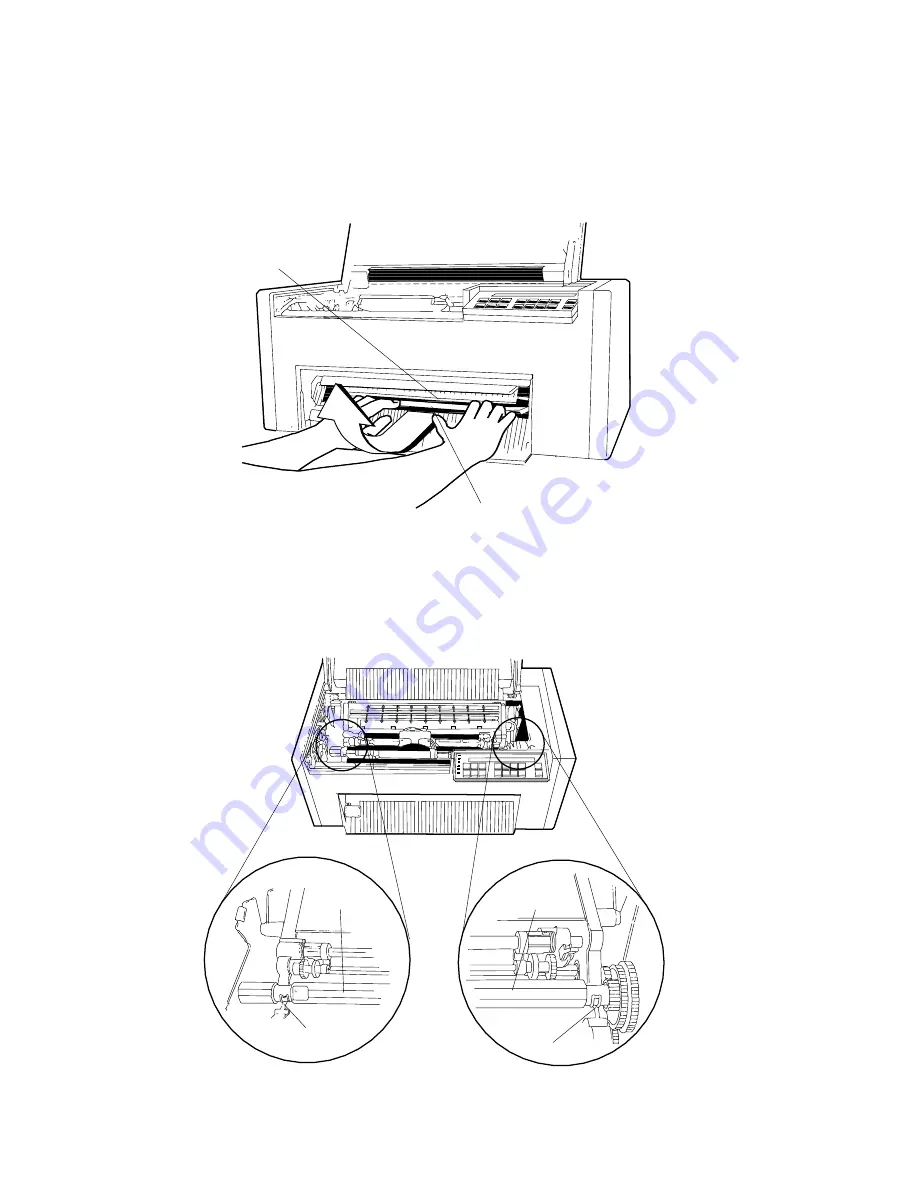
6. To be sure that you have installed the forms device correctly,
look at the following figure and compare it to your printer. Check
both the left and right sides. Are the
clips around the platen rod
as shown? If so, you installed the forms device correctly. If not,
repeat Steps 3 on page 1-54 through 5.
P l a t e n R o d
C l i p
P l a t e n R o d
C l i p
Chapter 1. Setting Up the 4232 Printer Model 302
1-55
Summary of Contents for 4232 Model 302
Page 1: ...4232 Printer Model 302 User s Guide SA24 4386 01 ...
Page 2: ......
Page 3: ...4232 Printer Model 302 User s Guide SA24 4386 01 IBM ...
Page 9: ...Index X 7 Contents vii ...
Page 10: ...viii User s Guide Model 302 ...
Page 54: ...1 32 User s Guide Model 302 ...
Page 86: ...1 64 User s Guide Model 302 ...
Page 130: ...The printer displays Bidirectional Adjustment 1 108 User s Guide Model 302 ...
Page 166: ...2 24 User s Guide Model 302 ...
Page 185: ... Figure 4 2 Sample Printer Configuration Printout Serial Attached Chapter 4 Tests 4 11 ...
Page 187: ...The printout should look similar to Chapter 4 Tests 4 13 ...
Page 190: ...The sample printout appears as follows 4 16 User s Guide Model 302 ...
Page 192: ...4 18 User s Guide Model 302 ...
Page 200: ...A 8 User s Guide Model 302 ...
Page 248: ...C 12 User s Guide Model 302 ...
Page 250: ...D 2 User s Guide Model 302 ...
Page 270: ......
Page 273: ......
Page 274: ...IBM Part Number 56G9390 Printed in U S A 56G939ð SA24 4386 ð1 ...

