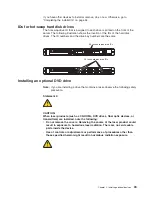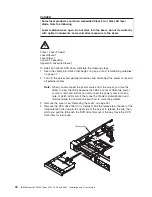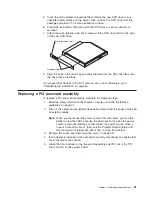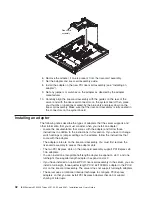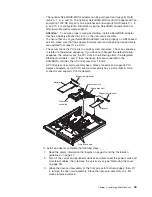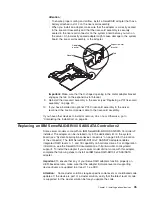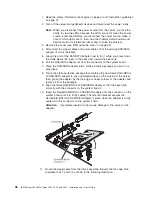
Note:
v
When you restart the server, you are prompted to import the existing
RAID configuration to the new ServeRAID adapter.
v
If the server is configured for RAID operation using a ServeRAID
adapter, you might have to reconfigure your disk arrays after you
install hard disk drives. See the ServeRAID adapter documentation
for additional information about RAID operation and complete
instructions for using the ServeRAID adapter.
If you have other devices to install or remove, do so now. Otherwise, go to
“Completing the installation” on page 54.
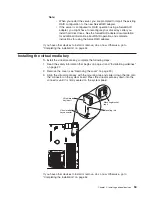
Installing the virtual media key
To install the virtual media key, complete the following steps:
1. Read the safety information that begins on page vii and “Installation guidelines”
on page 27.
2. Remove the cover (see “Removing the cover” on page 29).
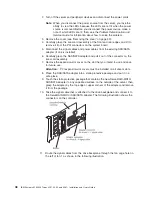
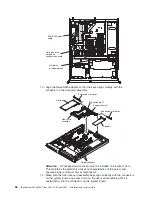
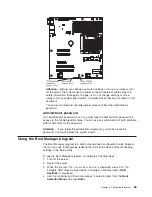
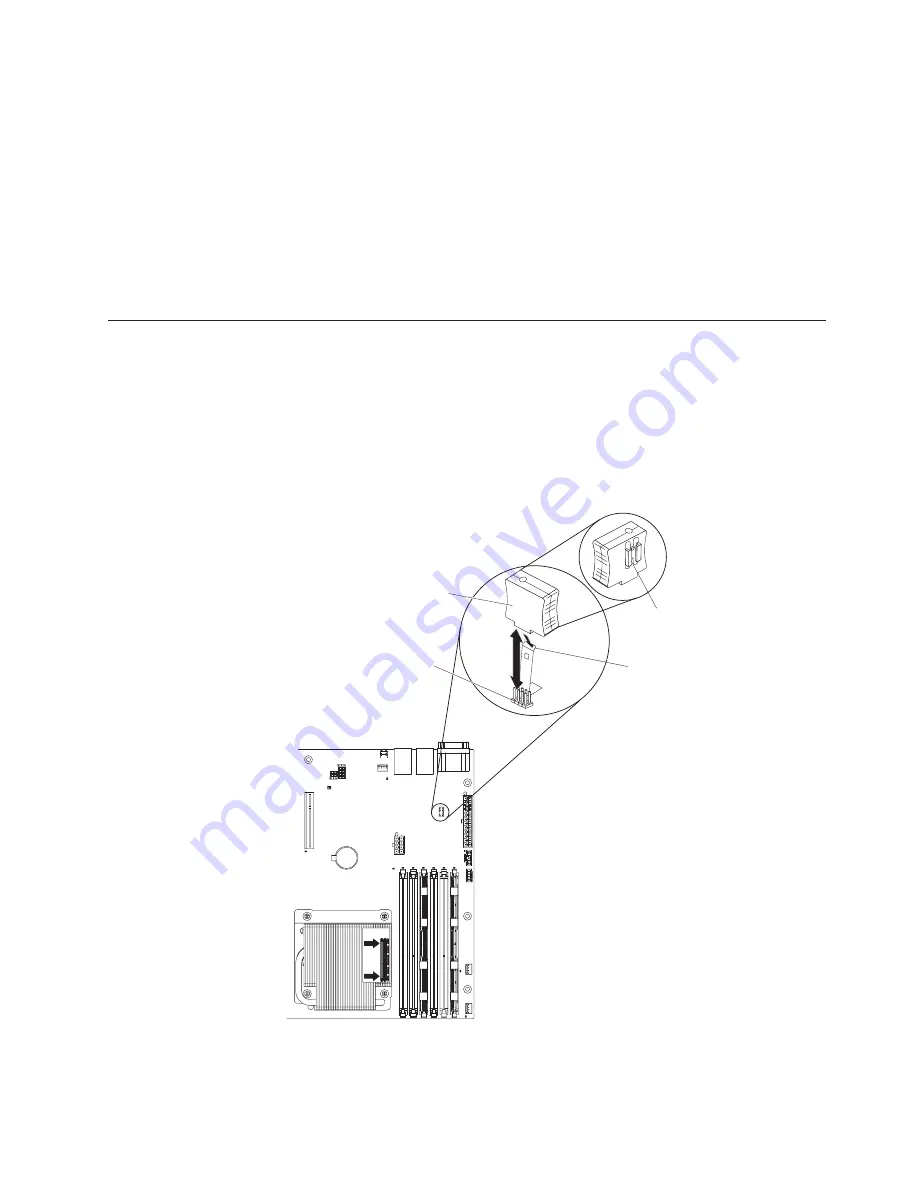
3. Align the virtual media key with the mounting tab and slide it down the tab onto
the connector on the system board. Press the virtual media key down into the
connector until it is firmly seated on the system board.
Virtual media
key connector
Virtual media
key (front)
Mounting bracket
(rear)
Mounting tab
Microprocessor
Heatsink
Orientation
DIMMs
DIMMs
If you have other devices to install or remove, do so now. Otherwise, go to
“Completing the installation” on page 54.
Chapter 2. Installing optional devices
53
Summary of Contents for 4251
Page 1: ...IBM System x3250 M3 Types 4251 4252 and 4261 Installation and User s Guide ...
Page 2: ......
Page 3: ...IBM System x3250 M3 Types 4251 4252 and 4261 Installation and User s Guide ...
Page 7: ...Index 85 Contents v ...
Page 8: ...vi IBM System x3250 M3 Types 4251 4252 and 4261 Installation and User s Guide ...
Page 34: ...18 IBM System x3250 M3 Types 4251 4252 and 4261 Installation and User s Guide ...
Page 100: ...84 IBM System x3250 M3 Types 4251 4252 and 4261 Installation and User s Guide ...
Page 105: ......
Page 106: ... Part Number 81Y6118 Printed in USA 1P P N 81Y6118 ...

