


Chapter 5
Unix Troubleshooting Tips
126
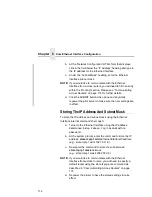
To add/delete a TCP access list entry, refer to “TCP Access Lists”
on page 287.
NOTE: When the following procedure is used, the TCP access list
will be cleared, but all IP addresses will need to be entered
again after the procedure is complete.
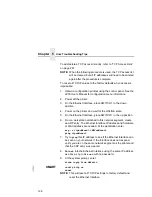
To reset all TCP/IP values to the factory defaults when access is
impossible:
1.
Obtain a configuration printout using the control panel. See the
4400 User's Manual for configuration menu information.
2.
Power off the printer.
3.
On the Ethernet Interface, place SWITCH 1 in the down
position.
4.
Power on the printer and wait for the ONLINE state.
5.
On the Ethernet Interface, place SWITCH 1 in the up position.
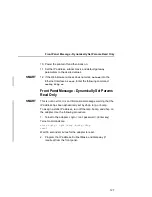
6.
From a workstation attached to this network segment, create
an ARP entry. The Ethernet Interface IP address and hardware
or MAC address are needed. At the workstation enter:
arp -s <ipaddress> <MACaddress>
ping <ipaddress>
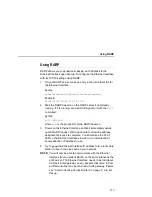
7.
Try to
ping
this IP address to see if the Ethernet Interface can
be seen on your network. If the interface does not respond,
verify you are on the same network segment as the printer and
that the ARP entry was created.
8.
Telnet
into the Ethernet Interface using the same IP address
as above. Log in as
root
with no password.
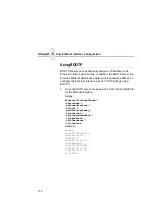
9.
At the system prompt, enter:
store tcpip from default
SMART
config http on
reset
NOTE: This will reset all TCP/IP settings to factory default and
reset the Ethernet Interface.
Summary of Contents for 4400 Series
Page 2: ......
Page 3: ...G544 5769 03 User s Manual 4400 Series Thermal Printer Basic And Smart Ethernet Interface ...
Page 14: ...Table of Contents ...
Page 30: ...Chapter 1 Interfaces 30 ...
Page 48: ...Chapter 3 Network Configuration 48 Novell Network Figure 8 Novell Network Configuration ...
Page 72: ...Chapter 3 IBM Printing Systems 72 ...
Page 90: ...Chapter 4 Windows Host Configuration 90 8 Select Custom and click Settings ...
Page 92: ...Chapter 4 Windows Host Configuration 92 10 Click Next 11 Click Finish ...
Page 94: ...Chapter 4 Windows Host Configuration 94 14 Select Yes then click Next 15 Click Next ...
Page 108: ...Chapter 4 Windows Troubleshooting Tips 108 ...
Page 128: ...Chapter 5 Unix Troubleshooting Tips 128 ...
Page 184: ...Chapter 8 OS 2 Workstation Configuration 184 ...
Page 200: ...Chapter 9 AS 400 ASCII Troubleshooting 200 ...
Page 242: ...Chapter 11 Handling MVS Connectivity Problems 242 ...
Page 256: ...Chapter 13 Monitoring Tools 256 ...
Page 284: ...Chapter 15 Complete Command List 284 ...
Page 292: ...Chapter 16 Ethernet Interface Naming Schemes 292 ...
Page 304: ...Communication Statements 304 ...
Page 310: ...Chapter 310 ...
Page 322: ...Index 322 ...
Page 325: ......


