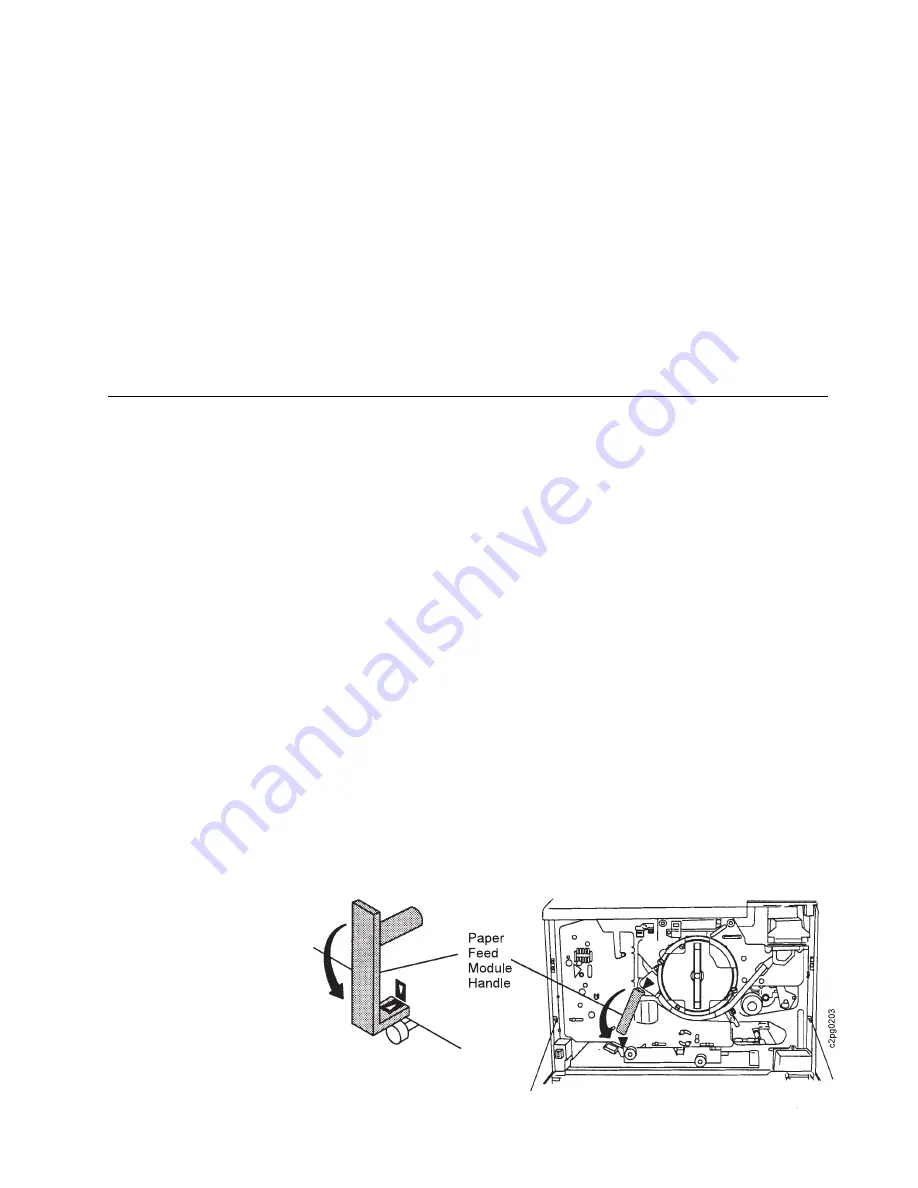
12. Push the paper feed module in, then turn the paper feed module handle
clockwise to the LOCK position.
13. Close the front cover.
14. When the IS CHANGE COMPLETED? message appears, press the Enter key.
15. Press the Enter key again to select YES to notify the printer that the
replacement is finished. This resets the supply counter.
Note: If you did not complete this entire procedure (because you did not have
the supply, for example) scroll to NO, and press the Enter key.
16. Press the Menu/Exit key to exit menu mode.
17. Press the Start key to continue printing.
18. Dispose of the used fuser cleaner brush.
Replacing the Fuser Unit
CAUTION:
<24> High temperature. Allow parts in this area to cool at least 30 minutes
before handling.
Replace the fuser unit when the FUSER UNIT: REPLACE SOON or FUSER UNIT:
REPLACE NOW message appears.
To replace the fuser unit, do the following:
1. Press the Stop key (if the printer is READY) to temporarily stop any current
print jobs and to make the printer NOT READY.
2. Press the Menu/Exit key to enter menu mode.
3. Scroll to SUPPLIES on the main menu, and press the Enter key. Enter the key
operator password, if prompted.
4. Scroll to FUSER UNIT, and press the Enter key.
5. The CHANGE NOW message appears. (The PLEASE WAIT... message may
occur first.)
Note: If you selected SUPPLIES by mistake and do not want to begin a
replacement procedure, scroll to CANCEL CHANGE, and press the Enter key.
6. Open the front cover.
7. Open the paper feed module. Turn the paper feed module handle
counterclockwise to the RELEASE position, then pull the handle forward.
Chapter 6. Maintaining the Printer
6-15
Summary of Contents for 60
Page 1: ...InfoPrint 60 Advanced Function Printer IBM User s Guide S544 5432 00 ...
Page 2: ......
Page 3: ...InfoPrint 60 Advanced Function Printer IBM User s Guide S544 5432 00 ...
Page 12: ...x InfoPrint 60 User s Guide ...
Page 72: ...4 30 InfoPrint 60 User s Guide ...
Page 92: ...5 20 InfoPrint 60 User s Guide ...
Page 162: ......
Page 165: ......


