
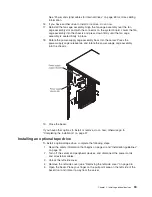


Note:
You might find it easier to install the new drive from the front and then
attach the cables.
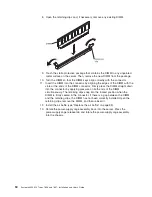
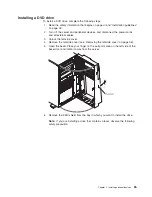
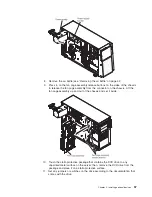
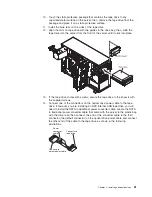
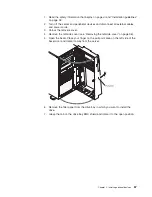
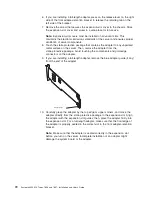
12. Remove the blue optical drive rails from the inside of the drive bay in which
you want to install the drive. Align the holes on the blue optical drive rails with
the pins on the side of the drive and snap the optical drive rails onto the drive.
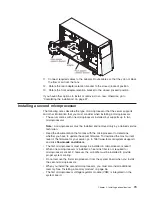
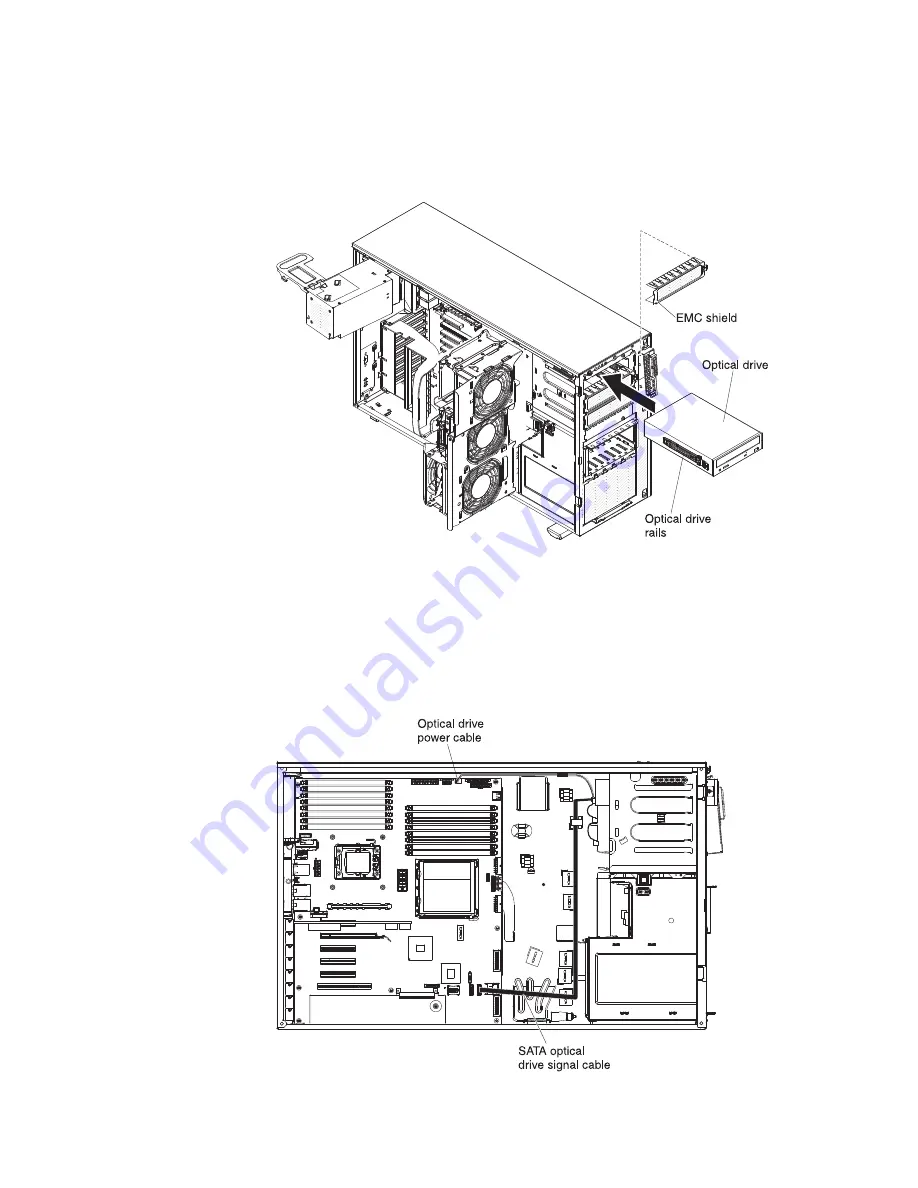
13. If you are installing a 5.25-in. drive in bay 2, push the drive into the bay until it
locks into place. If you are installing a 3.5-in. drive in bay 2, attach the 5.25-in.
conversion kit and push the drive into the drive bay.
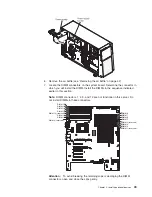
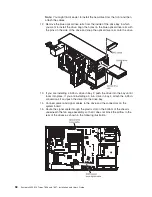
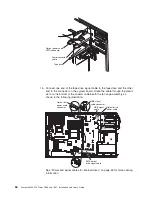
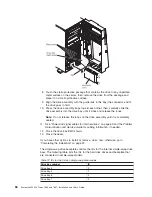
14. Connect power and signal cables to the drive and the connectors on the
system board.
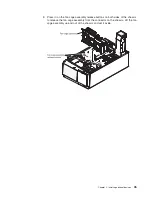
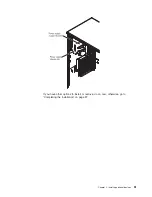
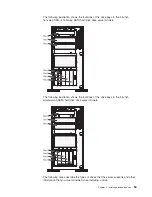
15. Route the signal cable through the plastic slot on the bottom of the chassis
underneath the fan cage assembly so that it does not block the airflow to the
rear of the drives as shown in the following illustration:
58
System x3400 M2 Types 7836 and 7837: Installation and User’s Guide
Summary of Contents for 783722U
Page 1: ...System x3400 M2 Types 7836 and 7837 Installation and User s Guide...
Page 2: ......
Page 3: ...System x3400 M2 Types 7836 and 7837 Installation and User s Guide...
Page 8: ...vi System x3400 M2 Types 7836 and 7837 Installation and User s Guide...
Page 18: ...xvi System x3400 M2 Types 7836 and 7837 Installation and User s Guide...
Page 57: ...Chapter 2 Installing optional devices 39...
Page 122: ...104 System x3400 M2 Types 7836 and 7837 Installation and User s Guide...
Page 153: ......
Page 154: ...Part Number 69Y4170 Printed in USA 1P P N 69Y4170...


