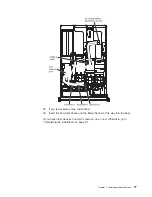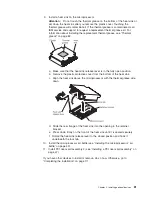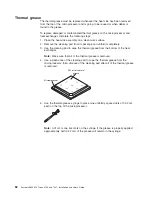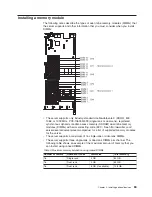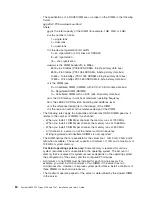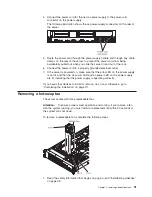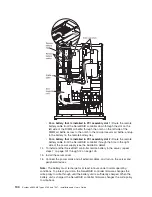
4. Connect the power cord for the new ac power supply to the power-cord
connector on the power supply.
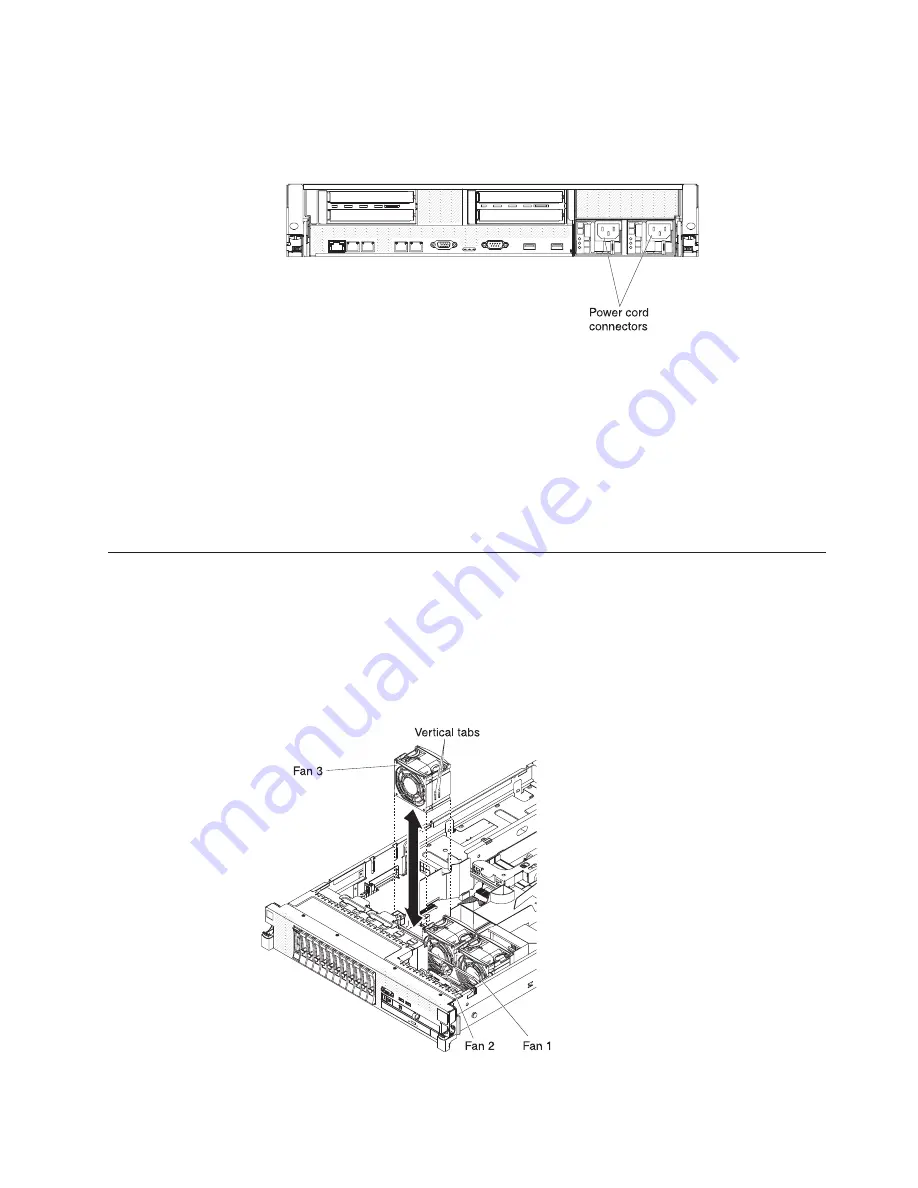
The following illustration shows the ac power-supply connectors on the rear of
the server.
5. Route the power cord through the power-supply handle and through any cable
clamps on the rear of the server, to prevent the power cord from being
accidentally pulled out when you slide the server in and out of the rack.
6. Connect the power cord to a properly grounded electrical outlet.
7. If the server is powered on, make sure that the error LED on the power supply
is not lit, and that the dc power LED and ac power LED on the power supply
are lit, indicating that the power supply is operating correctly.
If you have other devices to install or remove, do so now. Otherwise, go to
“Completing the installation” on page 111.
Removing a hot-swap fan
The server comes with three replaceable fans.
Attention:
To ensure proper server operation and cooling, if you remove a fan
with the system running, you must install a replacement fan within 30 seconds or
the system will shut down.
To remove a replaceable fan, complete the following steps.
1. Read the safety information that begins on page vii and “Installation guidelines”
on page 38.
Chapter 2. Installing optional devices
91
Summary of Contents for 7947E3U
Page 1: ......
Page 2: ......
Page 3: ...System x3650 M2 Types 4199 and 7947 Installation and User s Guide...
Page 8: ...vi System x3650 M2 Types 4199 and 7947 Installation and User s Guide...
Page 16: ...xiv System x3650 M2 Types 4199 and 7947 Installation and User s Guide...
Page 40: ...24 System x3650 M2 Types 4199 and 7947 Installation and User s Guide...
Page 150: ...134 System x3650 M2 Types 4199 and 7947 Installation and User s Guide...
Page 168: ...152 System x3650 M2 Types 4199 and 7947 Installation and User s Guide...
Page 169: ......
Page 170: ...Part Number 81Y6111 Printed in USA 1P P N 81Y6111...

