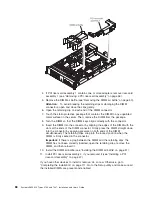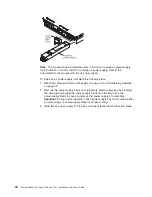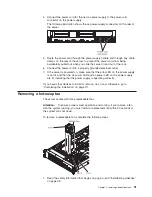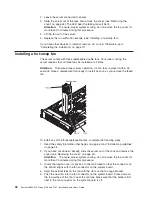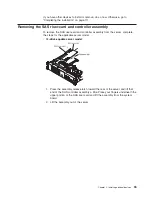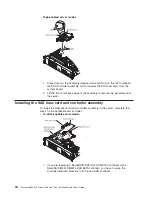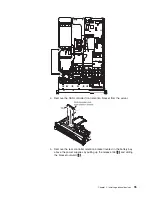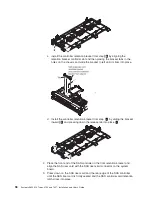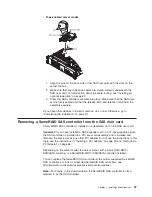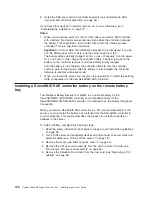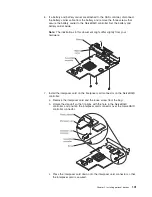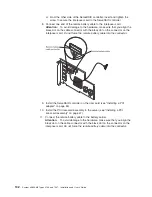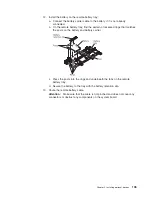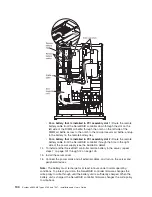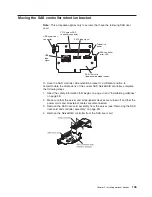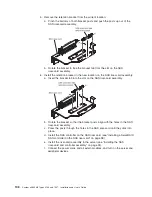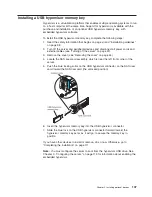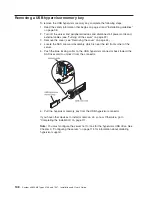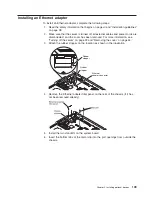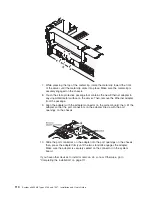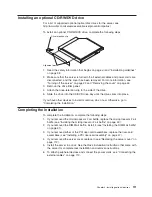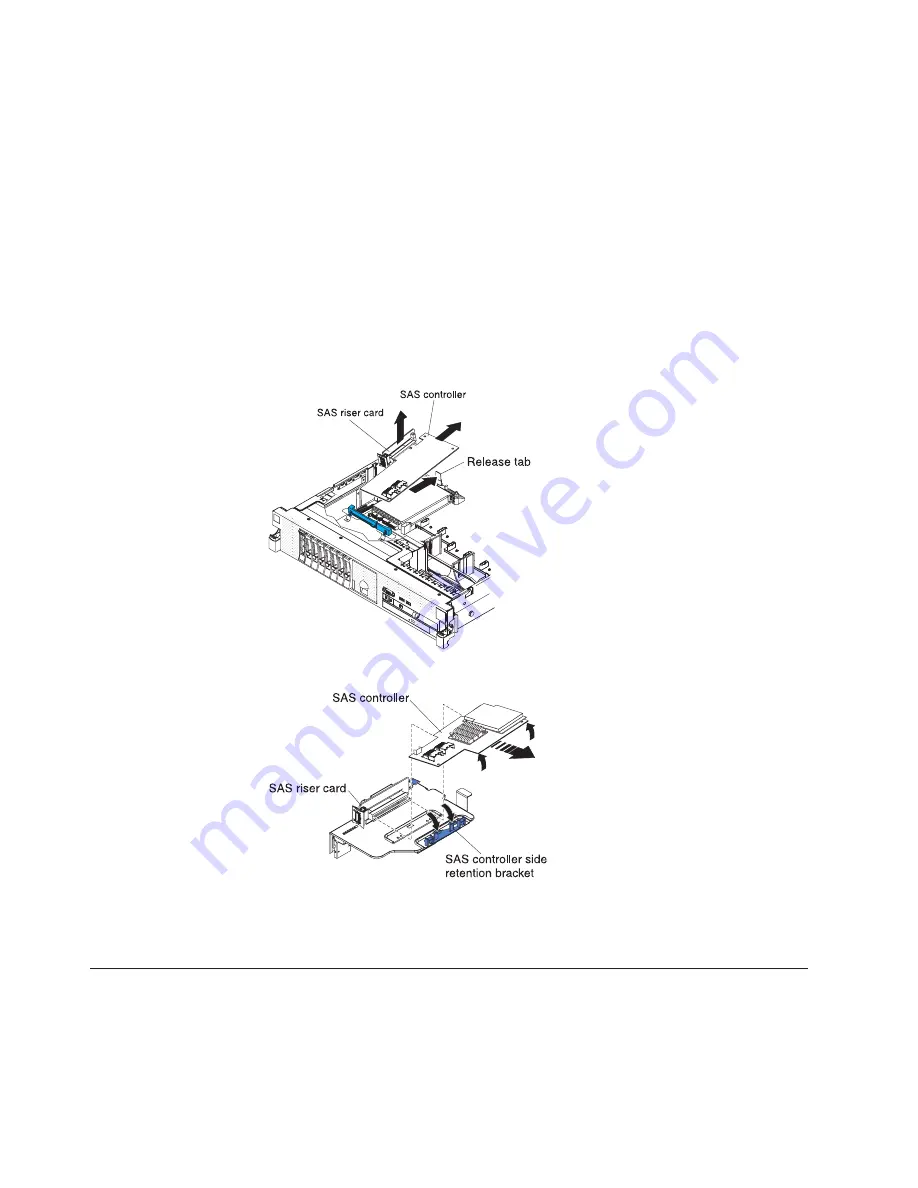
To remove the SAS controller from a SAS riser card, complete the following steps:
1. Read the safety information that begins on page vii and “Installation guidelines”
on page 38.
2. Turn off the server and peripheral devices and disconnect all power cords and
external cables (see “Turning off the server” on page 22).
3. Remove the cover (see “Removing the cover” on page 44).
4. Locate the SAS riser-card and controller assembly near the left-front corner of
the server.
5. Disconnect the SAS signal cables from the connectors on the SAS controller
and note their locations.
6. Remove the SAS controller assembly, which includes the SAS riser card, from
the server (see “Removing the SAS riser-card and controller assembly” on page
93).
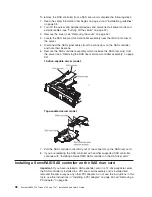
12-drive-capable server model:
Tape-enabled server model:
7. Pull the SAS controller horizontally out of the connector on the SAS riser card.
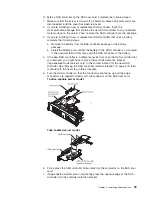
8. If you are replacing the SAS controller with another supported SAS controller,
continue with “Installing a ServeRAID SAS controller on the SAS riser card.”
Installing a ServeRAID SAS controller on the SAS riser card
Important:
If you have installed a SAS expander card in a 12-drive-capable server,
the SAS controller is installed in a PCI riser-card assembly and is installed and
removed the same way as any other PCI adapter. Do not use the instructions in this
topic; use the instructions in “Installing a PCI adapter” on page 53 and “Removing a
PCI adapter” on page 56.
98
System x3650 M2 Types 4199 and 7947: Installation and User’s Guide
Summary of Contents for 7947E3U
Page 1: ......
Page 2: ......
Page 3: ...System x3650 M2 Types 4199 and 7947 Installation and User s Guide...
Page 8: ...vi System x3650 M2 Types 4199 and 7947 Installation and User s Guide...
Page 16: ...xiv System x3650 M2 Types 4199 and 7947 Installation and User s Guide...
Page 40: ...24 System x3650 M2 Types 4199 and 7947 Installation and User s Guide...
Page 150: ...134 System x3650 M2 Types 4199 and 7947 Installation and User s Guide...
Page 168: ...152 System x3650 M2 Types 4199 and 7947 Installation and User s Guide...
Page 169: ......
Page 170: ...Part Number 81Y6111 Printed in USA 1P P N 81Y6111...

