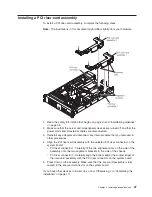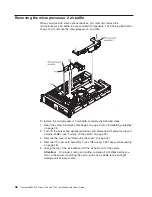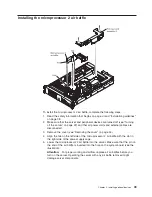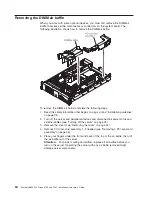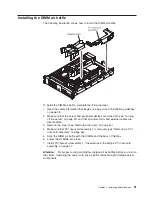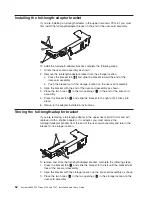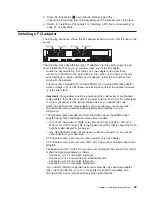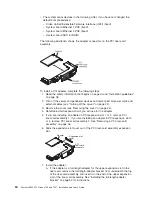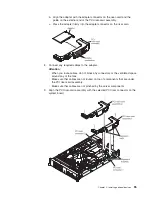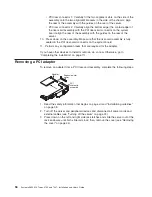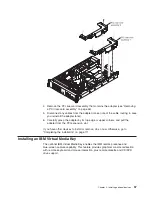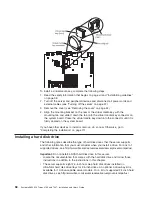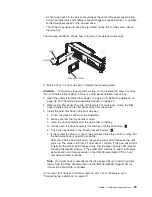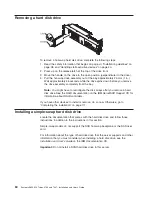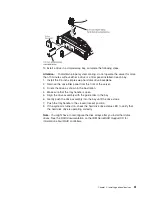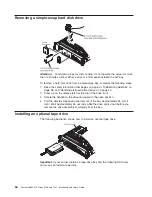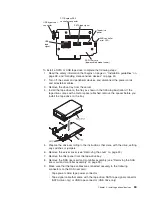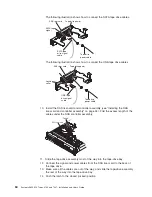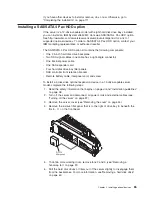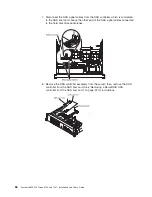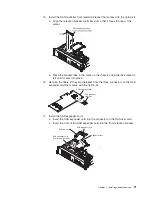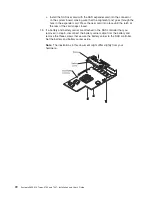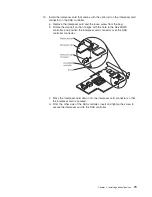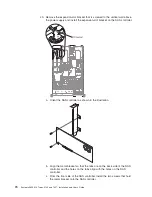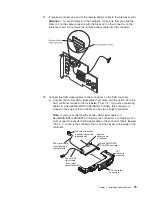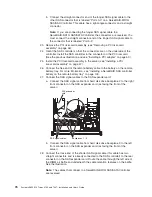
To install a drive in a simple-swap bay, complete the following steps.
Attention:
To maintain proper system cooling, do not operate the server for more
than 10 minutes without either a drive or a filler panel installed in each bay.
1. Install the 2.5 inch simple-swap hard disk drive backplane.
2. Remove the drive filler panel from the front of the server.
3. Orient the drive as shown in the illustration.
4. Make sure that the tray handle is open.
5. Align the drive assembly with the guide rails in the bay.
6. Gently push the drive assembly into the bay until the drive stops.
7. Push the tray handle to the closed (locked) position.
8. If the system is turned on, check the hard disk drive status LED to verify that
the hard disk drive is operating correctly.
Note:
You might have to reconfigure the disk arrays after you install hard disk
drives. See the RAID documentation on the IBM
ServeRAID Support
CD for
information about RAID controllers.
Chapter 2. Installing optional devices
61
Summary of Contents for 7947E3U
Page 1: ......
Page 2: ......
Page 3: ...System x3650 M2 Types 4199 and 7947 Installation and User s Guide...
Page 8: ...vi System x3650 M2 Types 4199 and 7947 Installation and User s Guide...
Page 16: ...xiv System x3650 M2 Types 4199 and 7947 Installation and User s Guide...
Page 40: ...24 System x3650 M2 Types 4199 and 7947 Installation and User s Guide...
Page 150: ...134 System x3650 M2 Types 4199 and 7947 Installation and User s Guide...
Page 168: ...152 System x3650 M2 Types 4199 and 7947 Installation and User s Guide...
Page 169: ......
Page 170: ...Part Number 81Y6111 Printed in USA 1P P N 81Y6111...

