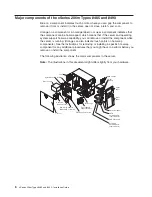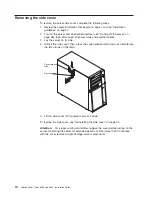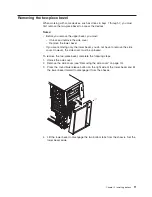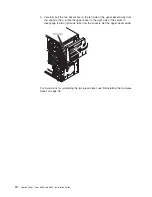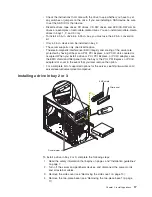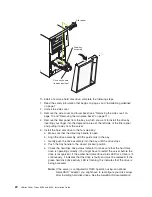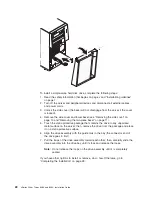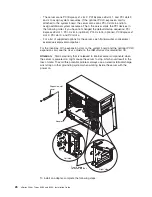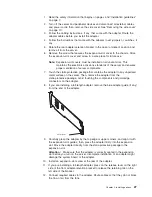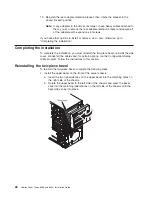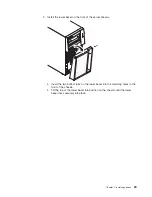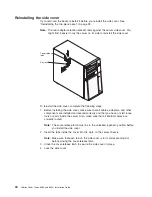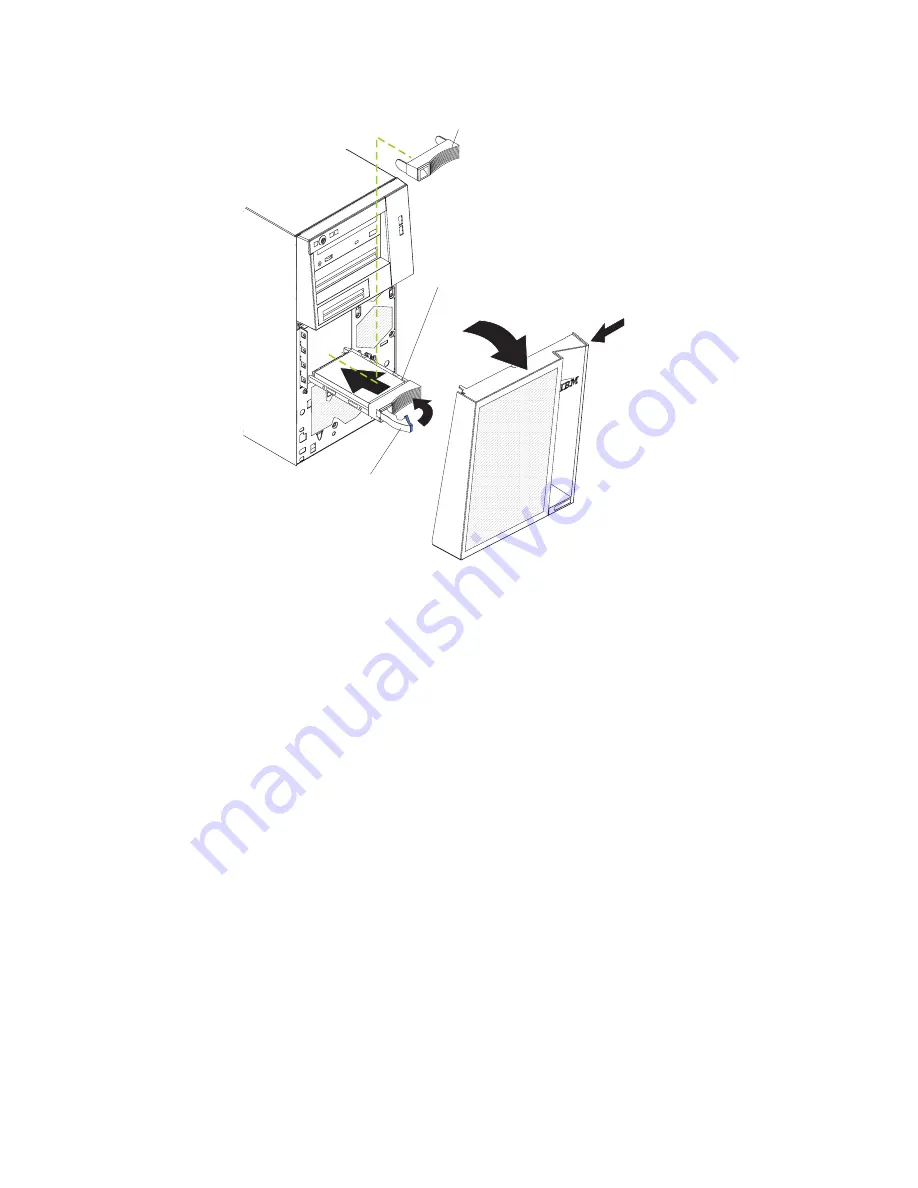
Filler panel
Drive-tray
assembly
Drive tray handle
(in open position)
To
install
a
hot-swap
hard
disk
drive,
complete
the
following
steps:
1.
Read
the
safety
information
that
begins
on
page
v
and
“Installation
guidelines”
on
page
7.
2.
Unlock
the
side
cover.
3.
Remove
the
side
cover
and
lower
bezel
(see
“Removing
the
side
cover”
on
page
10
and
“Removing
the
two-piece
bezel”
on
page
11).
4.
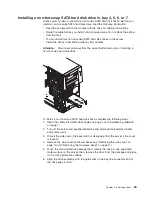
Remove
the
filler
panel
from
the
bay
in
which
you
want
to
install
the
drive
by
inserting
your
finger
into
the
depression
area
at
the
left
side
of
the
filler
panel
and
pulling
it
away
from
the
server.
5.
Install
the
hard
disk
drive
in
the
hot-swap
bay:
a.
Make
sure
that
the
drive
tray
handle
is
open.
b.
Align
the
drive
assembly
with
the
guide
rails
in
the
bay.
c.
Gently
push
the
drive
assembly
into
the
bay
until
the
drive
stops.
d.
Push
the
tray
handle
to
the
closed
(locked)
position.
e.
Check
the
hard
disk
drive
status
indicator
to
make
sure
that
the
hard
disk
drive
is
operating
correctly.
(You
might
have
to
restart
the
server
before
the
drive
is
recognized.)
If
the
amber
hard
disk
drive
status
LED
for
a
drive
is
lit
continuously,
it
indicates
that
the
drive
is
faulty
and
must
be
replaced.
If
the
green
hard
disk
drive
activity
LED
is
flashing,
this
indicates
that
the
drive
is
being
accessed.
Note:
If
the
server
is
configured
for
RAID
operation
using
an
optional
ServeRAID
™
adapter,
you
might
have
to
reconfigure
your
disk
arrays
after
installing
hard
disk
drives.
See
the
ServeRAID
documentation
20
xSeries
206m
Types
8485
and
8490:
Installation
Guide
Summary of Contents for 8485E2U
Page 3: ...xSeries 206m Types 8485 and 8490 Installation Guide...
Page 52: ...38 xSeries 206m Types 8485 and 8490 Installation Guide...
Page 62: ...48 xSeries 206m Types 8485 and 8490 Installation Guide...
Page 108: ...94 xSeries 206m Types 8485 and 8490 Installation Guide...
Page 109: ......
Page 110: ...Part Number 40K2367 Printed in USA 1P P N 40K2367...

