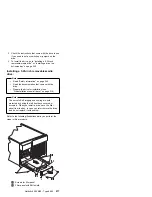
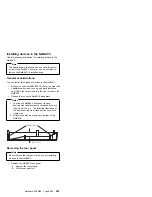


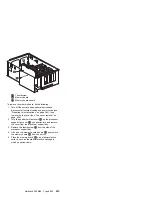
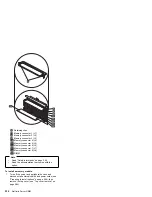
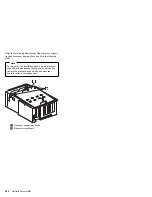
Removing cage nuts:
Device installation might require the removal or moving of
the rear-pane cage nuts. If you need to move the cage
nuts, follow this procedure to move them and then go to
“Installing cage nuts” to install them in the correct position.
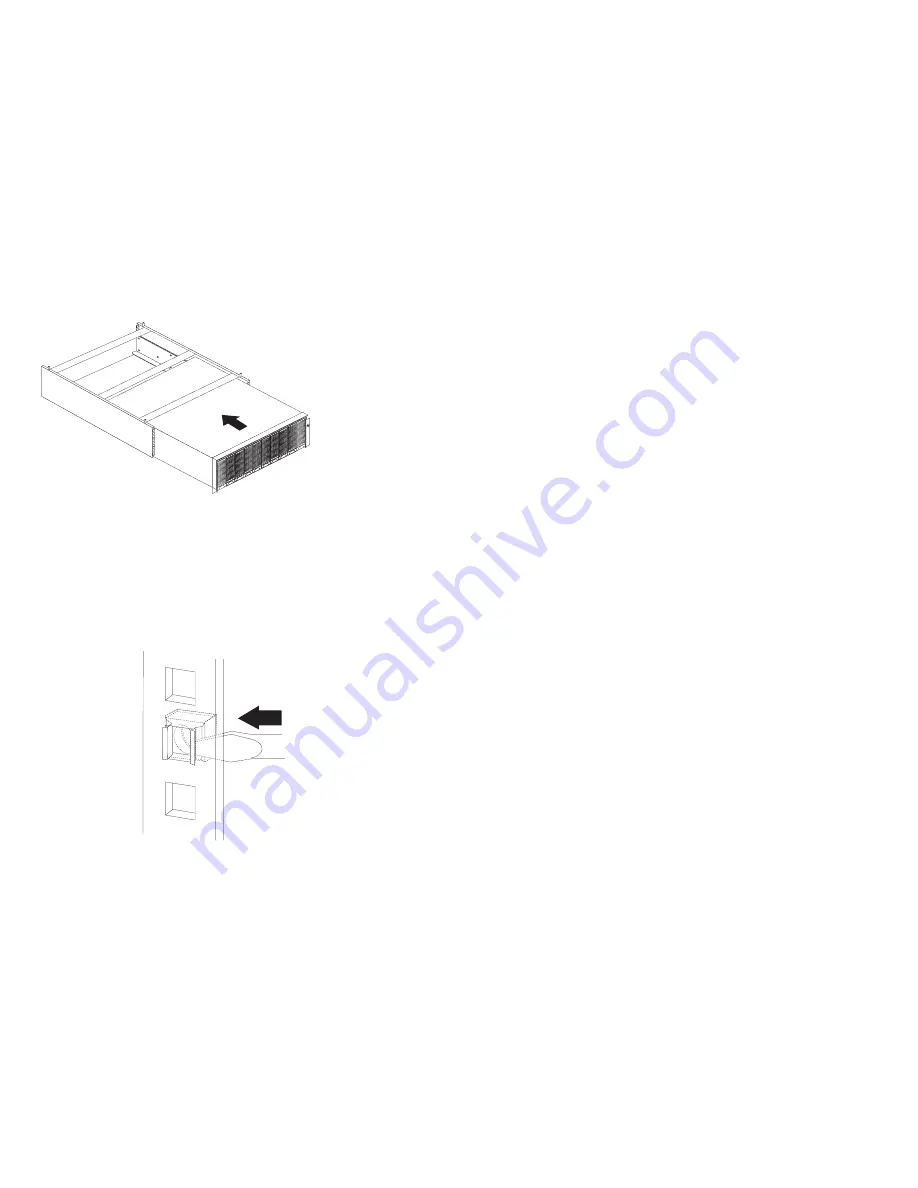
1. Hold the cage nut in place and compress the
cage-nut clip with a flat screwdriver blade.
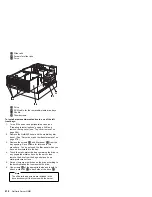
2. With the cage nut-clip compressed, push the cage
nut-clip out of the square hole.
3. Release the screwdriver pressure on the clip. The
cage nut is now loose and can be removed from the
square hole.
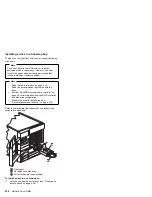
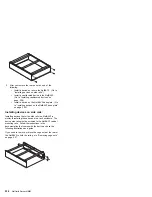
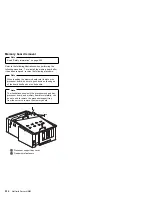
Installing cage nuts:
The nuts go toward the inside of the NetBAY3. Make sure
you install all the cage nuts at the same level on the
mounting rails.
1. Hook one side of the cage-nut clip into the
rack-mounting-rail square hole.
2. Hold the cage nut in place and compress the
cage-nut clip with a flat screwdriver blade.
3. With the cage-nut clip compressed, push the cage-nut
clip into the square hole.
4. Release the screwdriver pressure on the clip. The
cage nut is now locked in the square hole.
Netfinity 5500 M20 - Type 8662
227
Summary of Contents for 866251Y - Netfinity 5500 M20
Page 2: ......
Page 8: ...vi Netfinity Server HMM...
Page 336: ...32 33 33 34 35 36 37 38 39 40 41 42 43 328 Netfinity Server HMM...
Page 346: ...338 Netfinity Server HMM...
Page 354: ...346 Netfinity Server HMM...
Page 355: ...Related service information 347...
Page 356: ...348 Netfinity Server HMM...
Page 357: ...Related service information 349...
Page 368: ...360 Netfinity Server HMM...
Page 369: ...Related service information 361...
Page 385: ......
Page 386: ...IBM Part Number 09N1015 Printed in U S A S37L 2 2 1...