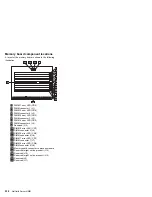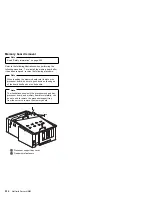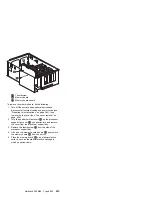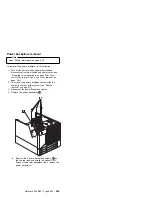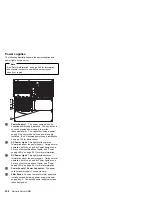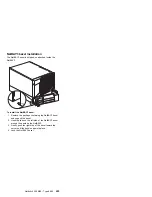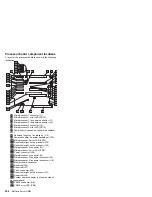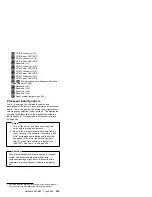
.3/
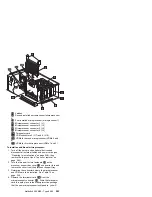
Latches
.4/
Second installed microprocessor (microprocessor
4)
.5/
First installed microprocessor (microprocessor 1)
.6/
Microprocessor connector 1 (J1)
.7/
Microprocessor connector 2 (J2)
.8/
Microprocessor connector 3 (J3)
.9/
Microprocessor connector 4 (J4)
.1ð/
Terminator card
.11/
VRM connectors 5 (J17) and 6 (J18)
.12/
VRMs for second microprocessor (VRMs 5 and
6)
.13/
VRMs for first microprocessor (VRMs 1 and 2)
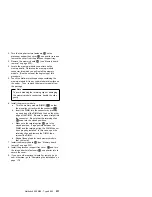
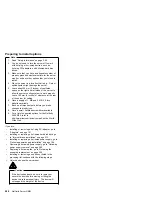
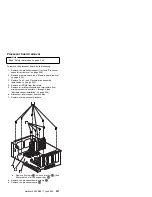
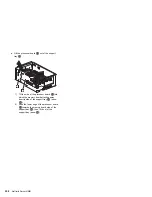
To install an additional microprocessor:
1. Turn off the server and peripheral devices and
disconnect all external cables and power cords (see
“Preparing to install options” on page 246); then
remove the top cover (see “Top cover removal” on
page 284).
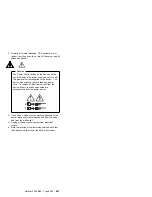
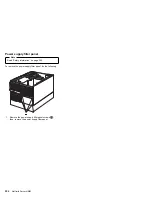
2. Turn the two quarter-turn fasteners
.2/
on the
processor support tray cover
.1/
one quarter turn and
remove the cover from the processor support tray.
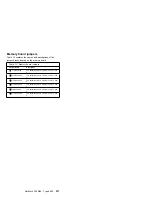
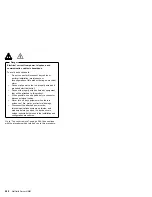
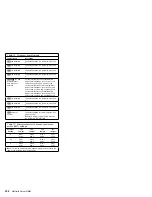
3. Determine the connectors where the microprocessor
and VRMs are to be installed. See Table 13 on
page 240.
4. Remove the terminator card
.1ð/
from the
microprocessor connector
.9/
. Store the terminator
card in a safe place in the static-protective package
that the new microprocessor is shipped in; you will
Netfinity 5500 M20 - Type 8662
243
Summary of Contents for 866251Y - Netfinity 5500 M20
Page 2: ......
Page 8: ...vi Netfinity Server HMM...
Page 336: ...32 33 33 34 35 36 37 38 39 40 41 42 43 328 Netfinity Server HMM...
Page 346: ...338 Netfinity Server HMM...
Page 354: ...346 Netfinity Server HMM...
Page 355: ...Related service information 347...
Page 356: ...348 Netfinity Server HMM...
Page 357: ...Related service information 349...
Page 368: ...360 Netfinity Server HMM...
Page 369: ...Related service information 361...
Page 385: ......
Page 386: ...IBM Part Number 09N1015 Printed in U S A S37L 2 2 1...

