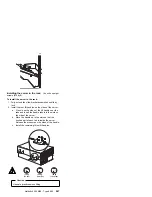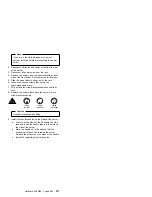
Note
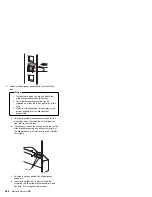
If you have not already done so, you might
want loosen the four thumbscrews on the
shuttle at the back of the server and pull the
shuttle toward the back of the server to
allow easier access to the cables. (See
“Installing a 5.25-inch removable-media
drive” on page 217 for an illustration of the
shuttle and the thumbscrews.)
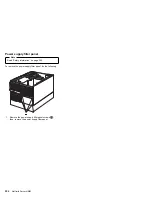
The processor support tray should always
be removed or replaced using the handles
on the support tray cover. If the cover is not
on the support tray, you must install it before
removing or replacing the tray.
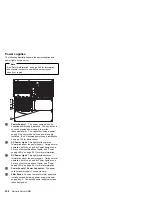
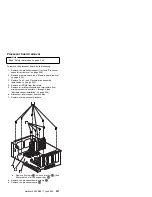
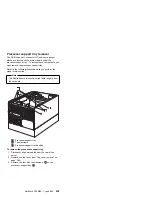
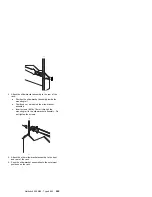
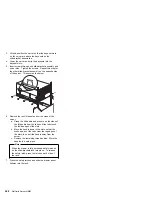
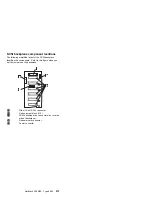
4. Disconnect the cables from the cable connectors on
the processor board. (The cable connectors are
located at the end of the processor support tray
toward the front of the processor.)
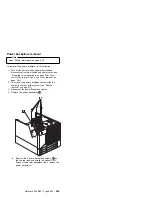
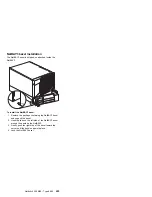
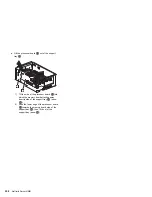
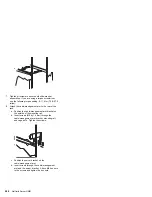
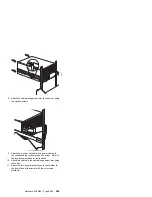
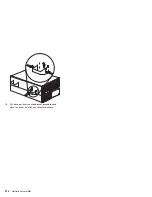
5. Using the processor support tray handles
.5/
,
carefully lift the processor support tray from the
server.
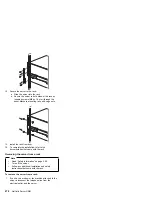
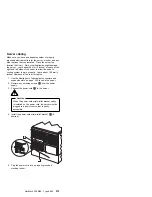
6. Place the processor support tray in a safe place until
you are ready to install it again.
260
Netfinity Server HMM
Summary of Contents for 866251Y - Netfinity 5500 M20
Page 2: ......
Page 8: ...vi Netfinity Server HMM...
Page 336: ...32 33 33 34 35 36 37 38 39 40 41 42 43 328 Netfinity Server HMM...
Page 346: ...338 Netfinity Server HMM...
Page 354: ...346 Netfinity Server HMM...
Page 355: ...Related service information 347...
Page 356: ...348 Netfinity Server HMM...
Page 357: ...Related service information 349...
Page 368: ...360 Netfinity Server HMM...
Page 369: ...Related service information 361...
Page 385: ......
Page 386: ...IBM Part Number 09N1015 Printed in U S A S37L 2 2 1...

