48
Intel® Server Compute Blade SBX82: Hardware Maintenance Manual and Troubleshooting Guide
a.
Loosen one captive screw fully; then, loosen the other captive screw.
Attention: Loosening one screw fully before loosening the other screw will help to break
the thermal bond that adheres the heat sink to the microprocessor.
b.
Gently pull the heat sink off of the microprocessor.
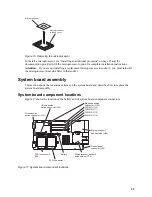
7. Rotate the locking lever on the microprocessor socket from its closed and locked position
(Figure 14) until it stops or clicks in the fully open position (approximately 135
°
angle), as
shown in Figure 15.
Attention: You must ensure that the locking lever on the microprocessor socket is in the fully
open position before you remove the microprocessor from or insert the microprocessor into the
socket. Failure to do so might result in permanent damage to the microprocessor, microprocessor
socket, and system board.
8. Pull the microprocessor out of the socket.
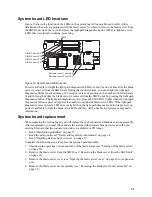
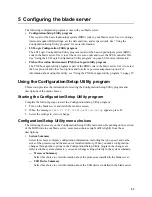
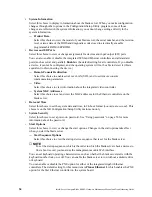
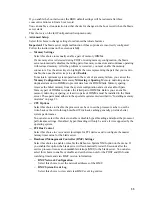
Figure 14. Microprocessor locking lever in the closed
position
Figure 15. Microprocessor locking lever in the fully
open position
Lever closed
Lever closed
Lever
fully
open
Lever
fully
open
Summary of Contents for 8832L1X
Page 62: ...46 Intel Server Compute Blade SBX82 Hardware Maintenance Manual and Troubleshooting Guide...
Page 148: ...132 Intel Server Compute Blade SBX82 Hardware Maintenance Manual and Troubleshooting Guide...
Page 154: ...138 Intel Server Compute Blade SBX82 Hardware Maintenance Manual and Troubleshooting Guide...

