Installing
and
removing
a
hot-swap
power
supply
The
server
supports
a
maximum
of
two
hot-swap
power
supplies.
Statement
8
CAUTION:
Never
remove
the
cover
on
a
power
supply
or
any
part
that
has
the
following
label
attached.
Hazardous
voltage,
current,
and
energy
levels
are
present
inside
any
component
that
has
this
label
attached.
There
are
no
serviceable
parts
inside
these
components.
If
you
suspect
a
problem
with
one
of
these
parts,
contact
a
service
technician.
The
following
information
describes
the
type
of
power
supply
that
the
server
supports
and
other
information
that
you
must
consider
when
installing
a
power
supply:
v
The
server
comes
with
one
585-watt
hot-swap
power
supply
as
standard.
The
input
voltage
is
110
VAC
or
220
V
ac
auto-sensing.
v
You
can
install
an
optional
585-watt
hot-swap
power
supply
to
use
as
a
redundant
power
supply.
v
These
power
supplies
are
designed
for
parallel
operation.
In
the
event
of
a
power
supply
failure,
the
redundant
power
supply
continues
to
power
the
system.
The
number
of
power
supplies
supported
per
system
are
a
maximum
of
two.
v
See
“Using
Y
power-cord
connectors
for
power
backup”
on
page
42
for
information
on
how
to
properly
connect
Y
power-cord
connectors
to
back
up
power
units.
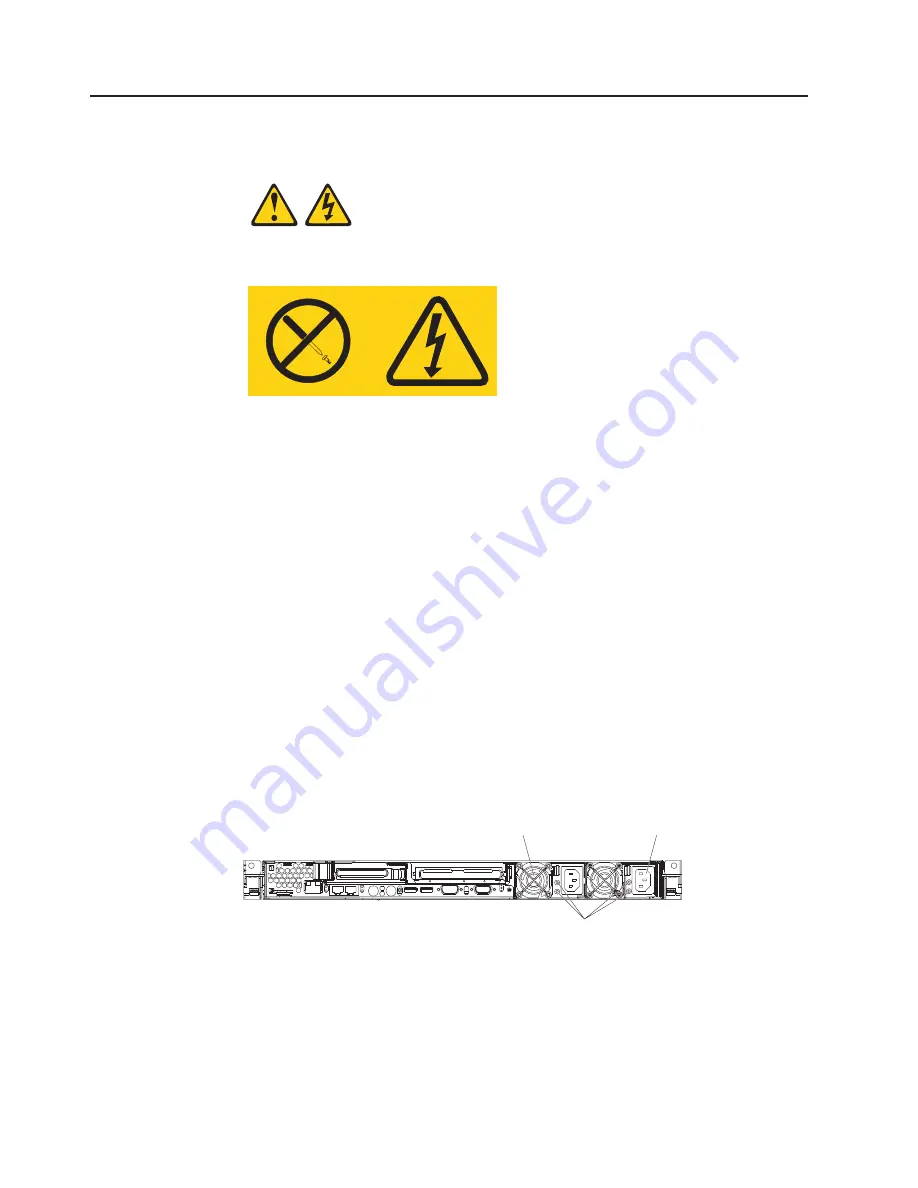
Figure
32
shows
the
power-supply
connectors
and
their
associated
LEDs
on
the
back
of
the
server.
AC and DC LEDs
Power supply 1
Power supply 2
Figure
32.
Power
supply
connectors
and
LEDs
40
xSeries
336
Type
1879
and
Type
8837:
Hardware
Maintenance
Manual
and
Troubleshooting
Guide
Summary of Contents for 88371RU
Page 1: ...xSeries 336 Type 1879 and Type 8837 Hardware Maintenance Manual and Troubleshooting Guide...
Page 2: ......
Page 3: ...xSeries 336 Type 1879 and Type 8837 Hardware Maintenance Manual and Troubleshooting Guide...
Page 15: ...Server on off 8 to 80 Shipment 5 to 100 Chapter 1 General information 5...
Page 22: ...12 xSeries 336 Type 1879 and Type 8837 Hardware Maintenance Manual and Troubleshooting Guide...
Page 24: ...14 xSeries 336 Type 1879 and Type 8837 Hardware Maintenance Manual and Troubleshooting Guide...
Page 92: ...82 xSeries 336 Type 1879 and Type 8837 Hardware Maintenance Manual and Troubleshooting Guide...
Page 149: ...Appendix B Safety information 139...
Page 150: ...140 xSeries 336 Type 1879 and Type 8837 Hardware Maintenance Manual and Troubleshooting Guide...
Page 151: ...Appendix B Safety information 141...
Page 152: ...142 xSeries 336 Type 1879 and Type 8837 Hardware Maintenance Manual and Troubleshooting Guide...
Page 153: ...Appendix B Safety information 143...
Page 154: ...144 xSeries 336 Type 1879 and Type 8837 Hardware Maintenance Manual and Troubleshooting Guide...
Page 155: ...Appendix B Safety information 145...
Page 165: ...Appendix B Safety information 155...
Page 166: ...156 xSeries 336 Type 1879 and Type 8837 Hardware Maintenance Manual and Troubleshooting Guide...
Page 167: ...Appendix B Safety information 157...
Page 168: ...158 xSeries 336 Type 1879 and Type 8837 Hardware Maintenance Manual and Troubleshooting Guide...
Page 172: ...162 xSeries 336 Type 1879 and Type 8837 Hardware Maintenance Manual and Troubleshooting Guide...
Page 185: ......
Page 186: ...Part Number 25K8109 1P P N 25K8109...


