
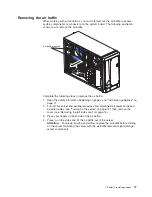
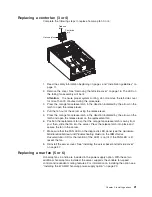


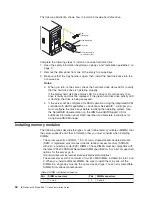

Replacing
a
hot-swap
power
supply
The
server
comes
with
one
power
supply.
If
you
install
or
remove
a
power
supply,
observe
the
following
precautions.
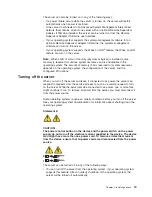
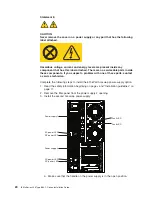
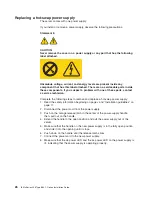
Statement
8:
CAUTION:
Never
remove
the
cover
on
a
power
supply
or
any
part
that
has
the
following
label
attached.
Hazardous
voltage,
current,
and
energy
levels
are
present
inside
any
component
that
has
this
label
attached.
There
are
no
serviceable
parts
inside
these
components.
If
you
suspect
a
problem
with
one
of
these
parts,
contact
a
service
technician.
Complete
the
following
steps
to
remove
and
replace
a
hot-swap
power
supply:
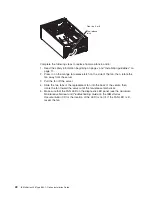
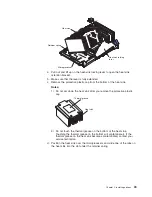
1.
Read
the
safety
information
beginning
on
page
v
and
“Installation
guidelines”
on
page
11.
2.
Disconnect
the
power
cord
from
the
power
supply.
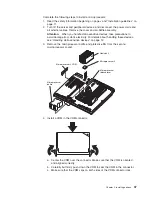
3.
Push
on
the
orange
release
latch
in
the
center
of
the
power-supply
handle;
then,
pull
out
on
the
handle.
4.
Extend
the
handle
to
the
open
position
and
pull
the
power
supply
out
of
the
server.
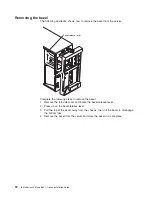
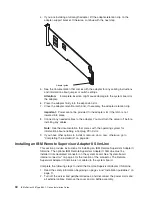
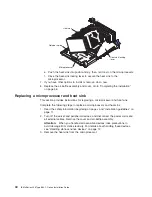
5.
Make
sure
that
the
handle
on
the
new
power
supply
is
in
the
fully
open
position
and
slide
it
into
the
opening
until
it
stops.
6.
Push
down
on
the
handle
until
the
release
latch
clicks.
7.
Connect
the
power
cord
to
the
new
power
supply.
8.
Make
sure
that
the
dc
power
LED
and
the
ac
power
LED
on
the
power
supply
is
lit,
indicating
that
the
power
supply
is
operating
properly.
26
IBM
xSeries
236
Type
8841:
Option
Installation
Guide
Summary of Contents for 8841 - eServer xSeries 236
Page 1: ...IBM xSeries 236 Type 8841 Option Installation Guide ERserver...
Page 2: ......
Page 3: ...IBM xSeries 236 Type 8841 Option Installation Guide ERserver...
Page 22: ...10 IBM xSeries 236 Type 8841 Option Installation Guide...
Page 64: ...52 IBM xSeries 236 Type 8841 Option Installation Guide...
Page 73: ......
Page 74: ...Part Number 31R1191 Printed in USA 1P P N 31R1191...


