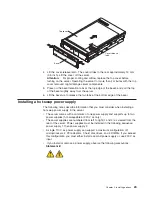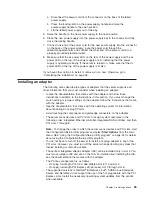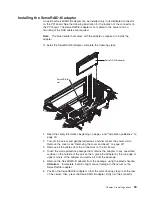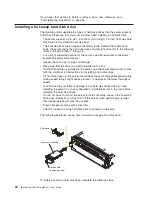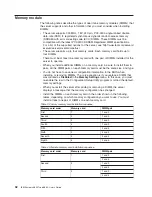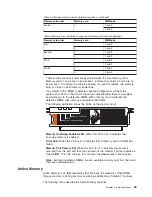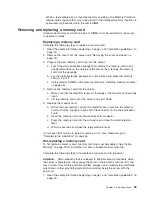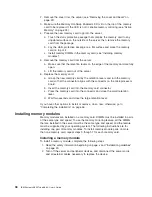
2.
Remove
the
cover
from
the
server
(see
“Removing
the
cover
and
bezel”
on
page
22).
3.
Make
sure
the
Memory
Hot-Swap
Enabled
LED
is
lit
on
the
top
of
the
memory
card
to
be
replaced.
If
the
LED
is
not
lit,
enable
memory
mirroring
(see
“Active
Memory”
on
page
33).
4.
Prepare
the
new
memory
card
to
go
into
the
server:
a.
Touch
the
static
protective
package
that
contains
the
memory
card
to
any
unpainted
surface
on
the
outside
of
the
server;
then,
remove
the
memory
card
from
the
package.
b.
Lay
the
static
protective
package
on
a
flat
surface
and
place
the
memory
card
on
top
of
it.
c.
Install
memory
DIMMs
in
the
memory
card
(see
“Installing
memory
modules”).
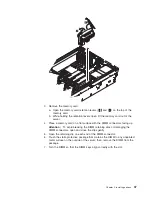
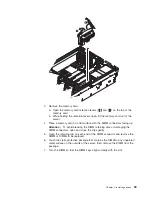
5.
Remove
the
memory
card
from
the
server:
a.
Make
sure
that
the
retention
levers
on
the
edge
of
the
memory
card
are
fully
open.
b.
Lift
the
memory
card
out
of
the
server.
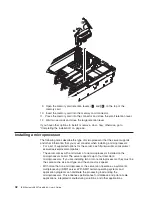
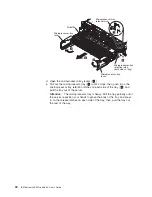
6.
Replace
the
memory
card:
a.
Grasp
the
new
memory
card
by
the
retention
levers
and
turn
the
memory
card
so
that
the
connector
aligns
with
the
connector
on
the
microprocessor
board.
b.
Insert
the
memory
card
into
the
memory
card
connector.
c.
Press
the
memory
card
into
the
connector
and
close
the
small
retention
lever.
d.
Wait
two
seconds
and
close
the
large
retention
lever.
If
you
have
other
options
to
install
or
remove,
do
so
now;
otherwise,
go
to
“Completing
the
installation”
on
page
46.
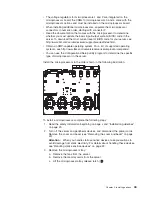
Installing
memory
modules
Memory
modules
are
installed
on
a
memory
card.
DIMMs
must
be
installed
in
pairs
of
the
same
type
and
speed.
To
use
the
memory
mirroring
feature,
all
the
DIMMs
that
are
installed
in
the
server
must
be
the
same
type
and
speed,
and
the
feature
must
be
supported
by
your
operating
system.
The
following
instructions
are
for
installing
one
pair
of
memory
modules.
To
install
memory-module
pairs
on
more
than
one
memory
card,
repeat
steps
3
though
7
for
each
memory
card.
Installing
a
memory
module
To
install
a
memory
module,
complete
the
following
steps:
1.
Read
the
safety
information
beginning
on
page
v
and
“Installation
guidelines”
on
page
20.
2.
Turn
off
the
server
and
peripheral
devices,
and
disconnect
the
power
cords
and
all
external
cables
necessary
to
replace
the
device.
36
IBM
System
x3850
Type
8864:
User’s
Guide
Summary of Contents for 88632SU
Page 1: ...IBM System x3850 Type 8864 User s Guide...
Page 2: ......
Page 3: ...IBM System x3850 Type 8864 User s Guide...
Page 26: ...14 IBM System x3850 Type 8864 User s Guide...
Page 62: ...50 IBM System x3850 Type 8864 User s Guide...
Page 88: ...76 IBM System x3850 Type 8864 User s Guide...
Page 90: ...78 IBM System x3850 Type 8864 User s Guide...
Page 99: ......
Page 100: ...Part Number 31R1881 Printed in USA 1P P N 31R1881...


