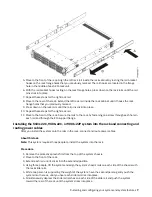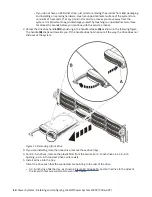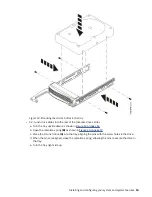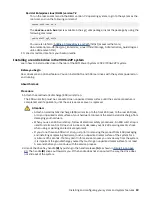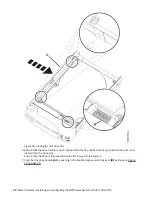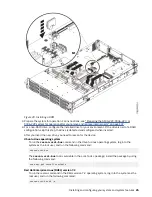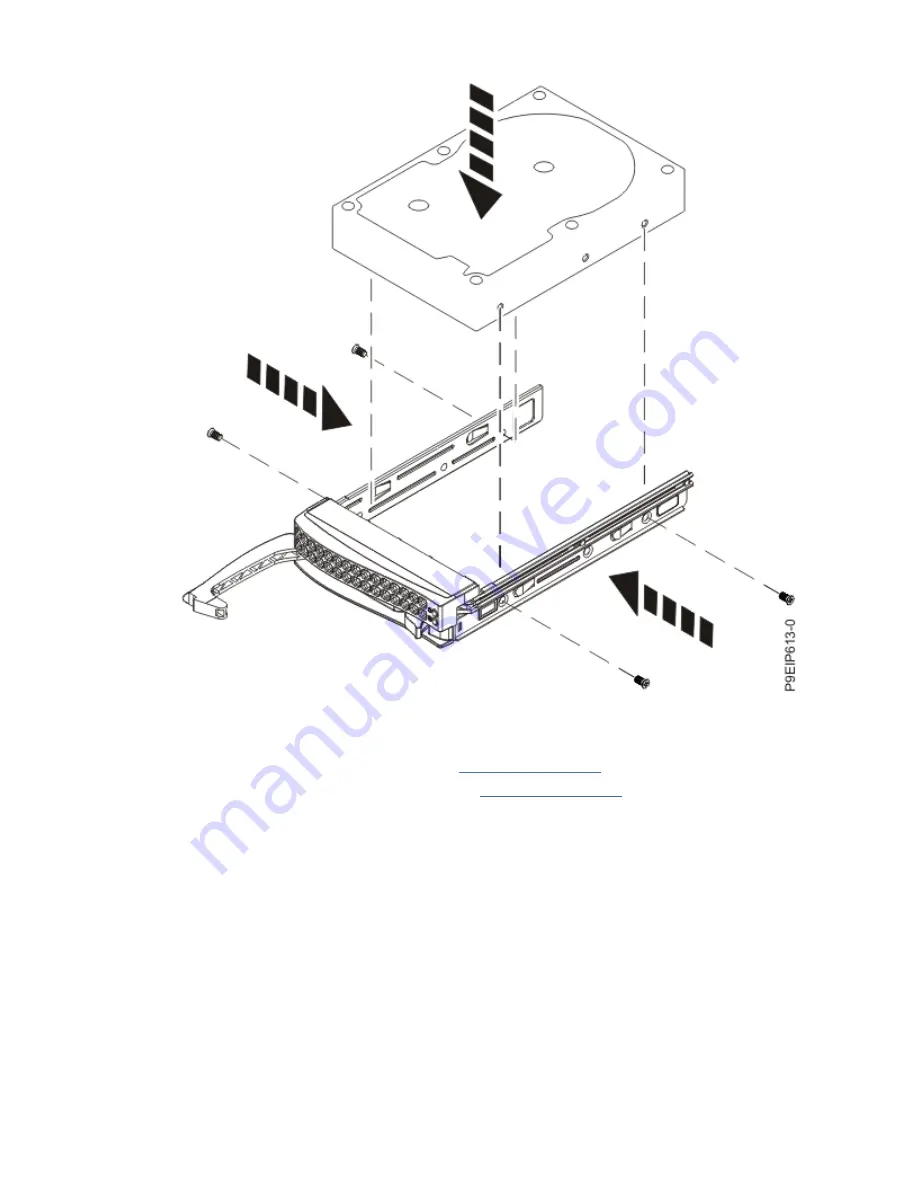
Figure 12. Mounting the 3.5-inch drive in the tray
• A 2.5-inch drive slides into the rear of the tool-less drive carrier.
a. Turn the tray upside down as shown in Figure 13 on page 16.
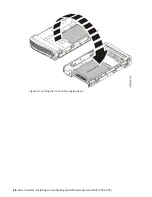
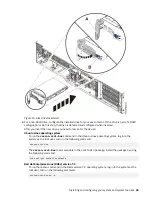
b. Open the retention spring (B) as shown in Figure 14 on page 17.
c. Place the 2.5-inch drive (A) into the tray, aligning the pins with the screw holes in the drive.
d. When the pins are aligned, close the retention spring, allowing the pins to secure the drive in
the tray.
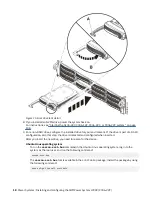
e. Turn the tray right side up.
Installing and configuring your system and system features 15
Summary of Contents for 9006-22C
Page 1: ...Power Systems Installing and configuring the IBM Power System LC922 9006 22P IBM...
Page 14: ...xiv Power Systems Installing and configuring the IBM Power System LC922 9006 22P...
Page 112: ...98 Power Systems Installing and configuring the IBM Power System LC922 9006 22P...
Page 120: ...or or or 106 Power Systems Installing and configuring the IBM Power System LC922 9006 22P...
Page 136: ...122 Power Systems Installing and configuring the IBM Power System LC922 9006 22P...
Page 147: ......
Page 148: ...IBM...

