28
User Guide
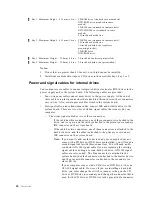
5.
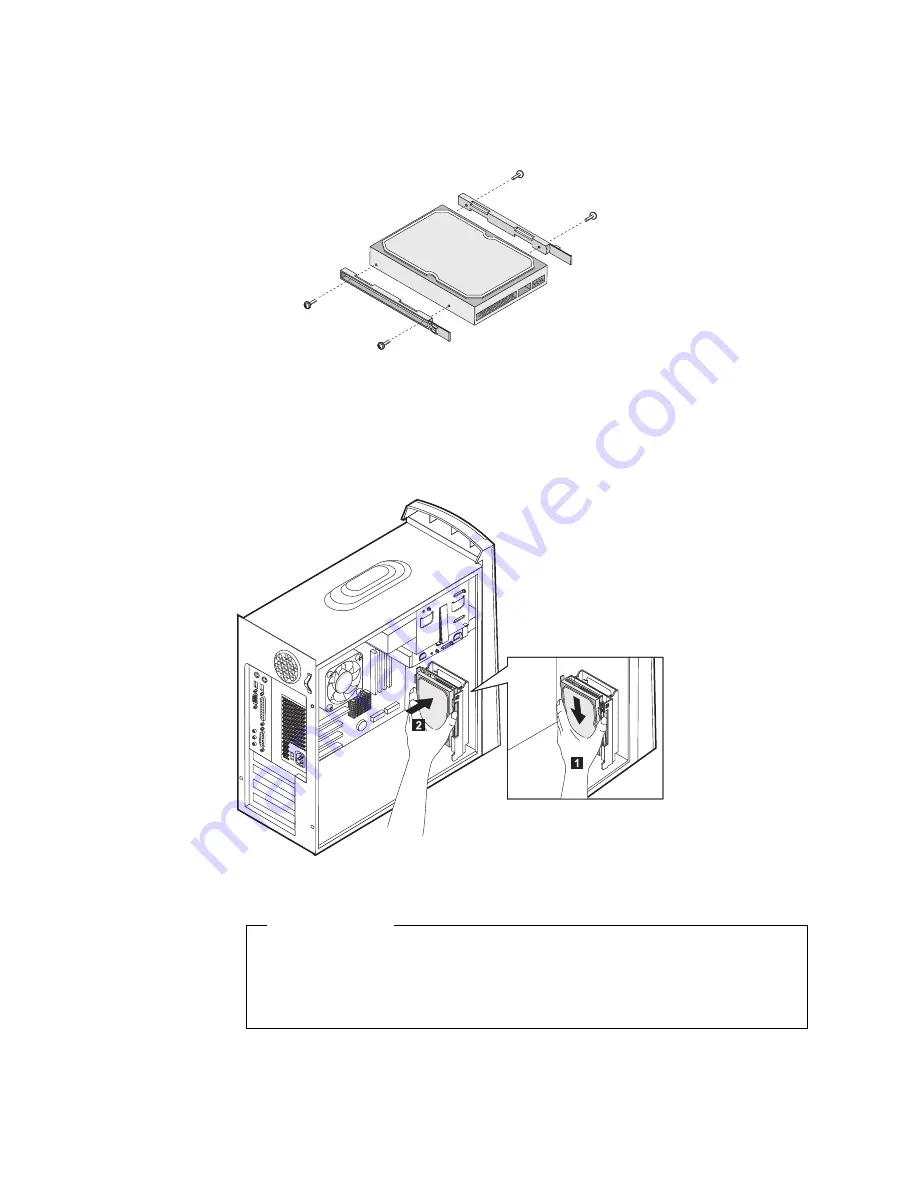
Remove the four screws that secure the rails to the hard disk drive being
removed.
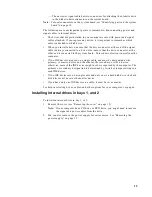
6.
Mount the rails to the hard disk drive being installed and secure it with the
screws.
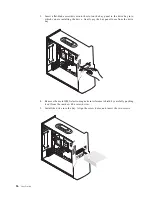
7.
Reinstall the hard disk drive into the drive cage until it snaps into place.
8.
Connect the cables to the drive being installed.
•
To work with another option, go to the appropriate section.
•
To complete the installation, go to “Replacing the cover and connecting the
cables” on page 30.
What to do next
Summary of Contents for A60 Type 6833
Page 1: ...IBM NetVista User Guide A60 Type 6833 A60i Type 6832...
Page 2: ......
Page 3: ...IBM NetVista User Guide A60 Type 6833 A60i Type 6832...
Page 6: ...vi User Guide...
Page 20: ...8 User Guide...
Page 44: ...32 User Guide...
Page 48: ...36 User Guide...
Page 50: ...38 User Guide...
Page 56: ...44 User Guide...
Page 57: ......


