3.
Adjust both the short and long brackets to the proper distance so that the rail can fit snugly into the
rack.
4.
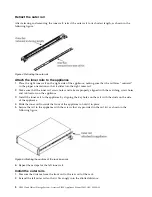
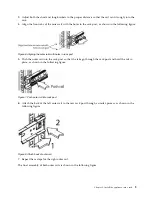
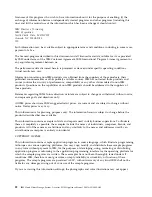
Align the front tabs of the outer rail with the holes in the rack post, as shown in the following figure.
5.
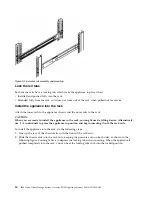
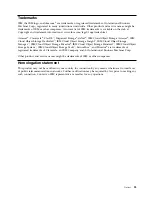
Push the outer rail into the rack post so that the tabs go through the rack post and hold the rail in
place, as shown in the following figure.
6.
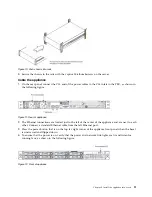
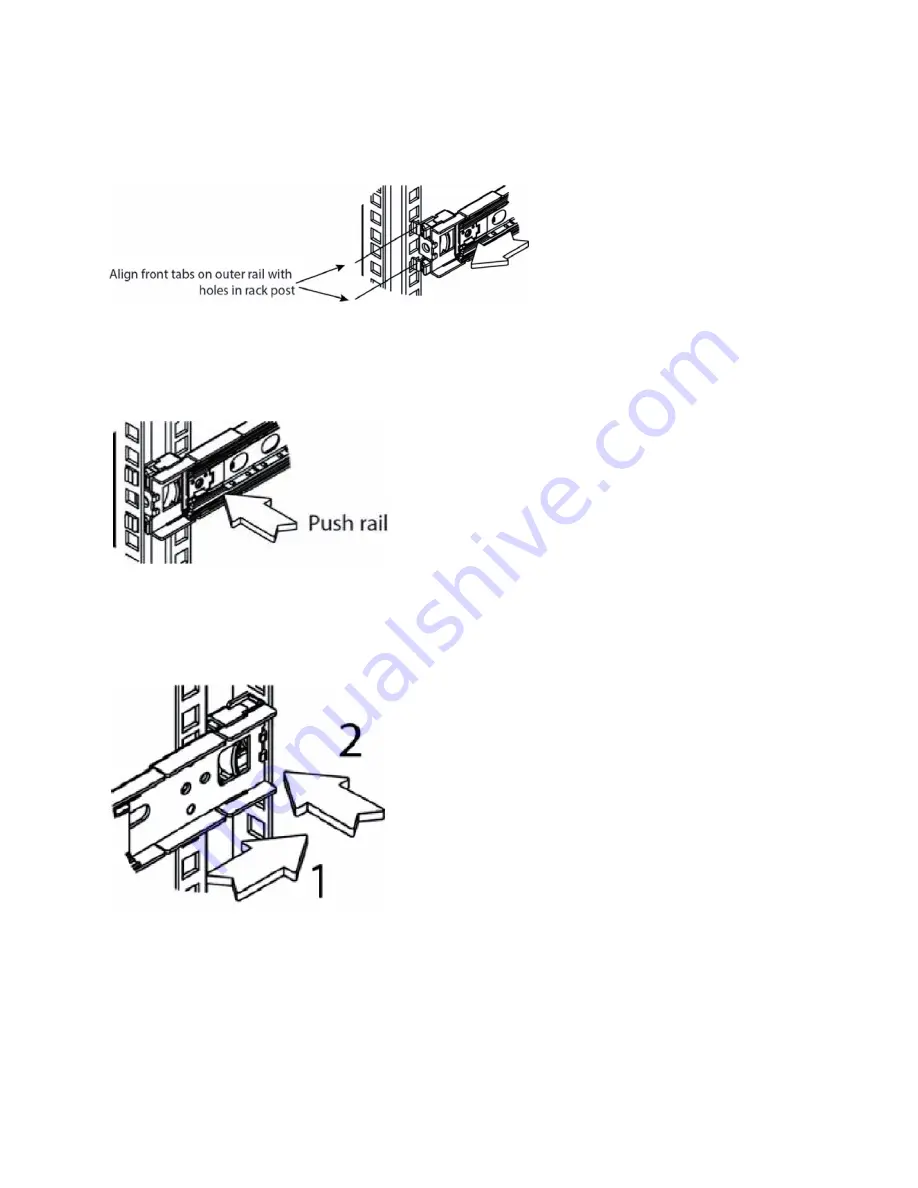
Attach the back of the left outer rail to the rear rack post through a similar process, as shown in the
following figure.
7.
Repeat these steps for the right outer rail.
The final assembly of both outer rails is shown in the following figure.
Figure 6. Aligning the outer rails with holes in rack post
Figure 7. Push outer rail into rack post
Figure 8. Attach back of outer rail
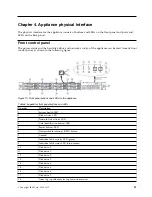
Chapter 3. Install the appliance into a rack
9
Summary of Contents for Accesser F5100 3401-A02
Page 4: ...iv IBM Cloud Object Storage System Accesser F5100 Appliance Manual 3401 A02 3403 A02...
Page 6: ...vi IBM Cloud Object Storage System Accesser F5100 Appliance Manual 3401 A02 3403 A02...
Page 8: ...viii IBM Cloud Object Storage System Accesser F5100 Appliance Manual 3401 A02 3403 A02...
Page 14: ...xiv IBM Cloud Object Storage System Accesser F5100 Appliance Manual 3401 A02 3403 A02...
Page 16: ...xvi IBM Cloud Object Storage System Accesser F5100 Appliance Manual 3401 A02 3403 A02...
Page 28: ...12 IBM Cloud Object Storage System Accesser F5100 Appliance Manual 3401 A02 3403 A02...
Page 40: ...24 IBM Cloud Object Storage System Accesser F5100 Appliance Manual 3401 A02 3403 A02...
Page 41: ......
Page 42: ...IBM Printed in USA...

