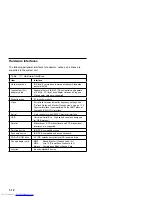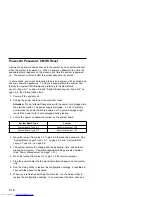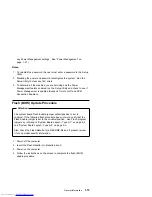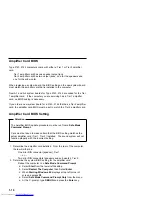
f. At the dash “-” prompt, Type d fffa:0 , then press the Enter
key.
g. The right side of the screen will display the Serial Number
(23AXXXX), Tier audio card, TIERx_AUDIO, and system model
number (214X).
h. The “x” in the TIERx_AUDIO denotes the Tier card the
computer is set to use.
3. If the amplifier card installed matches the type listed in step 2, no action
is required.
4. If the amplifier card installed does not match the type listed in step 2,
you must run the appropriate update to match the amplifier card to the
system board.
Updating Amplifier Card BIOS
To update the amplifier card BIOS:
1. Insert the Diagnostics and Utilities CD in the CD/DVD-ROM drive.
2. Power-off, then power-on the system unit.
3. When the Aptiva Diagnostics and Utilities Menu appears, depress the
Zero key to select the DOS screen. The A drive prompt will appear.
4. Select the CD/DVD-ROM drive (the CD/DVD-ROM drive default is G:).
5. At the G: prompt, type:
CD\DISK\CRYSTAL\CLYDE\RCAND15\INSTALL\DISK0
then press the Enter key.
6. If a Tier 1 amplifier card is installed in the computer, type TIER1.BAT at
the DOS command prompt.
7. If a Tier 2 amplifier card is installed in the computer, type TIER2.BAT at
the DOS command prompt.
8. If the system monitor is not a Type 2116 (MM55) or Type 2128 (MM75),
type TIER0.BAT at the DOS command prompt.
Attention
Type 2140, 2142 computers are designed for use with the MM55 or
MM75 monitors only. The use of a different monitor might cause
sound and functionality problems.
9. Remove the Diagnostics and Utilities CD from the CD/DVD-ROM drive
and restart the computer.
10. Go to “Amplifier Card BIOS Setting” on page 1-16 to verify the setting
matches the amplifier card installed in the computer.
General Information
1-17
Get user manuals:
Summary of Contents for Aptiva 2140
Page 2: ...Get user manuals See SafeManuals com...
Page 8: ...vi Get user manuals See SafeManuals com...
Page 24: ...xxii Get user manuals See SafeManuals com...
Page 26: ...xxiv Get user manuals See SafeManuals com...
Page 128: ...3 14 Get user manuals See SafeManuals com...
Page 134: ...Figure 4 2 3 5 In Cage 4 6 Get user manuals See SafeManuals com...
Page 136: ...JP7 JP6 JP4 J2 J1 Figure 4 4 Console cable removal 4 8 Get user manuals See SafeManuals com...
Page 138: ...Figure 4 7 Removing the console 4 10 Get user manuals See SafeManuals com...
Page 170: ...6 2 Get user manuals See SafeManuals com...
Page 196: ...8 4 Get user manuals See SafeManuals com...
Page 206: ...B 8 Get user manuals See SafeManuals com...


