100
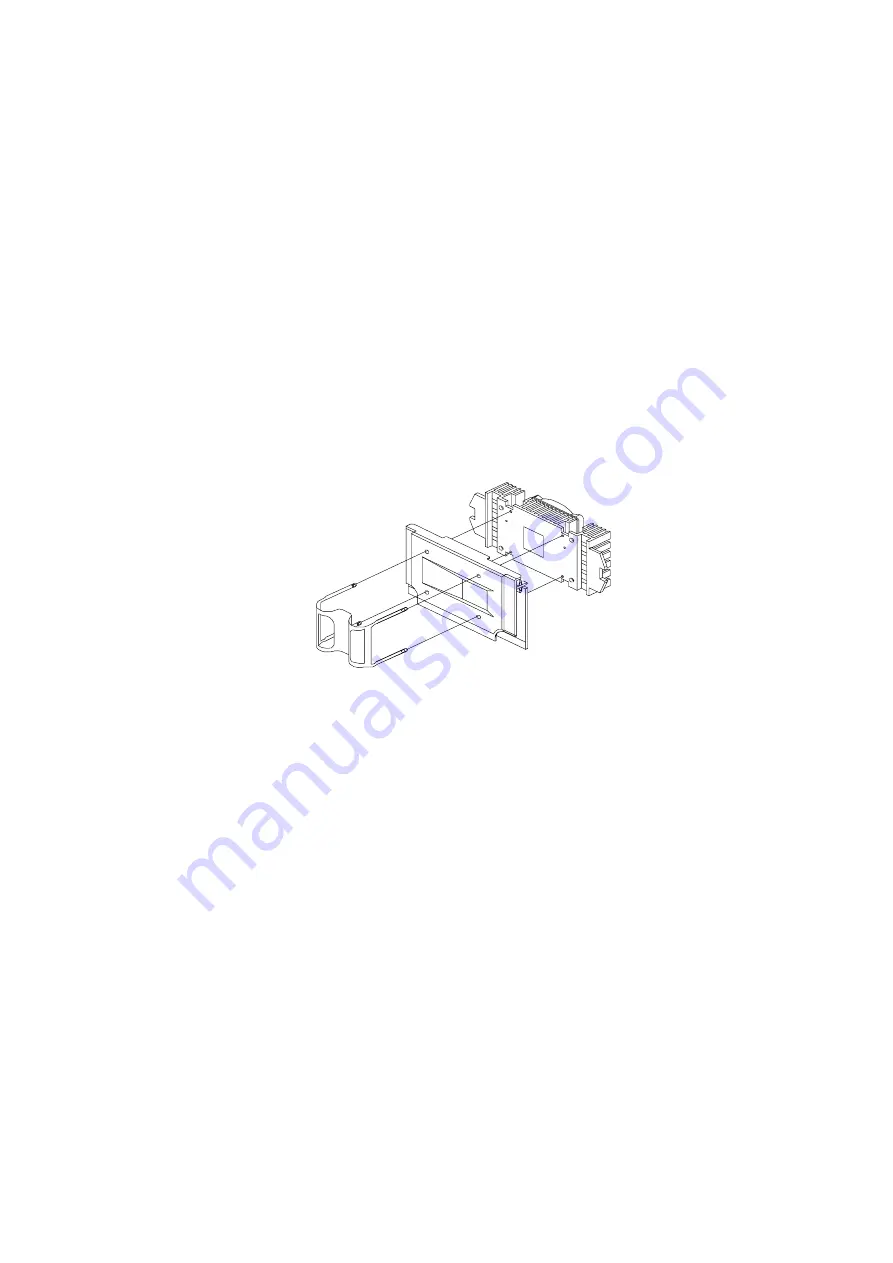
processor are wider and should match the wider ends of the clips on the heat
sink. The lower set of holes are smaller and should match the narrow ends of
the heat sink clips.
SECC2 Package Installation
Follow these steps when installing the heat sink and fan to the Pentium III
processor module:
•
Remove the thermal tape protector at the back of the fan sink.
•
Attach the fan sink to the PC board side of the Pentium III processor.
•
Press the fastener towards the fan sink side to lock the fan sink.
.
Summary of Contents for Aptiva 2170
Page 8: ...VI...
Page 14: ...VI...
Page 15: ...Notices VII...
Page 16: ...VIII...
Page 17: ...Notices IX...
Page 18: ...X...
Page 26: ...XVIII...
Page 27: ...Notices XIX...
Page 28: ...XX...
Page 101: ...Check Procedures 67 009 Replace the powersupply End...
Page 106: ...72...
Page 114: ...80...
Page 126: ...92 Front Panel...
Page 137: ...Repair Information 103 For Celeron CPU with FanSink...
Page 167: ...133 For Celeron CPU with FanSink...
Page 178: ...144...
Page 196: ...162 Nvidia M64 w TV Out 32MB Nvidia NV10 w TV Out 32MB...
Page 215: ...Copyright IBM Corp 1998 181 Safety Inspection Guide General Guidelines 182...
Page 240: ...206...
Page 250: ...216 USB Legacy Mode 20 USB 20 V Voltage Supply Switch Settings I W Weight 27...
Page 252: ......


