168
ATTENTION: Make sure to turn off the power before manual disc eject
operation.
4
Headphone volume control
5
Emergency eject hole.
See CD-ROM Emergency-exit <option 1> below.
Disc tray and emergency eject
See CD-ROM Emergency-exit <option 2> below.
6
Audio Play
/
Skip track control button
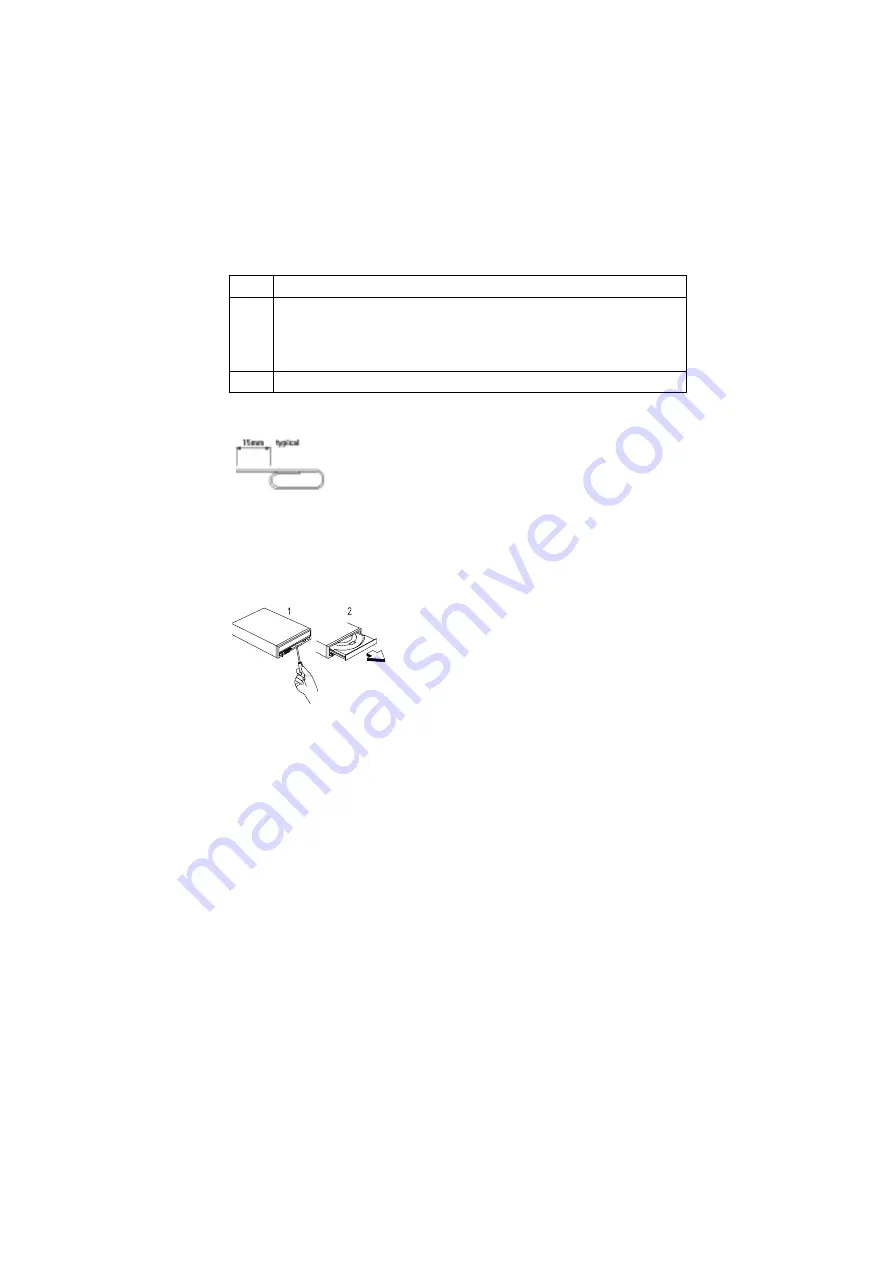
CD-ROM Emergency-exit <option 1>
If for any reason the tray does not eject automatically, insert
and press an eject-bar inside the emergency eject hole to
manually eject the tray. A straightened paper clip with a
diameter of 1.2 mm (typical) can be used as an eject-bar.
CD-ROM Emergency-exit <option 2>
Locate the bottom edge of the disc tray. Gently
pry the disk tray open with a screwdriver.
When the disc tray opens, simply remove the
disc from the CD-ROM drive.
CD-ROM Front Panel Introduction
Summary of Contents for Aptiva 2170
Page 8: ...VI...
Page 14: ...VI...
Page 15: ...Notices VII...
Page 16: ...VIII...
Page 17: ...Notices IX...
Page 18: ...X...
Page 26: ...XVIII...
Page 27: ...Notices XIX...
Page 28: ...XX...
Page 101: ...Check Procedures 67 009 Replace the powersupply End...
Page 106: ...72...
Page 114: ...80...
Page 126: ...92 Front Panel...
Page 137: ...Repair Information 103 For Celeron CPU with FanSink...
Page 167: ...133 For Celeron CPU with FanSink...
Page 178: ...144...
Page 196: ...162 Nvidia M64 w TV Out 32MB Nvidia NV10 w TV Out 32MB...
Page 215: ...Copyright IBM Corp 1998 181 Safety Inspection Guide General Guidelines 182...
Page 240: ...206...
Page 250: ...216 USB Legacy Mode 20 USB 20 V Voltage Supply Switch Settings I W Weight 27...
Page 252: ......


