| Set up HST Server for Node API |
285
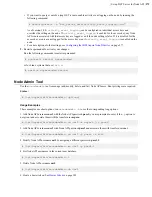
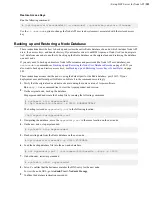
Organization Name (eg, company) [Internet Widgits Pty Ltd]:Your_Company
Organizational Unit Name (eg, section) []:Your_Department
Common Name (i.e., your server's hostname) []:secure.yourwebsite.com
Email Address []:johndoe@yourwebsite.com
You are also prompted to input "extra" attributes, including an optional
challenge password
.
Note:
Manually entering a challenge password when starting the server can be problematic in some situations, for
example, when starting the server from the system boot scripts. Skip entering a challenge password by pressing
Enter
.
...
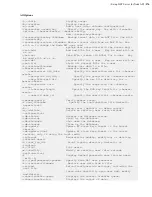
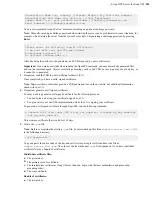
Please enter the following 'extra' attributes
to be sent with your certificate request
A challenge password []:
An optional company name []:
After finalizing the attributes, the private key and CSR are saved to your root directory.
Important:
If you make a mistake when running the OpenSSL command, you may discard the generated files
and run the command again. After successfully generating your key and CSR, be sure to guard your private key, as
it cannot be re-generated.
3.
If required, send the CSR to your Certifying Authority (CA).
Once completed, you have a valid, signed certificate.
Note:
Some certificate authorities provide a CSR generation tool on their website. For additional information,
check with your CA.
4.
If required, generate a self-signed certificate.
You may need to generate a self-signed certificate for the following reasons:
• You don't plan on having your certificate signed by a CA.
• You plan to test your new SSL implementation while the CA is signing your certificate.
To generate a self-signed certificate through OpenSSL, run the following command:
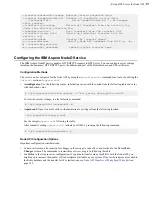
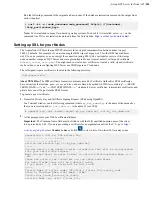
# openssl x509 -req -days 365 -in
my_csr_name
.csr -signkey
my_key_name
.key
-out
my_cert_name
.crt
This creates a certificate that is valid for 365 days.
5.
Create the
.pem
file.
Note:
Before overwriting the existing
.pem
file, be sure to back up this file as
aspera_server_cert.old
),
in the following directory:
/opt/aspera/etc/
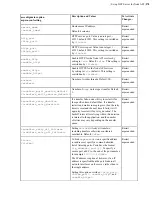
Copy and paste the entire body of the key and cert files into a single text file and save the file as
aspera_server_cert.pem
. The order of the text in the new
.pem
file depends on if you have individual
certificate files or a bundle of certificates.
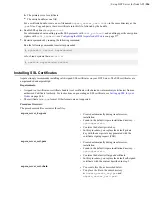
Individual certificate files:
a.
The private key.
b.
The primary server's certificate.
c.
The intermediate certificates, if any (if more than one, begin with the least authoritative and proceed in
ascending order).
d.
The root certificate.
Bundle of certificates:
a.
The private key.

