| Authentication and Authorization |
293
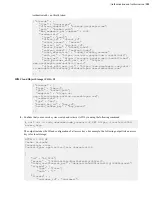
},
{
"destination" : "/archive/monday/texts/next_thing"
"source" : "/monday/next_thing.txt",
},
{
"destination" : "/archive/monday/texts/last_thing",
"source" : "/monday/last_thing.txt"
}
]
}
}
]
}
To use this file in the curl command, specify the path to the file in the
-d
option, as follows:
-d @upload_setup.json
Download token
The method for generating a download token is the same as for an upload token, except that you use the
/files/
download_setup
(or
/node_api/files/download_setup
in the case of Shares) endpoint.
Using Transfer Tokens in the Command Line
Once the token is generated, it can be used to authorize
FASP
transfers by setting the
ASPERA_SCP_TOKEN
environment variable or using the
-W
option for
ascp
and
async
sessions.
Transfer Token Generation (astokengen)
The
astokengen
command line tool enables users to generate and decode transfer tokens. Unless you are creating
a transfer token for an Ascp 4 session, which requires that you use
astokengen
with the
--full-paths
option,
Aspera recommends using the Node API tool to work with transfer tokens as it provides more functionality. For
Transfer Token Creation (Node API)
on page 291. The Node API response includes FASP transfer
parameters and the token string, whereas
astokengen
generates only a specific type of token.
astokengen
is
most useful for decoding tokens during application development for debugging purposes.
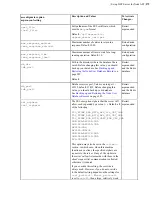
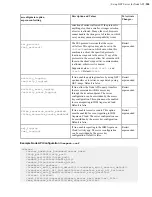
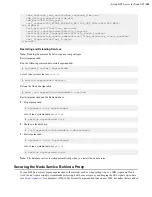
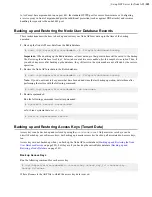
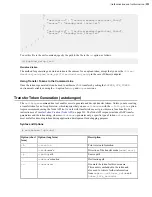
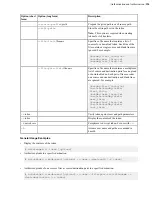
Syntax and Options
# astokengen [
options
]
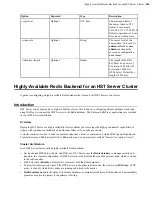
Option (short
form)
Option (long form)
Description
-A
--version
Print version information.
--mode=
mode
Direction of the transfer mode (
send
|
recv
)
-p
--path=
path
Source path
--dest=
destination
Destination path
-u
--user=
user
Generate the token for this user name.
This name is embedded in the token and
also used to retrieve further information
from
aspera.conf
(
user_value
and
token_life_seconds
).

