| Set up the HST Server Web UI |
22
2.
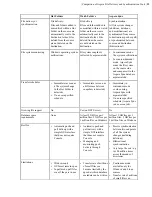
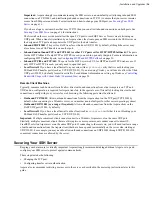
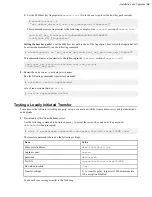
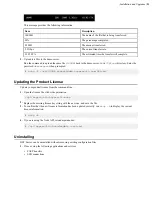
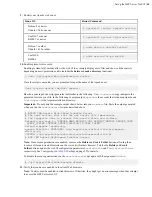
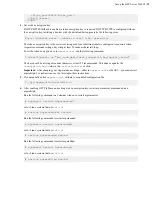
Uninstall HST Server by running the following command:
Platform
Command
RedHat, CentOS
# rpm -e aspera-entsrv
Debian
# dpkg -P aspera-entsrv
Note:
This process does not remove Aspera configuration files. If you reinstall an Aspera product, these
configuration files are applied to the new installation.
Set up the HST Server Web UI
The HST Server web UI offers a simple, web-based interface that clients can use to browse the area of the HST
Server file system to which they are permitted access, as well as upload and download content. Configure your system
to make the web UI accessible to clients.
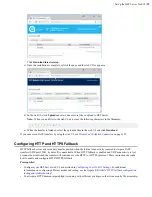
Configuring the Apache Server to Host the HST Server Web UI
The HST Server web UI is a web-based file server that enables clients to access the server file system through a web
browser, and transfers files using IBM Aspera Connect. You can set up HTTP fallback to establish HTTP- or HTTPS-
based file transfers with clients that don't have FASP connectivity.
These instructions describe how to configure your system's Apache server to host HST Server's web UI. The
Apache files might be located in different paths or your Apache server could require additional settings, depending
on your operating system's distribution and configuration. For additional information, see your operating system
documentation or contact Aspera
on page 353.
Note:
If HST Server and IBM Aspera Faspex versions 4.1.0 or newer are installed on the same computer, they cannot
use the same Apache.
1.
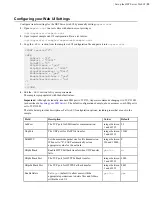
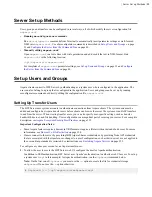
Locate and open your Apache configuration file.
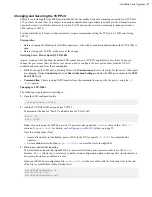
With administrative account access, open your Apache configuration file in a text editor from the following
location, depending on your operating system:
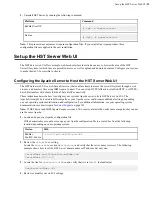
Version
Path
RedHat,
CentOS, Fedora
/etc/httpd/conf/httpd.conf
2.
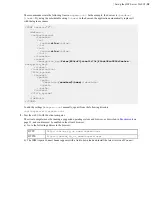
Review the
ServerName
setting.
Locate the
ServerName
section in
httpd.conf
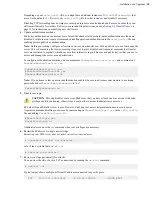
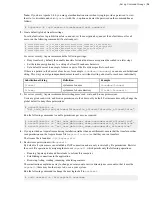
and verify that the server name is correct. The following
example shows how to set the HST Server domain name or IP address. Set only one.
ServerName
www.ConnectServerName.com
ServerName
10.0.0.1
3.
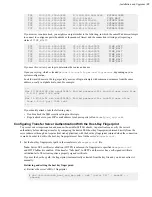
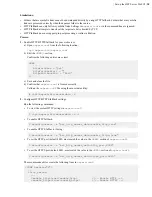
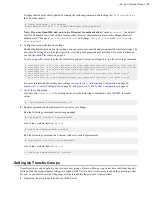
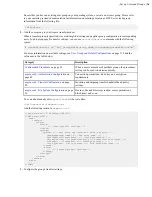
Locate the line for
UseCanonicalName
and verify that it is set to
off
(default value).
UseCanonicalName off
4.
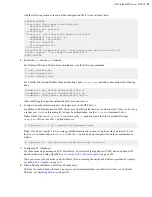
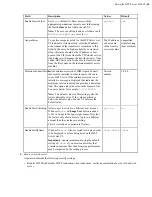
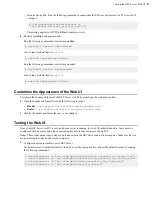
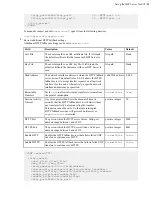
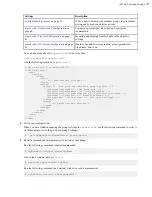
Review or modify your web UI settings.

