| Configure the Server from the Command Line |
58
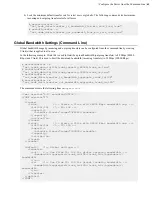
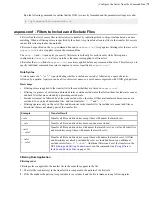
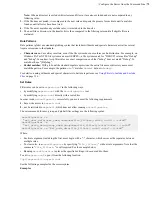
Run the following command to confirm that the XML is correctly formatted and the parameter settings are valid:
# /opt/aspera/bin/asuserdata -v
Controlling Bandwidth Usage with Virtual Links (Command Line)
FASP transfers attempt to transfer at the maximum transfer rate available. However, too many simultaneous transfers
can overwhelm your storage or leave little bandwidth available for other network activity. To set a bandwidth cap on
the total bandwidth used by incoming or outgoing transfer sessions initiated by all users, groups, or sets of specific
users, set up a virtual link (Vlink).
Vlinks are "virtual" bandwidth caps, in that they are not assigned to a specific transfer session, but to all sessions
assigned to the same Vlink. The total bandwidth that is used by all incoming or outgoing transfer sessions initiated by
users who are assigned to the same Vlink does not exceed the Vlink capacity.
For example, if you want to limit all incoming FASP transfers to 100 Mbps, you can create a Vlink with a 100 Mbps
capacity and assign it globally to all incoming transfers. If a user attempts an upload at 50 Mbps but other incoming
transfers are already using 75 Mbps, then the transfer rates adjust (based on transfer policy) so that the total does not
exceed 100 Mbps.
For another example, if you want to limit to 10 Mbps the total bandwidth that is used by outgoing FASP transfers
(downloads) that are initiated by three specific users, create a Vlink with a 10 Mbps capacity and assign it to outgoing
transfers for those three users. If the three users are running download sessions that already use 10 Mbps and another
download is started by one of the users, the transfer rates of all sessions adjust so that the total bandwidth use by
those users remains 10 Mbps. Transfers by other users that are not assigned the Vlink are not affected, except to use
available bandwidth when the Vlink capacity is not met.
1.
Create a Vlink.
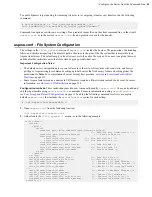
To create a Vlink, run the following command as administrator:
# asconfigurator -x
"set_trunk_data;id,
vlink_id
;trunk_capacity,
bandwidth
;trunk_on,true"
You can also specify a multicast port and time-to-live, among other settings. To see a complete list of parameters
with their corresponding
asconfigurator
commands, run the following command:
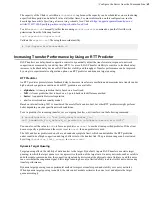
# /opt/aspera/bin/asuserdata -+
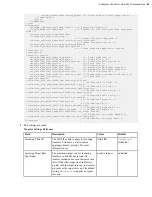
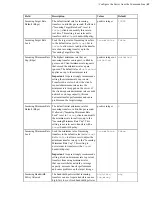
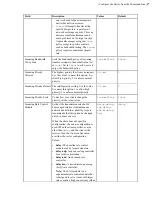
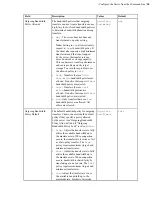
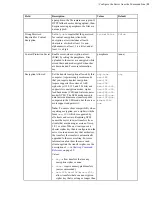
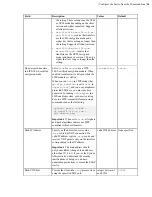
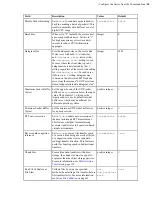
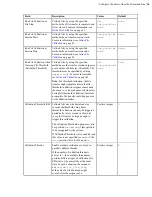
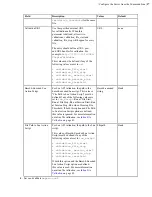
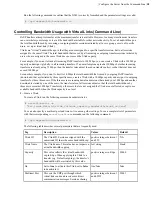
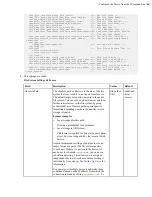
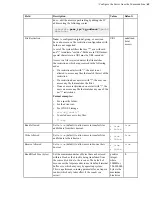
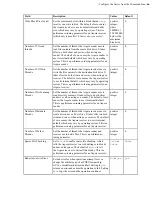
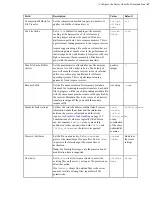
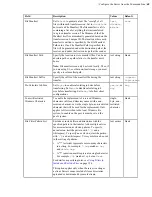
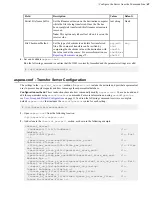
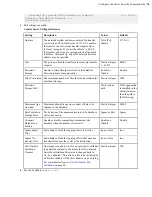
The following table describes several parameters that are frequently used:
Tag
Description
Values
Default
Vlink ID
The Vlink ID. Sessions assigned with the
same trunk ID share the same bandwidth cap.
positive integer between 1
and 255.
N/A
Vlink Name
The Vlink name. This value has no impact on
actual bandwidth capping.
text string
blank
Capacity
This value reflects the virtual bandwidth
cap in Kbps. When applying this Vlink to a
transfer (e.g. Default outgoing), the transfer's
bandwidth will be restricted by this value.
positive integer in Kbps
50000
On
Set to
true
to activate this Vlink; set to
false
to deactivate it.
true/false
false
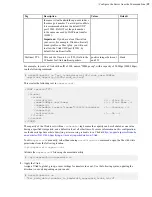
Multicast Port
This sets the UDP port through which
virtual link sends and receives multicast
communication messages. Sessions sharing
positive integer between 1
and 65535
55001

