


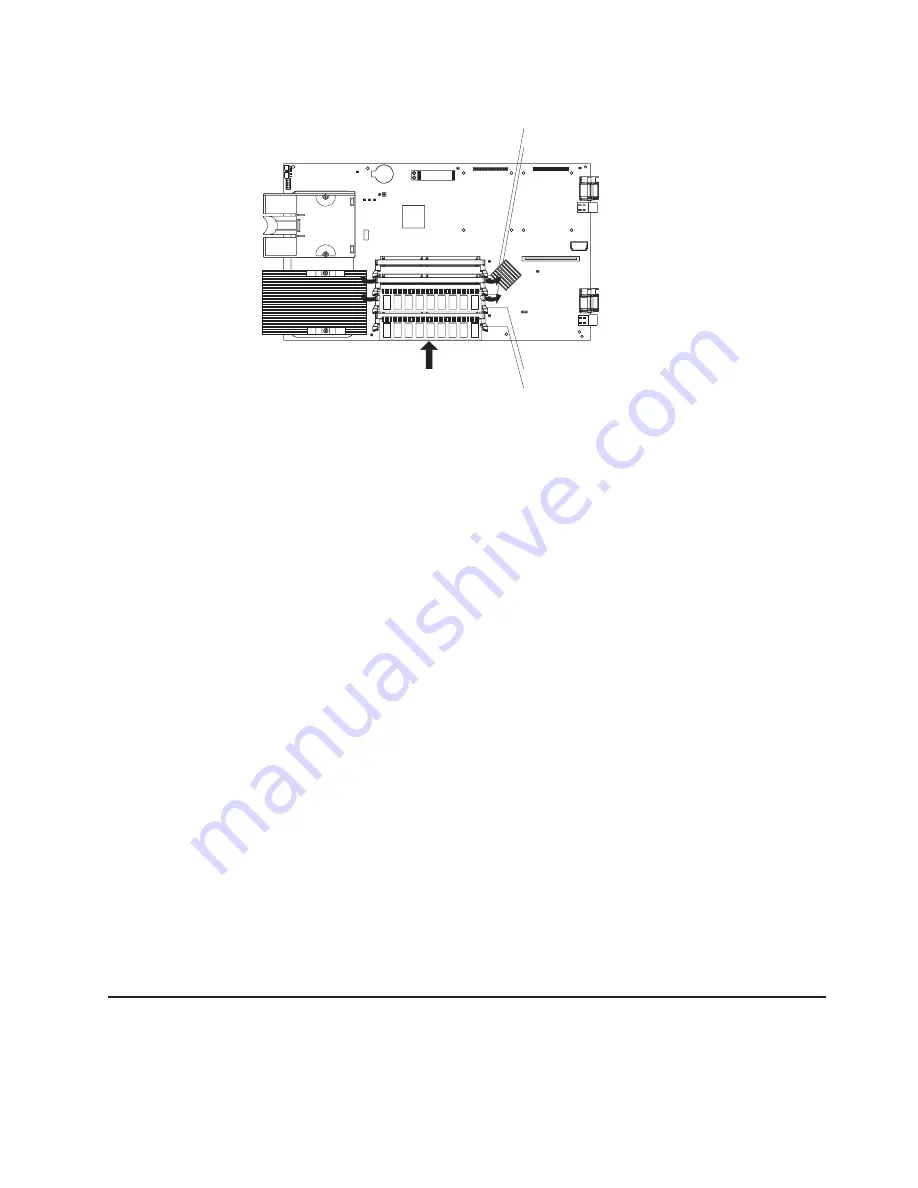
The following illustration shows how to install DIMMs on the system board.
DIMM socket 1 (J1)
DIMM socket 2 (J5)
DIMM socket 3 (J2)
DIMM socket 4 (J6)
Before you begin, read the documentation that comes with your option.
Complete the following steps to install a DIMM:
1. Review the information in “Safety” beginning on page vii and “Installation
guidelines” on page 19.
2. Shut down the operating system, turn off the blade server, and remove the
blade server from the BladeCenter unit. See “Removing the blade server from
the BladeCenter unit” on page 20 for instructions.
3. Carefully lay the blade server on a flat, non-conductive surface.
4. Open the blade server cover. See “Opening the blade server cover” on page 21
for instructions.
5. Locate the DIMM connectors on the system board. Determine the connectors
into which you will install the DIMMs. (See note 3 on page 24.)
6. Touch the static-protective package that contains the DIMM option to any
unpainted
metal surface on the BladeCenter chassis or any
unpainted
surface
on any other grounded rack component. Then, remove the DIMM from the
package.
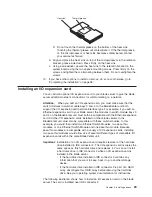
7. To install the DIMMs, repeat the following steps for each DIMM that you install:
a. Turn the DIMM so that the DIMM keys align correctly with the connector on
the system board.
Attention:
To avoid breaking the retaining clips or damaging the DIMM
connectors, handle the clips gently.
b. Insert the DIMM by pressing the DIMM along the guides into the connector.
Be sure that the retaining clips snap into the closed positions.
Important:
If there is a gap between the DIMM and the retaining clips, the
DIMM has not been properly installed. In this case, open the retaining clips
and remove the DIMM; then, reinsert the DIMM.
8. If you have other options to install or remove, do so now; otherwise, go to
“Completing the installation” on page 38.
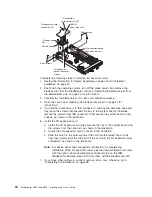
Installing an additional microprocessor
Your blade server comes with one or two microprocessors installed on the system
board. Your blade server supports two microprocessors. With two microprocessors,
your blade server can operate as a symmetric multiprocessing (SMP) server. With
SMP, certain operating systems and application programs can distribute the
Chapter 3. Installing options
25
Summary of Contents for BladeCanter HS20
Page 3: ...BladeCenter HS20 Type 8832 Installation and User s Guide ERserver...
Page 7: ...Japanese Voluntary Control Council for Interference VCCI statement 83 Index 85 Contents v...
Page 8: ...vi BladeCenter HS20 Type 8832 Installation and User s Guide...
Page 14: ...xii BladeCenter HS20 Type 8832 Installation and User s Guide...
Page 26: ...12 BladeCenter HS20 Type 8832 Installation and User s Guide...
Page 32: ...18 BladeCenter HS20 Type 8832 Installation and User s Guide...
Page 58: ...44 BladeCenter HS20 Type 8832 Installation and User s Guide...
Page 66: ...52 BladeCenter HS20 Type 8832 Installation and User s Guide...
Page 68: ...54 BladeCenter HS20 Type 8832 Installation and User s Guide...
Page 98: ...84 BladeCenter HS20 Type 8832 Installation and User s Guide...
Page 102: ...88 BladeCenter HS20 Type 8832 Installation and User s Guide...
Page 103: ......
Page 104: ...Part Number 59P6556 Printed in U S A 1P P N 59P6556...


