


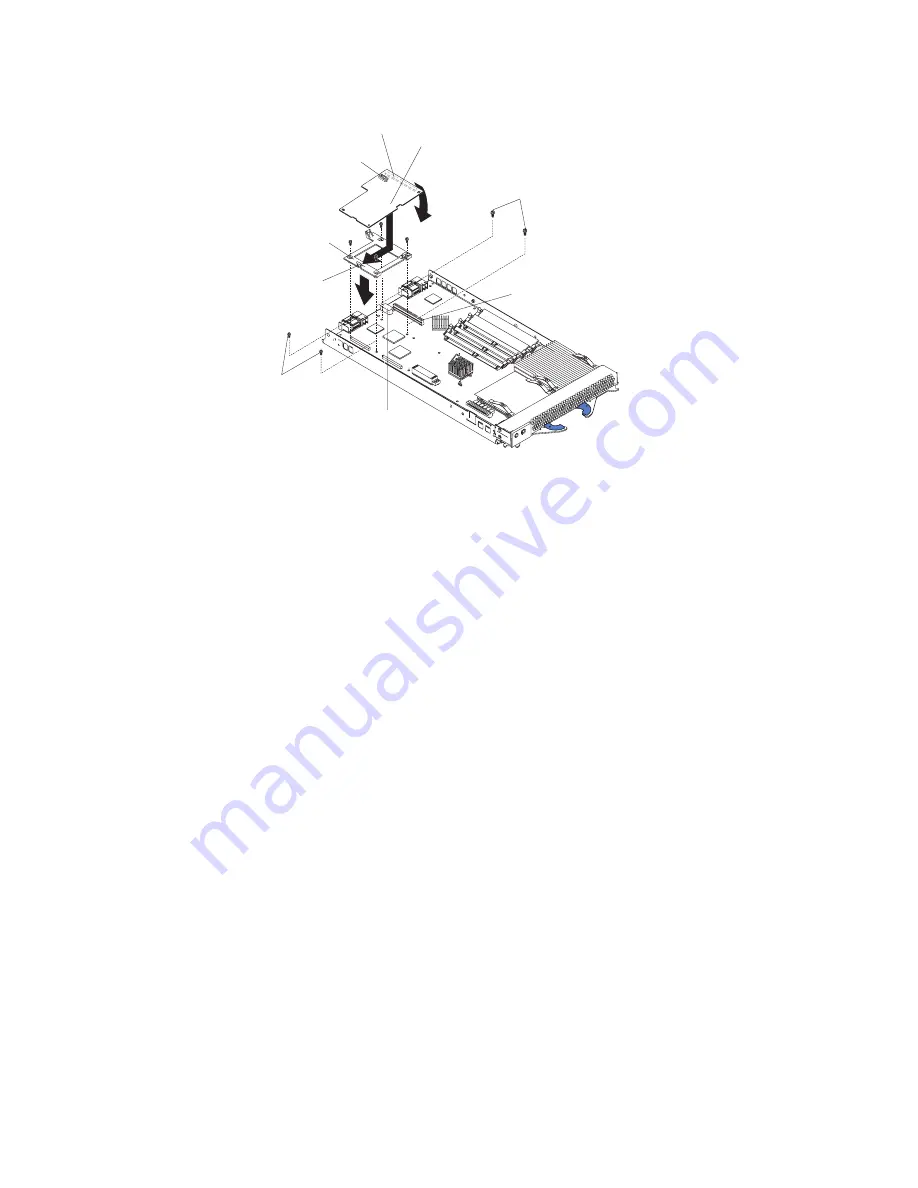
I/O expansion option
connector (server)
I/O expansion
tray
IBM I/O
expansion card
I/O expansion
card connector (J3)
I/O expansion card
connector (J2)
I/O expansion
option connector
(server)
Raised hook
Short screws
Short screws
Complete the following steps to install an I/O expansion card:
1. Review the information in “Safety” beginning on page vii and “Installation
guidelines” on page 19.
2. Shut down the operating system, turn off the blade server, and remove the
blade server from the BladeCenter unit (see “Removing the blade server from
the BladeCenter unit” on page 20 for information).
3. Carefully lay the blade server on a flat, non-conductive surface.
4. Open the cover (see “Opening the blade server cover” on page 21 for
instructions).
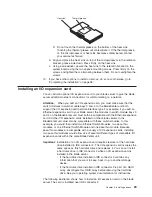
5. If an IDE hard disk drive is in IDE connector 2, remove the hard disk drive and
tray (save the screws that secured the tray to the system board); otherwise,
remove the screws near IDE connector 2 that secure the system board to the
chassis, as shown in the illustration.
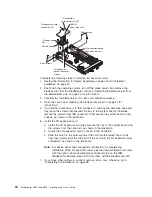
6. Install the I/O expansion card:
a. Install the I/O expansion card tray. Secure the tray to the system board with
the screws from the option kit, as shown in the illustration.
b. Orient the I/O expansion card as shown in the illustration.
c. Slide the notch in the narrow end of the card into the raised hook on the
tray; then, gently pivot the wide end of the card into the I/O expansion card
connectors, as shown in the illustration.
Note:
For device driver and configuration information to complete the
installation of the I/O expansion card, see the documentation that comes
with the option. Some documentation might also be on the IBM
BladeCenter Documentation
CD that comes with the BladeCenter unit.
7. If you have other options to install or remove, do so now; otherwise, go to
“Completing the installation” on page 38.
30
BladeCenter HS20 Type 8832: Installation and User’s Guide
Summary of Contents for BladeCanter HS20
Page 3: ...BladeCenter HS20 Type 8832 Installation and User s Guide ERserver...
Page 7: ...Japanese Voluntary Control Council for Interference VCCI statement 83 Index 85 Contents v...
Page 8: ...vi BladeCenter HS20 Type 8832 Installation and User s Guide...
Page 14: ...xii BladeCenter HS20 Type 8832 Installation and User s Guide...
Page 26: ...12 BladeCenter HS20 Type 8832 Installation and User s Guide...
Page 32: ...18 BladeCenter HS20 Type 8832 Installation and User s Guide...
Page 58: ...44 BladeCenter HS20 Type 8832 Installation and User s Guide...
Page 66: ...52 BladeCenter HS20 Type 8832 Installation and User s Guide...
Page 68: ...54 BladeCenter HS20 Type 8832 Installation and User s Guide...
Page 98: ...84 BladeCenter HS20 Type 8832 Installation and User s Guide...
Page 102: ...88 BladeCenter HS20 Type 8832 Installation and User s Guide...
Page 103: ......
Page 104: ...Part Number 59P6556 Printed in U S A 1P P N 59P6556...


