


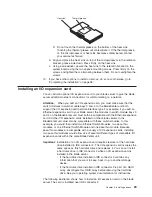


Use the Configuration/Setup Utility program in the blade server to enable or disable
the SCSI controller in the storage expansion unit. See the documentation that
comes with the storage expansion unit for information about configuring the storage
expansion unit and SCSI hard disk drives.
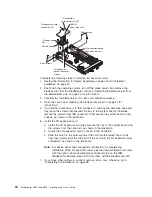
Installing a SCSI hot-swap hard disk drive
If you have installed a SCSI storage expansion unit on the blade server, you can
install up to two SCSI hot-swap hard disk drives in the bays in the expansion unit.
If a hot-swap hard disk drive in the expansion unit fails, you can replace it without
turning off the blade server. Therefore, you have the advantage of continuing to
operate your blade server while a hard disk drive in this unit is removed or installed.
Each hot-swap hard disk drive has two indicator LEDs. If the amber hard disk drive
status LED for a hard disk drive is lit continuously, that hard disk drive is faulty and
must be replaced.
Each hot-swap hard disk drive that you plan to install must be mounted in a
hot-swap-drive tray. The hard disk drive must have a Single Connector Attachment
(SCA) connector. Hot-swap-drive trays come with the hot-swap hard disk drives.
For a list of SCSI hard disk drives supported by your blade server, go to the
ServerProven list at http://www.ibm.com/pc/us/compat/.
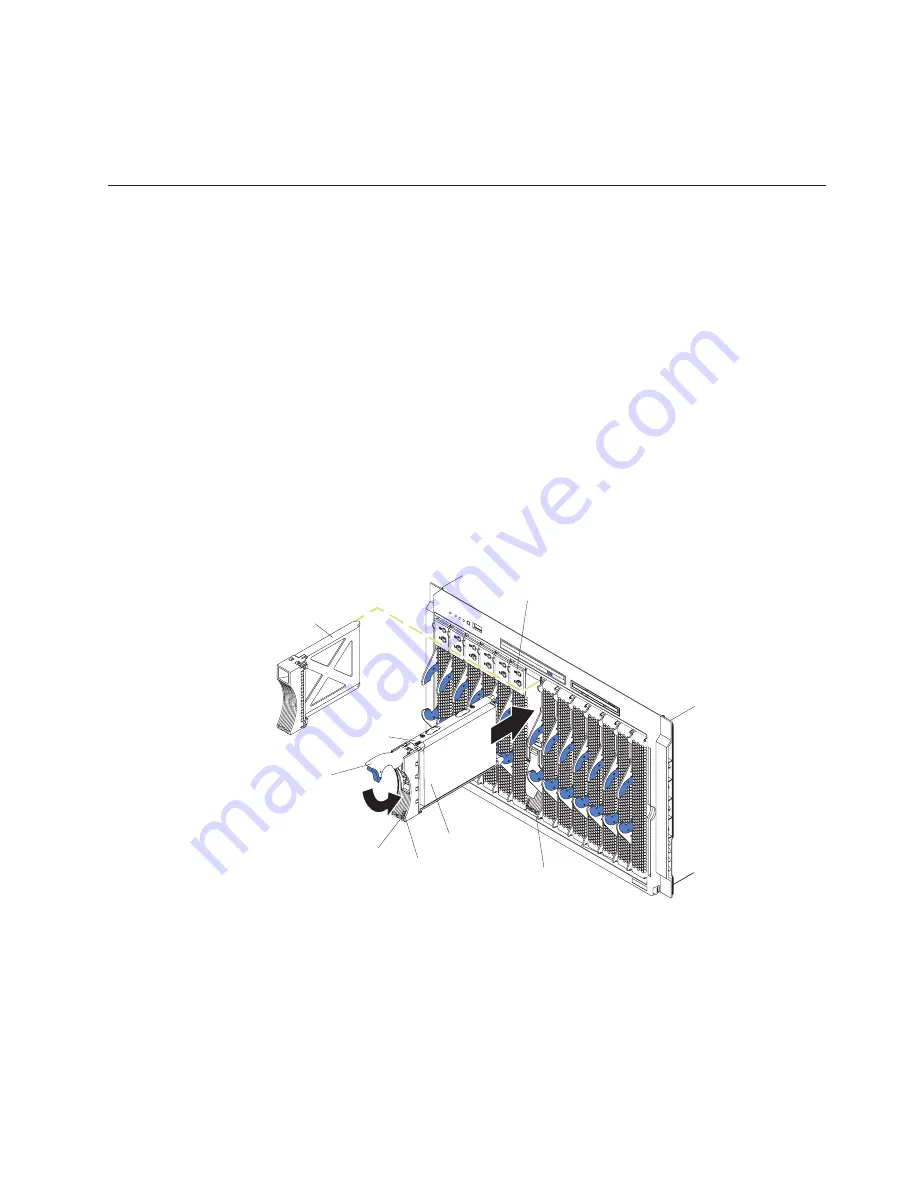
The following illustration shows how to install a SCSI hot-swap hard disk drive.
Filler
panel
Drive tray
Drive handle
(in open position)
Storage
expansion unit
Blade
Hard disk drive
Hard disk drive
status LED
Hard disk drive
activity LED
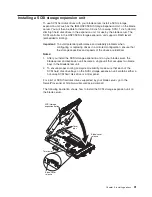
Complete the following steps to install a SCSI hot-swap hard disk drive in a storage
expansion unit.
Attention:
To maintain proper system cooling, do not operate the BladeCenter
unit for more than one minute without either a hot-swap hard disk drive or a filler
panel installed in each storage expansion unit bay.
1. Review the information in “Safety” beginning on page vii and “Installation
guidelines” on page 19.
Chapter 3. Installing options
33
Summary of Contents for BladeCanter HS20
Page 3: ...BladeCenter HS20 Type 8832 Installation and User s Guide ERserver...
Page 7: ...Japanese Voluntary Control Council for Interference VCCI statement 83 Index 85 Contents v...
Page 8: ...vi BladeCenter HS20 Type 8832 Installation and User s Guide...
Page 14: ...xii BladeCenter HS20 Type 8832 Installation and User s Guide...
Page 26: ...12 BladeCenter HS20 Type 8832 Installation and User s Guide...
Page 32: ...18 BladeCenter HS20 Type 8832 Installation and User s Guide...
Page 58: ...44 BladeCenter HS20 Type 8832 Installation and User s Guide...
Page 66: ...52 BladeCenter HS20 Type 8832 Installation and User s Guide...
Page 68: ...54 BladeCenter HS20 Type 8832 Installation and User s Guide...
Page 98: ...84 BladeCenter HS20 Type 8832 Installation and User s Guide...
Page 102: ...88 BladeCenter HS20 Type 8832 Installation and User s Guide...
Page 103: ......
Page 104: ...Part Number 59P6556 Printed in U S A 1P P N 59P6556...


