v
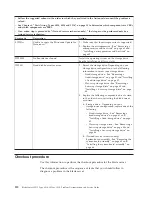
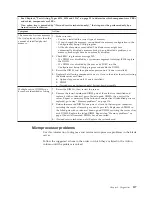
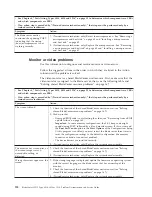
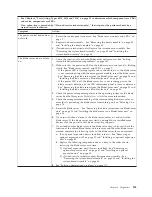
See Chapter 4, “Parts listing, Types 8014, 8028 and 1916,” on page 25 to determine which components are CRUs
and which components are FRUs.
v
If an action step is preceded by “(Trained service technician only),” that step must be performed only by a
trained service technician.
Symptom
Action
The power-control button does
not work.
1.
Reseat the control-panel connector - See “Blade server controls and LEDs” on
page 7.
2.
Replace the bezel assembly - See “Removing the bezel assembly” on page 39
and “Installing the bezel assembly” on page 40.
3.
(Trained service technician only) Replace the system-board assembly - See
“Removing the system-board assembly” on page 65 and “Installing the
system-board assembly” on page 66.
The blade server does not turn
on.
1.
Check the function of the shared BladeCenter unit resources. See “Solving
shared BladeCenter resource problems” on page 167.
2.
Make sure that the power-on LED on the blade server control panel is flashing
slowly. See “Blade server controls and LEDs” on page 7.
v
If the power LED is flashing rapidly and continues to do so, the blade server
is not communicating with the management module; reseat the blade server.
See “Removing the blade server from the BladeCenter unit” on page 33 and
“Installing the blade server in a BladeCenter unit” on page 34.
v
If the power LED is off, the blade server bay is not receiving power, the
blade server is defective, or the LED information panel is loose or defective.
See “Removing the blade server from the BladeCenter unit” on page 33 and
“Installing the blade server in a BladeCenter unit” on page 34.
3.
Check the power-management policies in the operating system for the blade
server. See the
Management Module User's Guide
for more information.
4.
Check the management-module log of the corresponding blade server for an
error that is preventing the blade server from turning on. See “Error logs” on
page 76.
5.
Reseat the blade server - See “Removing the blade server from the BladeCenter
unit” on page 33 and “Installing the blade server in a BladeCenter unit” on
page 34.
6.
If you just installed a device in the blade server, remove it and restart the
blade server. If the blade server now starts, you might have installed more
devices than the power to that blade server bay supports.
7.
If you tried another blade server in the blade server bay when you check the
function of the shared BladeCenter unit resources and the other blade server
worked, complete the following tasks on the blade server that you removed:
a.
If an optional expansion unit is installed, reseat it - See “Removing an
optional expansion unit” on page 37 and “Installing an optional expansion
unit” on page 38.
b.
Replace the following components one at a time, in the order shown,
restarting the blade server each time:
1)
Optional expansion unit (if one is installed) - See “Removing an
optional expansion unit” on page 37 and “Installing an optional
expansion unit” on page 38.
2)
(Trained service technician only) System-board assembly - See
“Removing the system-board assembly” on page 65 and “Installing the
system-board assembly” on page 66.
8.
See “Solving undetermined problems” on page 171.
Chapter 6. Diagnostics
123
Summary of Contents for BladeCenter HS12 Type 1916
Page 1: ...BladeCenter HS12 Type 8014 8028 or 1916 Problem Determination and Service Guide...
Page 2: ......
Page 3: ...BladeCenter HS12 Type 8014 8028 or 1916 Problem Determination and Service Guide...
Page 36: ...24 BladeCenter HS12 Type 8014 8028 or 1916 Problem Determination and Service Guide...
Page 186: ...174 BladeCenter HS12 Type 8014 8028 or 1916 Problem Determination and Service Guide...
Page 190: ...178 BladeCenter HS12 Type 8014 8028 or 1916 Problem Determination and Service Guide...
Page 198: ...186 BladeCenter HS12 Type 8014 8028 or 1916 Problem Determination and Service Guide...
Page 203: ......
Page 204: ...Part Number 60Y1601 Printed in USA 1P P N 60Y1601...


