v
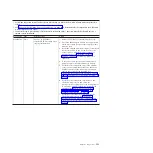
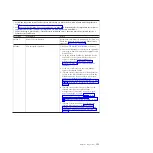
Follow the suggested actions in the order in which they are listed in the Action column until the problem is
solved.
v
See Chapter 4, “Parts listing, Types 7871 and 1949,” on page 41 to determine which components are customer
replaceable units (CRU) and which components are field replaceable units (FRU).
v
If an action step is preceded by “(Trained service technician only),” that step must be performed only by a
Trained service technician.
Error code
Description
Action
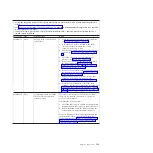
001100A
Microcode update failed
1.
Update the UEFI firmware (see “Firmware
updates” on page 33.
2.
(Trained service technician only) Replace the
microprocessor.
0011000
Invalid microprocessor type
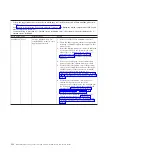
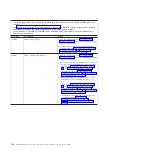
1.
(Trained service technician) Reseat the following
components one at a time in the order shown,
restarting the server each time:
v
Microprocessor 1 (see “Removing a
microprocessor and heat sink” on page 85 and
“Installing a microprocessor and heat sink” on
page 88).
v
Microprocessor 2, if installed (see “Removing a
microprocessor and heat sink” on page 85 and
“Installing a microprocessor and heat sink” on
page 88).
2.
(Trained service technician) Complete the
following steps:
a.
Remove microprocessor 2 and restart the
server (see “Removing a microprocessor and
heat sink” on page 85 and “Installing a
microprocessor and heat sink” on page 88).
b.
If the problem remains, remove
microprocessor 1 and install microprocessor 2
in the connector for microprocessor 1; then,
restart the server (see “Removing a
microprocessor and heat sink” on page 85 and
“Installing a microprocessor and heat sink” on
page 88).
c.
If the problem goes away, microprocessor 1
might have failed; replace the microprocessor.
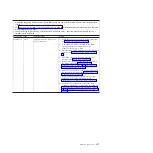
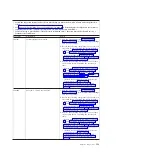
3.
(Trained service technician) Replace the following
components one at a time in the order shown,
restarting the server each time:
v
Microprocessor 1 (see “Removing a
microprocessor and heat sink” on page 85 and
“Installing a microprocessor and heat sink” on
page 88).
v
Microprocessor 2, if installed (see “Removing a
microprocessor and heat sink” on page 85 and
“Installing a microprocessor and heat sink” on
page 88).
v
System board (see “Removing the
system-board assembly” on page 94 and
“Installing the system-board assembly” on
page 95).
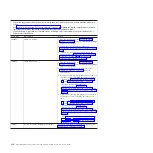
Chapter 6. Diagnostics
145
Summary of Contents for BladeCenter HS22V 7871
Page 1: ...BladeCenter HS22V Type 7871 and 1949 Problem Determination and Service Guide...
Page 2: ......
Page 3: ...BladeCenter HS22V Type 7871 and 1949 Problem Determination and Service Guide...
Page 16: ...xiv BladeCenter HS22V Type 7871 and 1949 Problem Determination and Service Guide...
Page 20: ...4 BladeCenter HS22V Type 7871 and 1949 Problem Determination and Service Guide...
Page 34: ...18 BladeCenter HS22V Type 7871 and 1949 Problem Determination and Service Guide...
Page 64: ...48 BladeCenter HS22V Type 7871 and 1949 Problem Determination and Service Guide...
Page 112: ...96 BladeCenter HS22V Type 7871 and 1949 Problem Determination and Service Guide...
Page 240: ...224 BladeCenter HS22V Type 7871 and 1949 Problem Determination and Service Guide...
Page 244: ...228 BladeCenter HS22V Type 7871 and 1949 Problem Determination and Service Guide...
Page 252: ...236 BladeCenter HS22V Type 7871 and 1949 Problem Determination and Service Guide...
Page 257: ......
Page 258: ...Part Number 00Y8038 Printed in USA 1P P N 00Y8038...

