6.
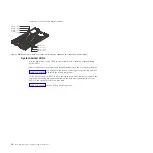
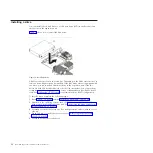
Carefully open the retaining clips on each end of the DIMM connector and
remove the DIMM.
7.
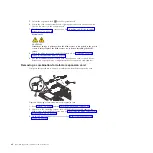
If you are instructed to return the DIMM, follow all packaging instructions, and
use any packaging materials for shipping that are supplied to you.
Installing a memory module
Install dual inline memory modules (DIMMs) in the blade server.
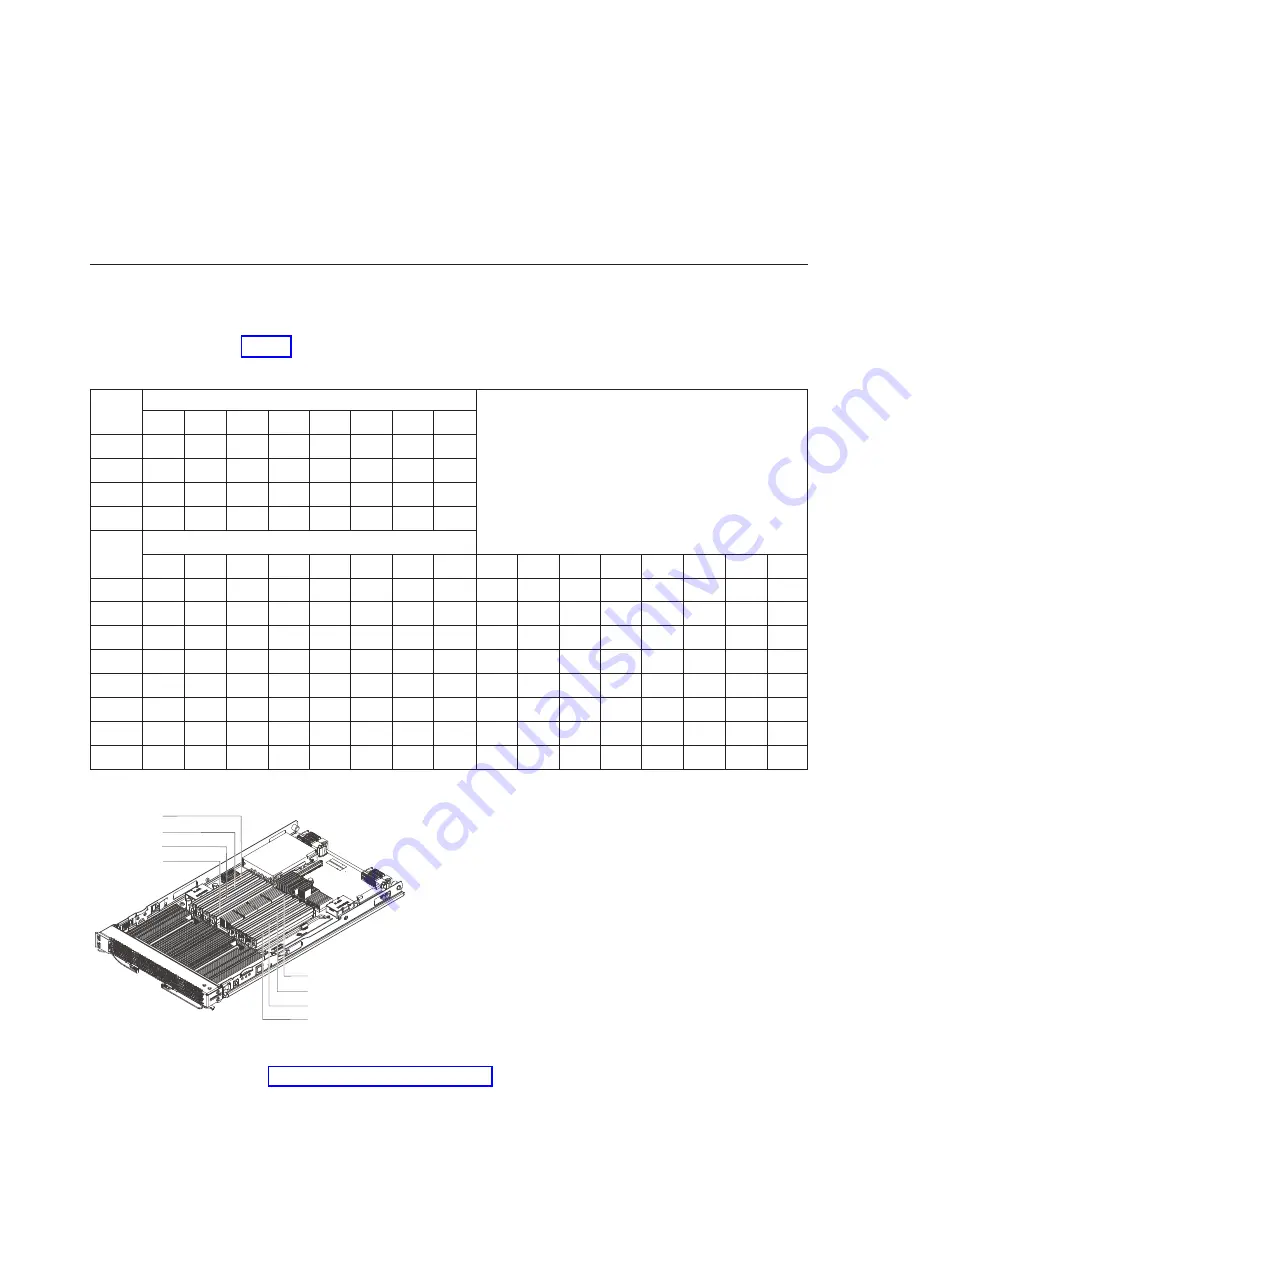
Table 4 shows allowable placement of DIMM modules:
Table 4. Memory module combinations
DIMM
count
JS23 Base blade planar (P1) DIMM slots
JS43 Expansion unit planar (P2) DIMM slots
1
2
3
4
5
6
7
8
2
X
X
4
X
X
X
X
6
X
X
X
X
X
X
8
X
X
X
X
X
X
X
X
DIMM
count
JS43 Base blade planar (P1) DIMM slots
1
2
3
4
5
6
7
8
9
10
11
12
13
14
15
16
2
X
X
4
X
X
X
X
6
X
X
X
X
X
X
8
X
X
X
X
X
X
X
X
10
X
X
X
X
X
X
X
X
X
X
12
X
X
X
X
X
X
X
X
X
X
X
X
14
X
X
X
X
X
X
X
X
X
X
X
X
X
X
16
X
X
X
X
X
X
X
X
X
X
X
X
X
X
X
X
See “Supported DIMMs” on page 36 for additional information about the type of
memory that is compatible with the blade server.
To install a DIMM, complete the following steps:
DIMM
(9)
1
(10)
2
(11)
3
(12)
4
DIMM
(13)
5
(14)
6
(15)
7
(16)
8
DIMM
DIMM
DIMM
DIMM
DIMM
DIMM
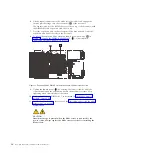
Figure 16. DIMM connectors.
Base unit connectors (followed by expansion unit connectors in parentheses)
34
JS23/JS43 Type 7778: Installation and User’s Guide
Summary of Contents for BladeCenter JS23
Page 3: ...BladeCenter JS23 and BladeCenter JS43 Type 7778 Installation and User s Guide ...
Page 6: ...iv JS23 JS43 Type 7778 Installation and User s Guide ...
Page 24: ...12 JS23 JS43 Type 7778 Installation and User s Guide ...
Page 86: ...74 JS23 JS43 Type 7778 Installation and User s Guide ...
Page 87: ......
Page 88: ... Part Number 44R5338 Printed in USA 1P P N 44R5338 ...

