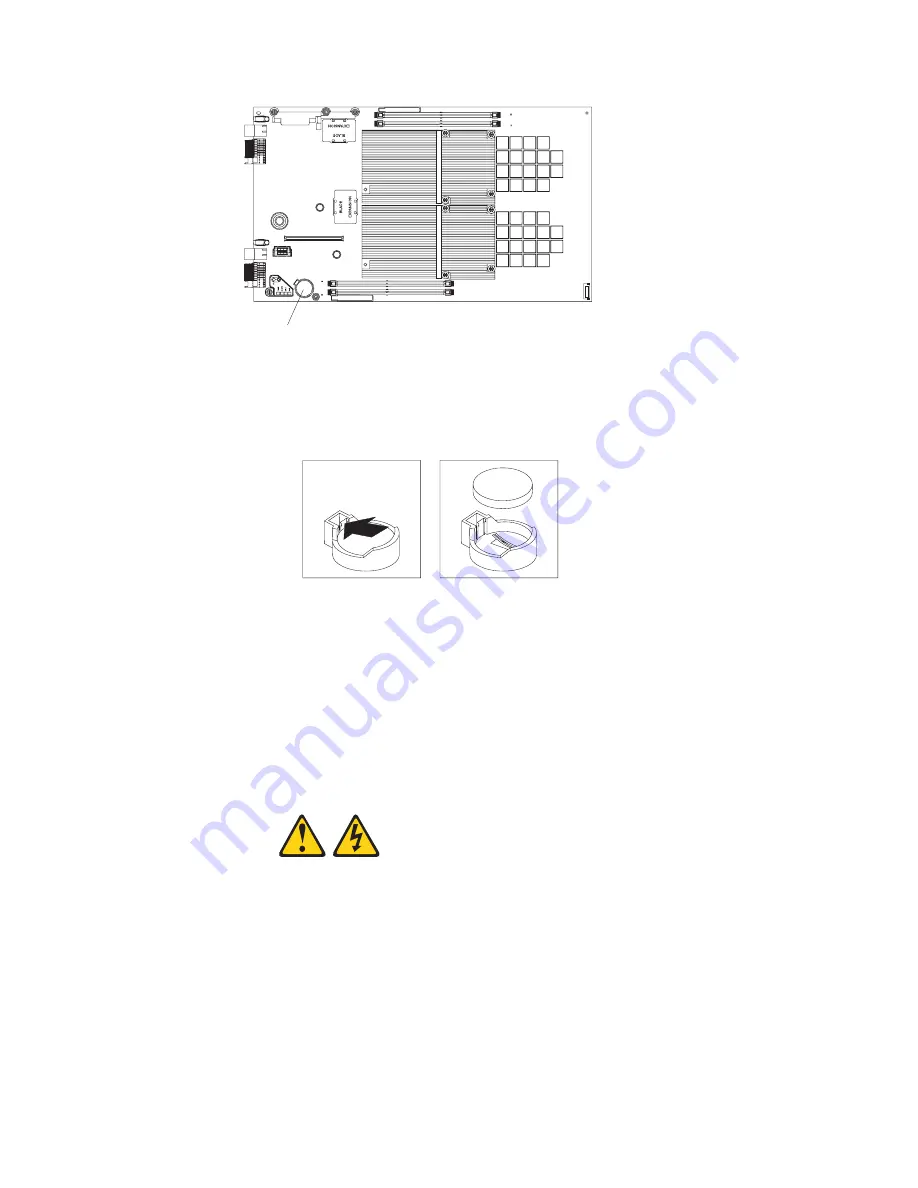
8.
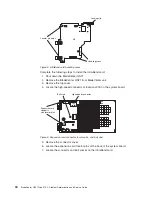
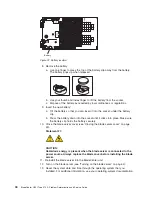
Remove
the
battery:
a.
Use
one
finger
to
press
the
top
of
the
battery
clip
away
from
the
battery.
The
battery
pops
up
when
released.
b.
Use
your
thumb
and
index
finger
to
lift
the
battery
from
the
socket.
c.
Dispose
of
the
battery
as
required
by
local
ordinances
or
regulations.
9.
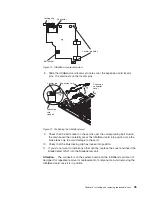
Insert
the
new
battery:
a.
Tilt
the
battery
so
that
you
can
insert
it
into
the
socket,
under
the
battery
clip.
b.
Press
the
battery
down
into
the
socket
until
it
clicks
into
place.
Make
sure
the
battery
clip
holds
the
battery
securely.
10.
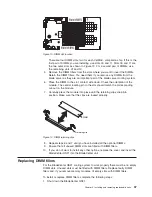
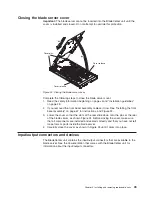
Close
the
blade
server
cover
(see
“Closing
the
blade
server
cover”
on
page
49).
Statement
21:
CAUTION:
Hazardous
energy
is
present
when
the
blade
server
is
connected
to
the
power
source.
Always
replace
the
blade
cover
before
installing
the
blade
server.
11.
Reinstall
the
blade
server
into
the
BladeCenter
unit.
12.
Turn
on
the
blade
server
(see
“Turning
on
the
blade
server”
on
page
3).
13.
Reset
the
system
date
and
time
through
the
operating
system
that
you
installed.
For
additional
information,
see
your
operating-system
documentation.
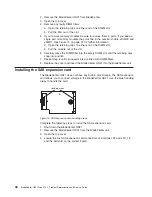
Battery
1
Figure
22.
Battery
location
44
BladeCenter
QS21
Type
0792:
Problem
Determination
and
Service
Guide
Summary of Contents for BladeCenter QS21 Type 0792
Page 1: ...BladeCenter QS21 Type 0792 Problem Determination and Service Guide...
Page 2: ......
Page 3: ...BladeCenter QS21 Type 0792 Problem Determination and Service Guide...
Page 8: ...vi BladeCenter QS21 Type 0792 Problem Determination and Service Guide...
Page 46: ...28 BladeCenter QS21 Type 0792 Problem Determination and Service Guide...
Page 68: ...50 BladeCenter QS21 Type 0792 Problem Determination and Service Guide...
Page 142: ...124 BladeCenter QS21 Type 0792 Problem Determination and Service Guide...
Page 143: ......
Page 144: ...Part Number 42C4969 Printed in USA 1P P N 42C4969...

