

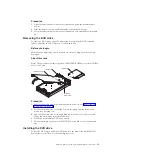
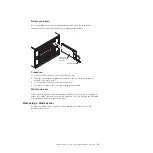

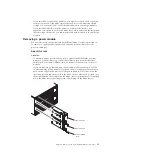
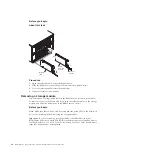
Procedure
1.
Open the release handles (rotate the top handle up and the bottom handle
down).
2.
Slide the media tray into the BladeCenter S chassis until it stops.
3.
Close the release handles (rotate the top handle down and the bottom handle
up).
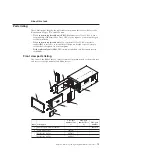
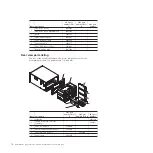
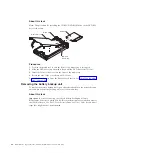
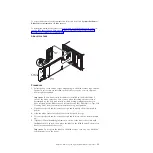
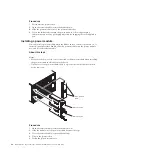
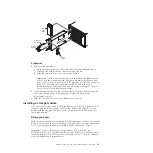
Removing the DVD drive
To remove a DVD drive, open the media tray cover, pinch the DVD retention
release, and slide the DVD drive out of the media tray.
Before you begin
Make sure the media tray release handles are closed to keep them from being
damaged.
About this task
Note:
The procedure for removing the CD-RW/DVD-ROM drive or the DVD-RW
drive is the same.
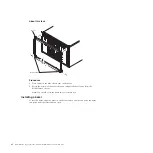
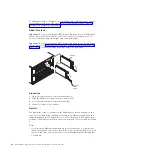
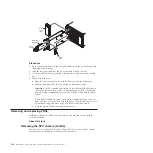
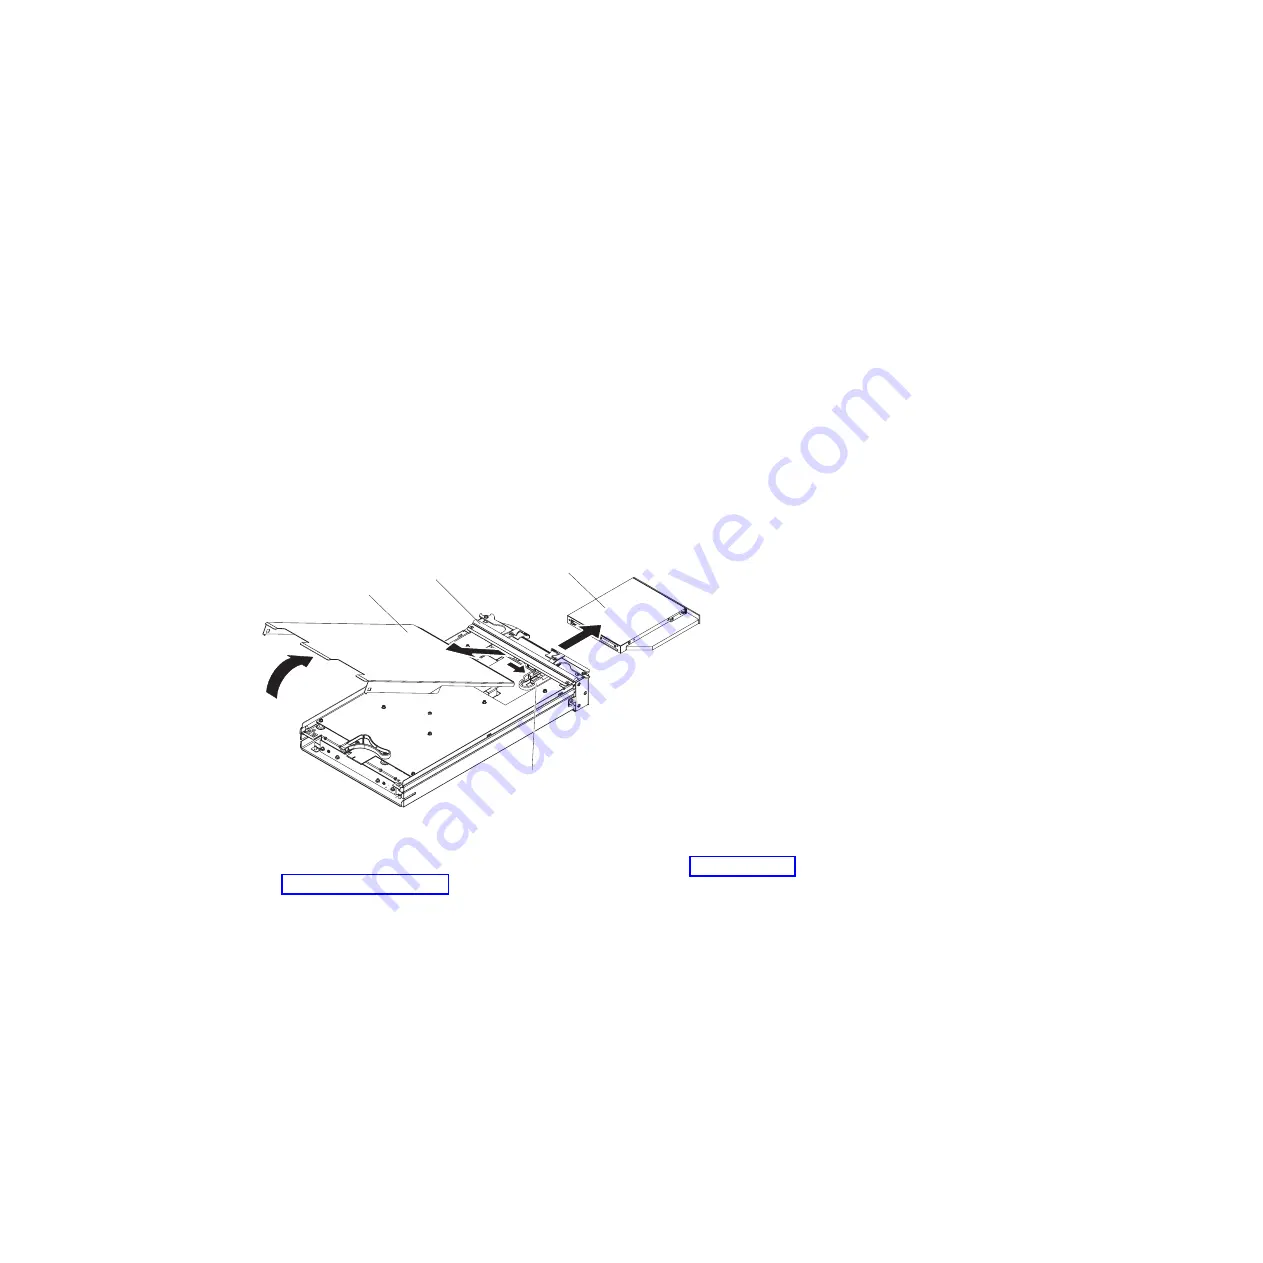
Media tray
Media tray cover
DVD drive
DVD drive
release tab
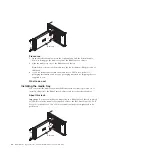
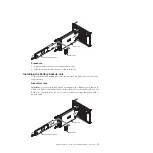
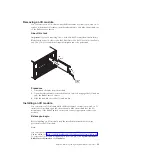
Procedure
1.
Remove the media tray from the BladeCenter S chassis. See “Removing the
media tray” on page 83.
2.
Position the media tray so that the cover is facing up and the front of the
media tray is facing you.
3.
Remove the media tray cover by pulling up from the rear of the cover and
lifting the cover away from the media tray.
4.
Pinch and hold the blue DVD drive release.
5.
Place your finger on the rear of the DVD drive and slide it out of the media
tray.
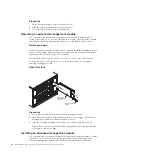
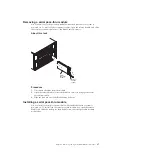
Installing the DVD drive
To install a DVD drive, slide the DVD drive into the media tray until the DVD
drive release locks. Then, close the media tray cover.
Chapter 4. Removing and replacing BladeCenter components
85
Summary of Contents for BladeCenter S
Page 1: ...IBM BladeCenter S Type 7779 8886 Problem Determination and Service Guide ...
Page 2: ......
Page 3: ...IBM BladeCenter S Type 7779 8886 Problem Determination and Service Guide ...
Page 128: ...114 BladeCenter S Type 7779 8886 Problem Determination and Service Guide ...
Page 132: ...118 BladeCenter S Type 7779 8886 Problem Determination and Service Guide ...
Page 144: ...130 BladeCenter S Type 7779 8886 Problem Determination and Service Guide ...
Page 145: ......
Page 146: ... Part Number 94Y7083 Printed in USA 1P P N 94Y7083 ...


