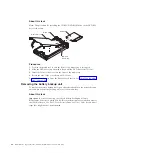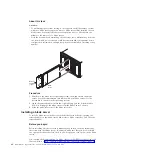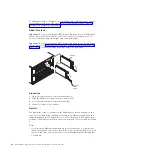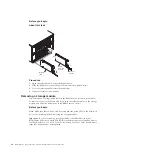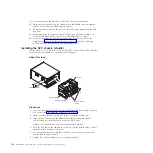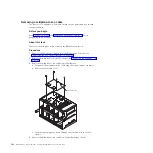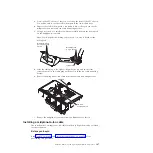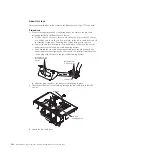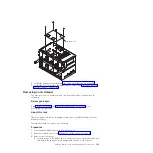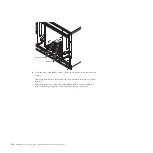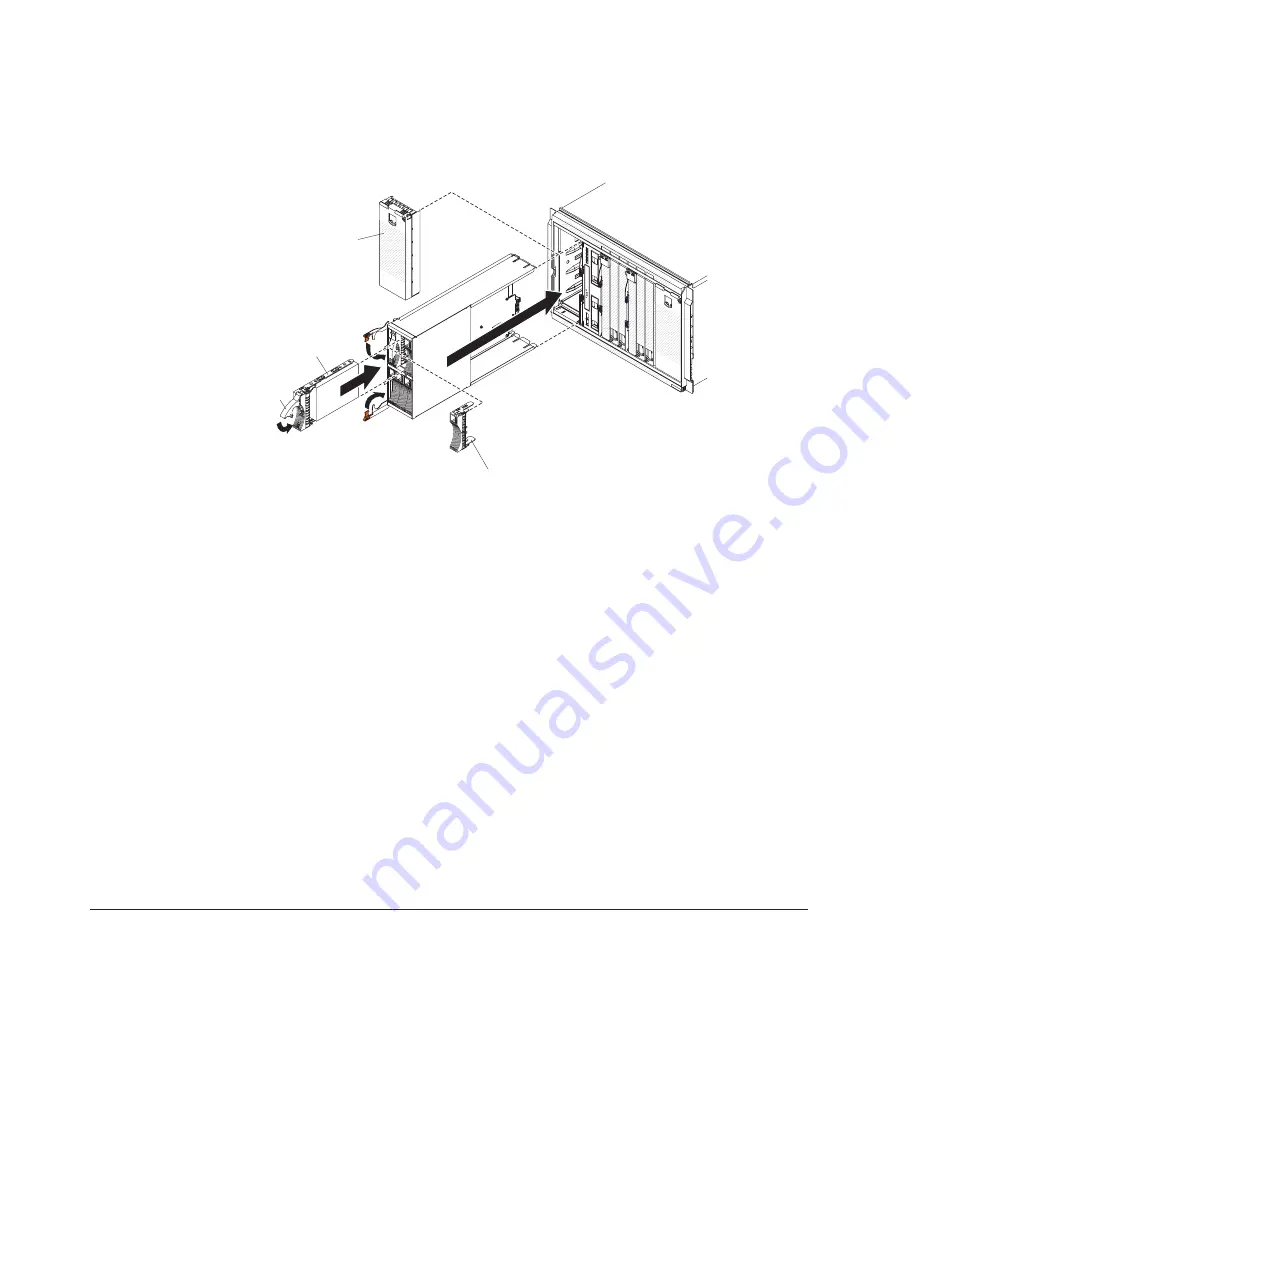
Filler
panel
Drive
cage
filler
Drive-tray
assembly
Drive
handle
Procedure
1.
Open the release handles on the storage module (rotate the top handle up and
the bottom handle down).
2.
Slide the storage module into the storage module bay until it stops.
3.
Close the release handles (rotate the top handle down and the bottom handle
up).
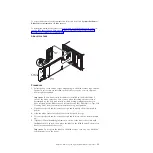
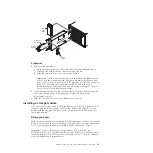
4.
Install hard disk drives:
a.
Open the release handle on the hard disk drive (rotate the handle up).
b.
Slide the hard disk drive into the storage module until it stops.
Important:
If SAS connectivity modules are installed in the BladeCenter S
chassis, the drive bay that you use is determined by the SAS connectivity
module zoning configuration that you have selected for the BladeCenter S
system.
If SAS RAID controller modules are installed in the BladeCenter S chassis,
make sure that you install SAS hard disk drives. SATA hard disk drives are
not currently supported when using SAS RAID controller modules.
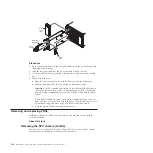
c.
Close the release handle (rotate the handle down).
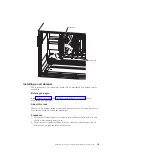
Removing and replacing FRUs
Field-replaceable units (FRUs) must be removed and replaced only by trained
service technicians.
About this task
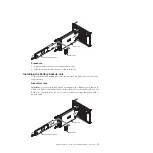
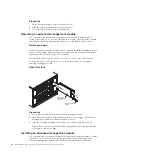
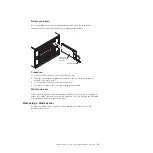
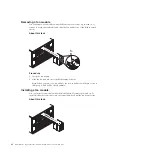
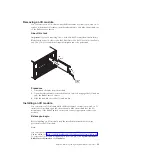
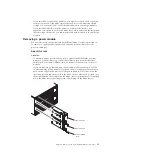
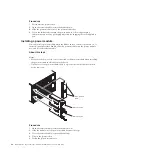
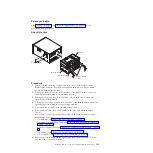
Removing the SPC chassis (shuttle)
The removal of a System Power and Cooling (SPC) chassis (also called a shuttle)
should only be performed by a trained service technician.
100
BladeCenter S Type 7779/8886: Problem Determination and Service Guide
Summary of Contents for BladeCenter S
Page 1: ...IBM BladeCenter S Type 7779 8886 Problem Determination and Service Guide ...
Page 2: ......
Page 3: ...IBM BladeCenter S Type 7779 8886 Problem Determination and Service Guide ...
Page 128: ...114 BladeCenter S Type 7779 8886 Problem Determination and Service Guide ...
Page 132: ...118 BladeCenter S Type 7779 8886 Problem Determination and Service Guide ...
Page 144: ...130 BladeCenter S Type 7779 8886 Problem Determination and Service Guide ...
Page 145: ......
Page 146: ... Part Number 94Y7083 Printed in USA 1P P N 94Y7083 ...

