7.
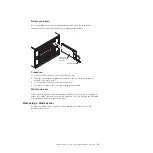
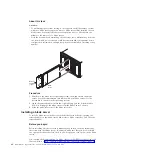
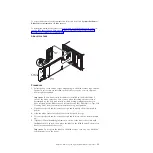
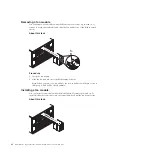
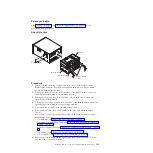
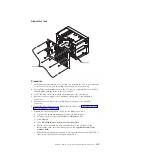
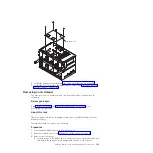
Install the left and right shipping brackets on the BladeCenter S chassis and
the rack, if they were removed.
8.
Install the two shipping screws in each side of the chassis, if they were
removed.
9.
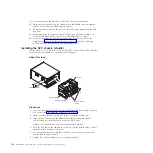
Install any of the following modules that were removed from the rear of the
BladeCenter S chassis:
v
I/O modules (see “Installing an I/O module” on page 93).
v
Advanced management module (see “Installing an advanced management
module” on page 88).
v
Serial pass-thru module (see “Installing a serial pass-thru module” on page
97).
v
Fan packs (see “Installing a fan module” on page 92).
v
Power supplies (see “Installing a power module” on page 96).
10.
Push the following components fully into the front of the BladeCenter S
chassis to engage the midplane:
v
Blade servers (see “Installing a blade server” on page 90).
v
Media tray (see “Installing the media tray” on page 84).
v
Storage modules (see “Installing a storage module” on page 99).
11.
Connect any cables that were disconnected from the modules in the rear of the
BladeCenter S chassis.
12.
Connect the power to the BladeCenter S chassis.
13.
Restart any blade servers that were shut down. See the documentation that
comes with each blade server for detailed instructions.
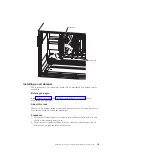
Removing the midplane
The removal of a midplane should only be performed by a trained service
technician.
Before you begin
Read “Safety” on page v and “Installation guidelines” on page 73 before
performing this procedure.
Chapter 4. Removing and replacing BladeCenter components
103
Summary of Contents for BladeCenter S
Page 1: ...IBM BladeCenter S Type 7779 8886 Problem Determination and Service Guide ...
Page 2: ......
Page 3: ...IBM BladeCenter S Type 7779 8886 Problem Determination and Service Guide ...
Page 128: ...114 BladeCenter S Type 7779 8886 Problem Determination and Service Guide ...
Page 132: ...118 BladeCenter S Type 7779 8886 Problem Determination and Service Guide ...
Page 144: ...130 BladeCenter S Type 7779 8886 Problem Determination and Service Guide ...
Page 145: ......
Page 146: ... Part Number 94Y7083 Printed in USA 1P P N 94Y7083 ...

