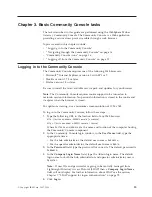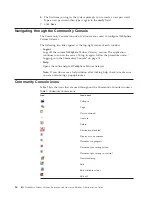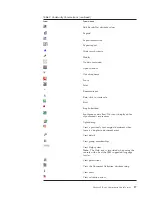
Creating envelope profile records
About this task
1.
Click
Hub Admin
>
Hub Configuration
>
EDI
>
Envelope Profile
.
2.
Click
Create
in the Envelope profiles window.
3.
Type a value for the following fields:
v
Envelope profile name: Type a unique name for the new envelope profile.
This is a required field.
Note:
If the name is not unique (there is an existing envelope profile with
the same name), an error message is returned when you attempt to save the
new envelope profile.
v
Description: This is an optional value. Type a brief description of the
envelope profile.
4.
Select the EDI Standard type (X12, UCS, or EDIFACT) in the list that is
applicable to the new profile. This is a required field.
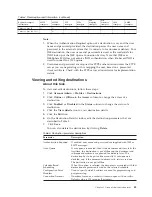
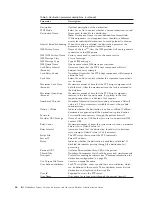
After selecting a value in the EDI Standard list, the envelope profile attributes
specific to that standard (General, Interchange, Group, or Transaction) are
automatically displayed.
5.
Update the envelope profile attribute values, and click
Save
. See
WebSphere
Partner Gateway Hub Configuration Guide
for attribute descriptions.
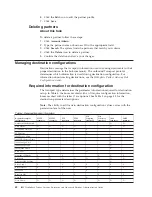
Deleting envelope profile records
About this task
1.
Click
Hub Admin
>
Hub Configuration
>
EDI
>
Envelope Profile
.
2.
Click the
Delete
icon next to the Envelope profile name that you want to
delete.
Enveloper
About this task
Use the Enveloper page to view and edit the Lock and Queue and Scheduling
values for the enveloper.
1.
Click
Hub Admin
>
Hub Configuration
>
EDI
>
Enveloper
.
2.
Click the
Edit
icon to edit the Scheduler attributes.
v
For
Maximum Lock Time
, type the maximum amount of time (in seconds)
for the database lock. This value is rendered in seconds. The lock is used to
prevent multiple Enveloper instances from accessing the same data.
v
For
Maximum Queue Age
, type the maximum amount of time (in seconds)
for queued requests to obtain the database lock. This value is rendered in
seconds.
v
Use Batch Mode
is a global setting and is selected by default. When batch
mode is turned on, the EDI Enveloper envelopes transactions in batches.
Clear the
Use Batch Mode
check box and turn the batch mode off.
v
Click either
Interval Based Scheduling
(selected by default) or
Calendar
Based Scheduling
. For Interval Based Scheduling, type the amount of time
(in seconds) for the interval. For Calendar Based Scheduling, click
Daily
Schedule
,
Weekly Schedule
, or
Custom Schedule
, and set the schedule
accordingly.
3.
Click
Save
.
Chapter 4. Hub administration tasks
29
Summary of Contents for E02HRLL-G - WebSphere Partner Gateway...
Page 20: ...14 IBM WebSphere Partner Gateway Enterprise and Advanced Editions Administration Guide...
Page 66: ...60 IBM WebSphere Partner Gateway Enterprise and Advanced Editions Administration Guide...
Page 80: ...74 IBM WebSphere Partner Gateway Enterprise and Advanced Editions Administration Guide...
Page 86: ...80 IBM WebSphere Partner Gateway Enterprise and Advanced Editions Administration Guide...
Page 90: ...84 IBM WebSphere Partner Gateway Enterprise and Advanced Editions Administration Guide...
Page 134: ...128 IBM WebSphere Partner Gateway Enterprise and Advanced Editions Administration Guide...
Page 154: ...148 IBM WebSphere Partner Gateway Enterprise and Advanced Editions Administration Guide...
Page 194: ...188 IBM WebSphere Partner Gateway Enterprise and Advanced Editions Administration Guide...
Page 228: ...222 IBM WebSphere Partner Gateway Enterprise and Advanced Editions Administration Guide...
Page 258: ...252 IBM WebSphere Partner Gateway Enterprise and Advanced Editions Administration Guide...
Page 267: ......
Page 268: ...Printed in USA...

