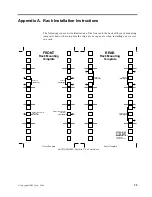
Appendix A. Rack Installation Instructions
37
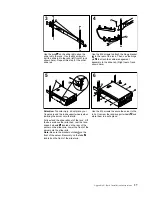
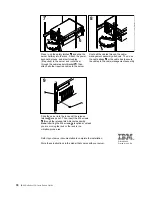
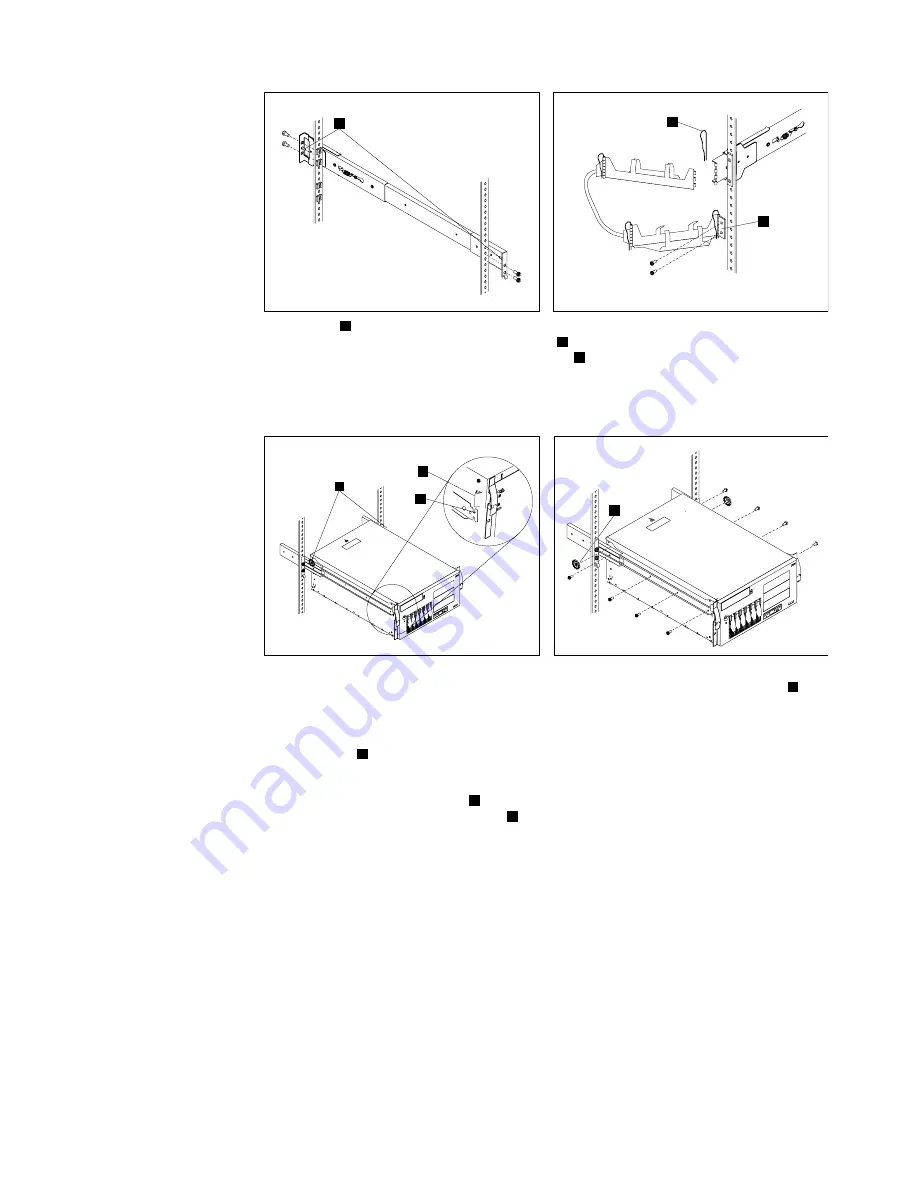
Use the M6 screws to attach the hinge bracket
to the rear of the rack. Then, use the hinge
pin to attach the cable-management
assembly to the slide rail. (Right rear of rack
shown here).
4
Use the pins on the slide rail to align the
slide rail to the rack. Use the M6 screws to
bolt the slide rail to the rack (left front of rack
shown here). Repeat this step for the other
slide rail.
A
6
A
A
3
A
5
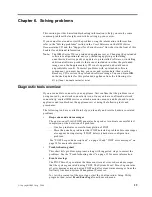
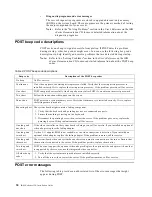
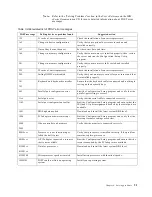
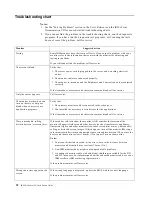
B
A
Fully extend the slide rails out of the rack. Lift
the server above the rails; then, rest the rack-
support wheels located on the rear of the
server on the slide rails. Lower the front of the
server onto the slide rails.
Be sure the bracket notches on the
front of the server fit securely on the tabs
located on the front of the slide rails.
Note:
A
Use the M4 screws to secure the server to the
rails. Unscrew the rack-support wheels and
store them in a safe place.
Attention: To avoid injury, do not place your
fingers around the rack-support wheels when
lowering the server onto the rails.
B
B
A
A
B
C
C
Summary of Contents for eServer 150 xSeries
Page 1: ...IBM IBM xSeries 150 Installation Guide...
Page 2: ......
Page 3: ...IBM IBM xSeries 150 Installation Guide...
Page 10: ...viii IBM xSeries 150 Installation Guide...
Page 12: ...x IBM xSeries 150 Installation Guide...
Page 16: ...4 IBM xSeries 150 Installation Guide...
Page 24: ...12 IBM xSeries 150 Installation Guide...
Page 36: ...24 IBM xSeries 150 Installation Guide...
Page 40: ...28 IBM xSeries 150 Installation Guide...
Page 74: ...62 IBM xSeries 150 Installation Guide...
Page 75: ......

