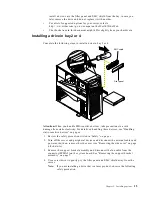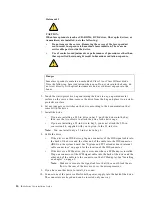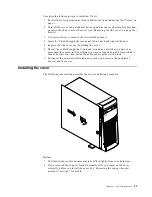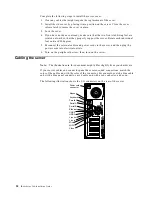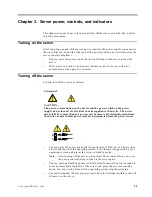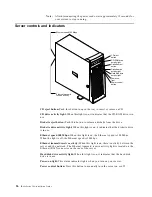
Chapter 2. Installing options
17
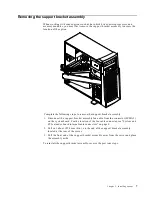
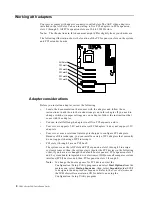
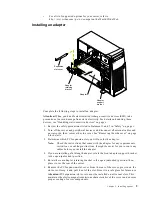
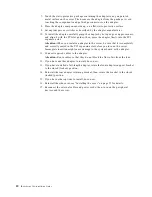
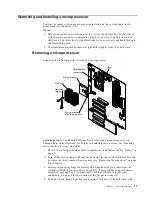
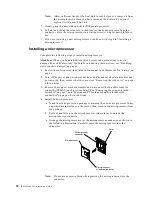
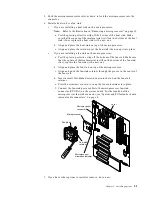
11. Replace the support bracket assembly and reconnect the fan cable to the
connector (SYSFA3) on the system board. See “Removing the support bracket
assembly” on page 7.
12. If you have other options to install, do so now.
13. Reinstall the side cover, see “Installing the cover” on page 23 for details.
14. Reconnect the external cables and power cords; then, turn on the peripheral
devices and the server.
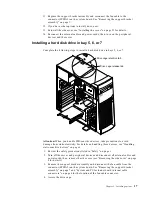
Installing a hard disk drive in bay 5, 6, or 7
Complete the following steps to install a hard disk drive in bays 5, 6, or 7.
Attention:
When you handle ESD-sensitive devices, take precautions to avoid
damage from static electricity. For details on handling these devices, see “Handling
static-sensitive devices” on page x.
1. Review the safety precautions listed in “Safety” on page v.
2. Turn off the server and peripheral devices and disconnect all external cables and
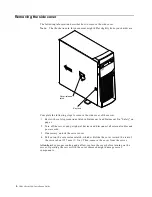
power cords; then, remove the side cover (see “Removing the side cover” on page
6 for details).
3. Remove the support bracket assembly and disconnect the fan cable from the
connector (SYSFA3) on the system board. See “Removing the support bracket
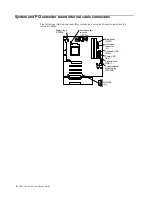
assembly” on page 7 and “System and PCI extender board internal cable
connectors” on page 4 for the location of the fan cable connector.
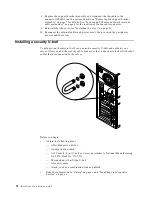
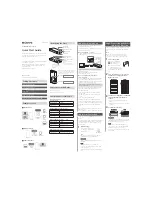
4. Access the drive cage.
Drive cage release tab
Drive cage retention tab

