24
IBM xSeries 200: Installation Guide
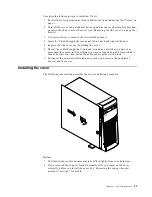
Complete the following steps to install the server cover.
1. Clear any cables that might impede the replacement of the cover.
2. Install the side cover by placing it into position on the server. Close the cover
release latch to secure the cover in place.
3. Lock the cover.
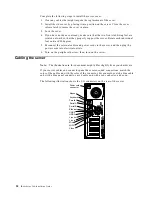
4. If you have not done so already, make sure that the two front stabilizing feet are
rotated outward so that they properly support the server. Rotate each individual
foot outward 90 degrees.
5. Reconnect the external cables and power cords to the server, and then plug the
power cords into electrical outlets.
6. Turn on the peripheral devices; then, turn on the server.
Cabling the server
Note:
The illustrations in this document might differ slightly from your hardware.
If your server cables and connector panel have color-coded connections, match the
color of the cable end with the color of the connector. For example, match a blue cable
end with a blue panel connector, a red cable end with a red connector, and so on.
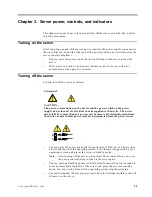
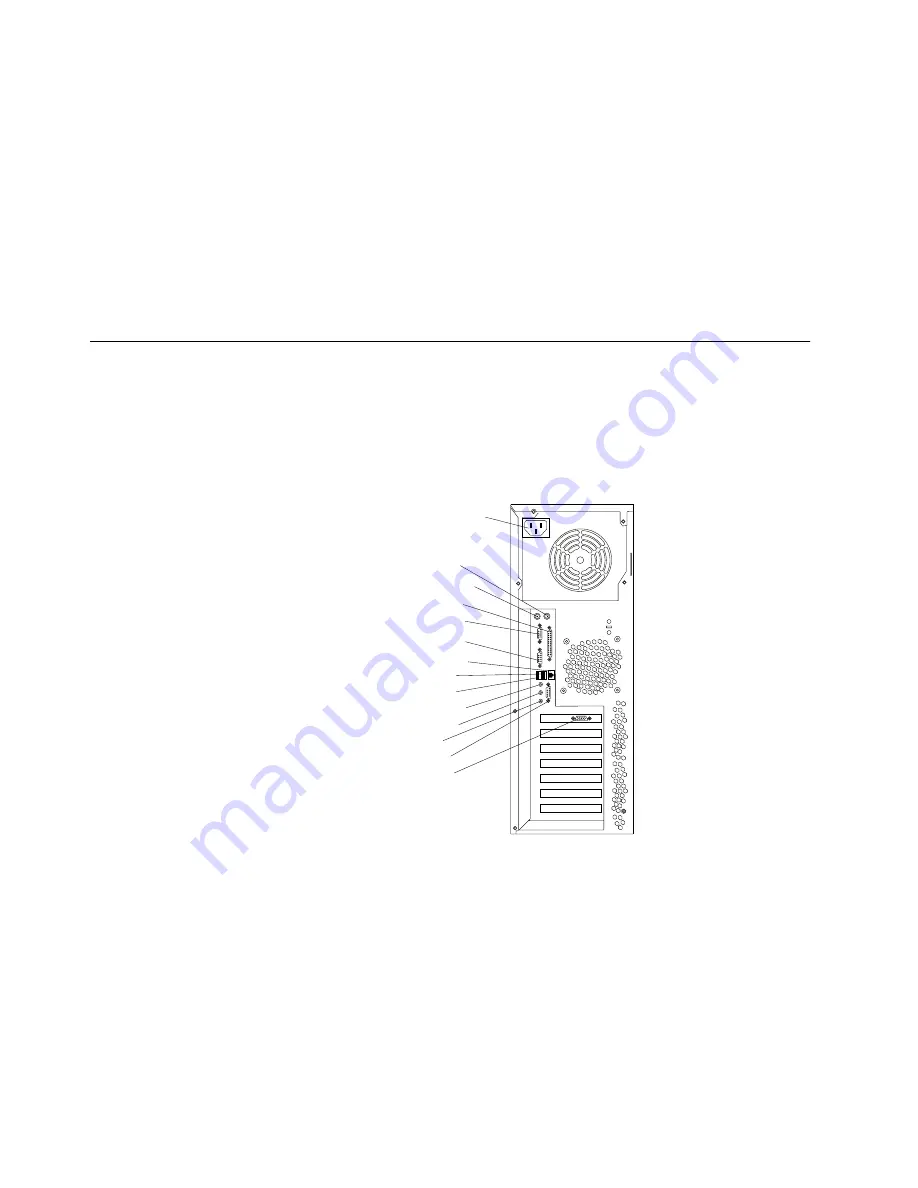
The following illustration shows the I/O connectors on the rear of the server.
Power cord
connector
Mouse
Keyboard
Parallel
Serial A
Serial B
USB 3
USB 2
Mic
MIDI
Line in
Line out
Ethernet
Video

