
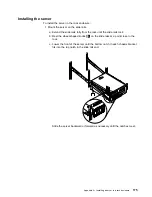
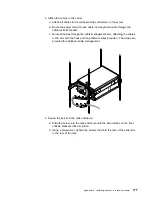

c. Release the server and pull the server forward about halfway.
Note: To release the server, release the left and right side latches and
pull the server forward.
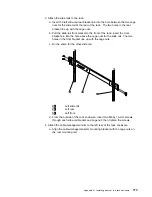
d. Using a screwdriver, tighten the screws that hold the front of the slide rails
to the front of the rack.
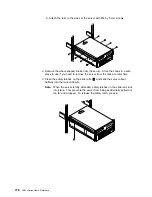
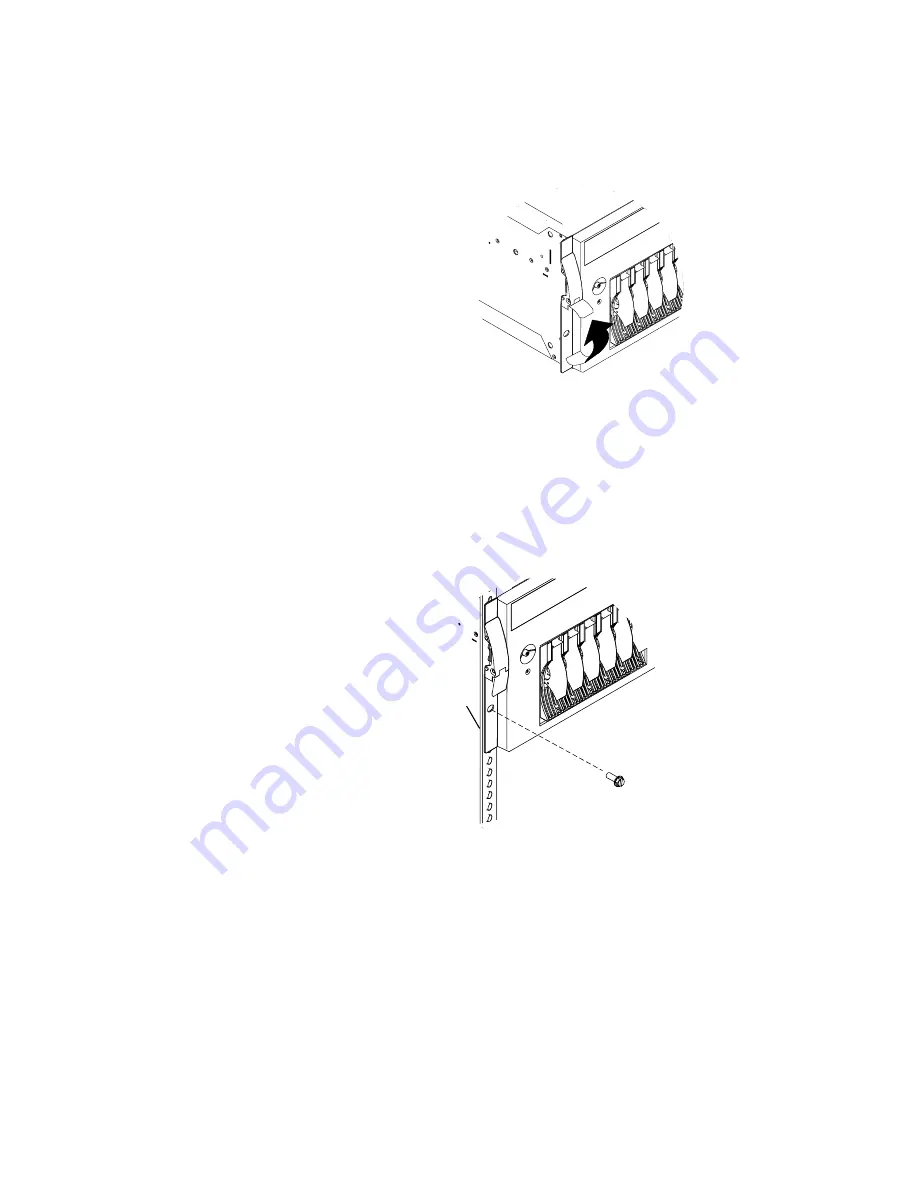
e. Slide the server into the rack enclosure again until the side latches on the
front chassis brackets click into place.
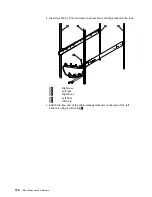
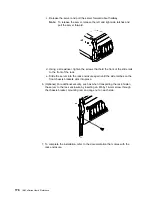
6. (Optional) For additional security, such as when transporting the rack, fasten
the server to the rack enclosure by inserting an M6 by 16-mm screw through
the chassis bracket, mounting rail, and cage nut on each side.
7. To complete the installation, refer to the documentation that comes with the
rack enclosure.
178
IBM xSeries User's Reference
Summary of Contents for eServer 240 xSeries
Page 1: ...User s Reference xSeries 240...
Page 26: ...16 IBM xSeries User s Reference...
Page 50: ...40 IBM xSeries User s Reference...
Page 116: ...106 IBM xSeries User s Reference...
Page 170: ...160 IBM xSeries User s Reference...
Page 180: ...170 IBM xSeries User s Reference...
Page 219: ...IBM Part Number 21P9014 Printed in the United States of America 21P9 14...


