Chapter 5. Installing options
65
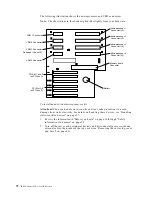
11. To install an IDE device, such as a CD-ROM or a DVD-ROM, use the two-drop
IDE cable that comes with the option.
a.
Remove the cable that connects the CD-ROM to the IDE connector on the
power backplane.
b. Using the two-drop cable that came with your IDE option, connect the CD-
ROM and IDE device that you are installing to the IDE connector on the
power backplane.
c.
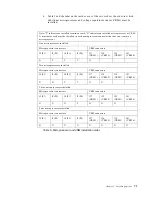
Set the jumper on the back of the new IDE option as secondary.
12. Connect a power cable to the back of the drive. Power cables for removable-media
drives come installed in your server. The connectors are keyed and can be
inserted only one way.
13. If you are installing another 5.25-inch drive, do so now. Otherwise, continue with
the next step.
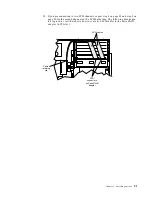
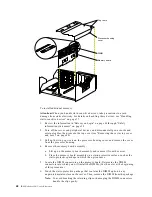
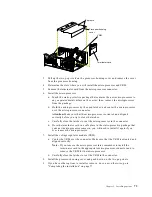
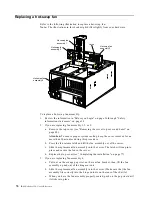
14. Connect the shuttle.
a.
Align the two shuttle pins with the holes on each side of the rear of the
chassis, and disengage the retaining levers from the notches on the chassis.
b. Move the retaining levers toward the front of the server, and secure the
retaining levers in the horizontal (locked) position.
15. If you have other options to install or remove, do so now; otherwise, go to
“Completing the installation” on page 77.
Retaining lever
(locked position)
Retaining lever
(unlocked position)
Pin
Pin
Summary of Contents for eServer 250 xSeries
Page 1: ...User s Reference xSeries 250...
Page 2: ......
Page 3: ...IBM IBM xSeries 250 User s Reference SC21 P902 00...
Page 8: ...vi IBM xSeries 250 User s Reference...
Page 14: ...xii IBM xSeries 250 User s Reference...
Page 24: ...10 IBM xSeries 250 User s Reference...
Page 36: ...22 IBM xSeries 250 User s Reference...
Page 108: ...94 IBM xSeries 250 User s Reference...
Page 185: ......
Page 186: ...IBM Part Number 21P9020 Printed in the United States of America 21P9 2...

