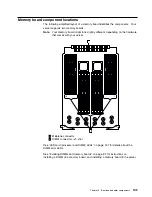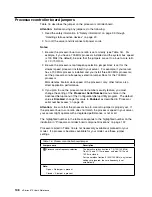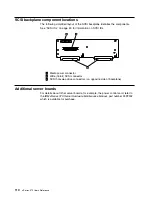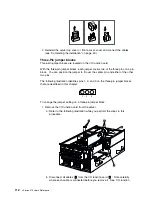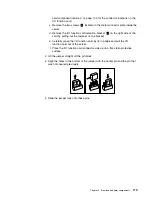
5. Reinstall the I/O function card:
a. Refer to the illustration in step 1a on page 112 while you perform the steps
in this procedure.
b. Carefully grasp the I/O function card by its top edge, and insert the tabs on
the bottom edge of the metal connector plate into the matching openings
on the server back panel.
c. Align the I/O function card with the guide on the opposite end of the
adapter and the slot on the I/O board.
d. Press the I/O function card
firmly
into the slot.
Attention:
When you install the I/O function card in the server, be sure
that it is completely and correctly seated. Incomplete insertion might cause
damage to server components.
e. Reinstall the I/O function card retention bracket that you removed in step
1d on page 113 by pressing in the fastener on the bracket.
f. Insert the two screws that you removed in step 1c on page 113.
g. Connect the cables that you disconnected in step 1b on page 112. See
“I/O function card component locations” on page 103 for the connector
locations on the I/O function card.
6. Reinstall the server top cover or front access cover and connect the cables
(see “Completing the installation” on page 90).
114
xSeries 370 User's Reference
Summary of Contents for eServer 370 xSeries
Page 1: ...User s Reference xSeries 370...
Page 2: ......
Page 3: ...IBM xSeries 370 User s Reference...
Page 32: ...16 xSeries 370 User s Reference...
Page 188: ...172 xSeries 370 User s Reference...


