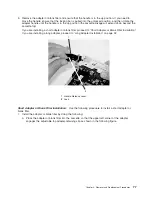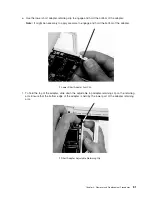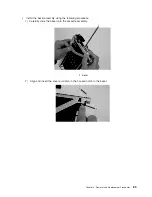
2.
Use
the
following
procedure
to
determine
if
you
are
installing
a
long
adapter
or
a
short
adapter.
If
you
know
the
length
of
your
adapter,
skip
the
following
steps
and
proceed
to
step
3
on
page
77.
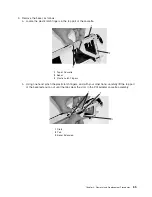
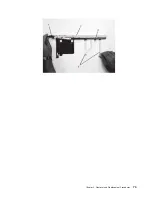
a.
Remove
the
adapter
from
its
protective
packaging
and,
if
present,
remove
the
plastic
extension
handle
from
the
end
of
the
adapter.
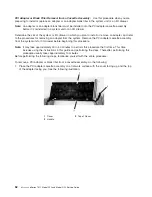
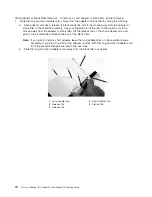
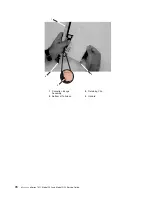
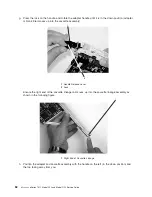
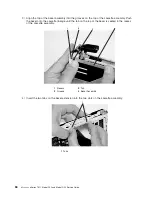
b.
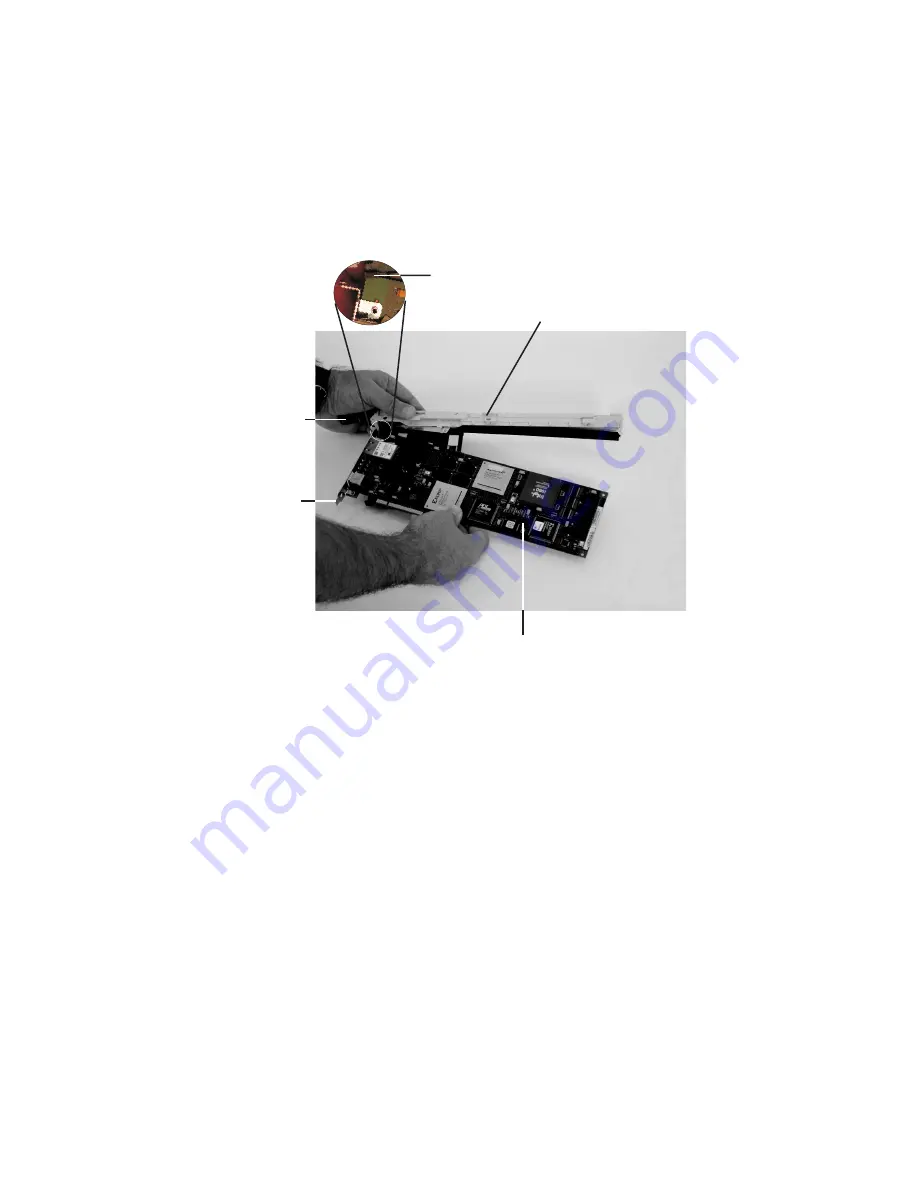
Place
the
adapter
or
a
blank
filler
over
the
cassette
with
the
upper
left
corner
aligned
into
the
top
adapter-retaining
clip.
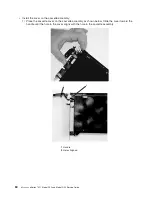
5
4
2
3
1
1
Top
Adapter-Retaining
Clip
3
Adapter
2
Cassette
Linkage
Assembly
4
Bottom
of
Tailstock
5
Handle
Chapter
3.
Removal
and
Replacement
Procedures
75
Summary of Contents for eserver pSeries 7311 D10
Page 1: ...pSeries 7311 Model D10 and Model D20 Service Guide SA38 0627 01 ERserver...
Page 2: ......
Page 3: ...pSeries 7311 Model D10 and Model D20 Service Guide SA38 0627 01 ERserver...
Page 8: ...vi Eserver pSeries 7311 Model D10 and Model D20 Service Guide...
Page 12: ...x Eserver pSeries 7311 Model D10 and Model D20 Service Guide...
Page 14: ...xii Eserver pSeries 7311 Model D10 and Model D20 Service Guide...
Page 25: ...1 Processor Subsystem 2 I O Subsystem Chapter 1 Reference Information 9...
Page 89: ...Chapter 3 Removal and Replacement Procedures 73...
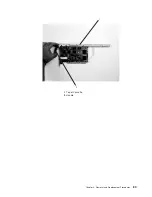
Page 99: ...2 1 1 Top of Cassette 2 Handle Chapter 3 Removal and Replacement Procedures 83...
Page 179: ...D10 I O Subsystem Parts continued 1 2 3 4 5 6 7 Chapter 4 Parts Information 163...
Page 207: ......

