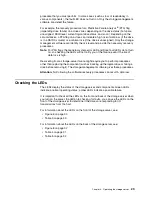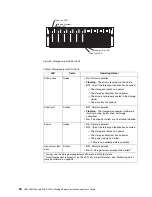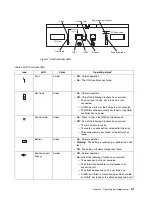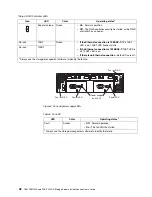
Chapter 5. Installing and replacing components
39
4. Remove the filler panel.
a. Insert a finger into the square hole at the top of the filler panel to grip and pull
the tray out of the drive bay.
b. Save the filler panel for later use.
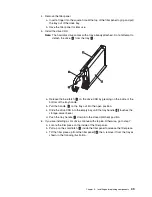
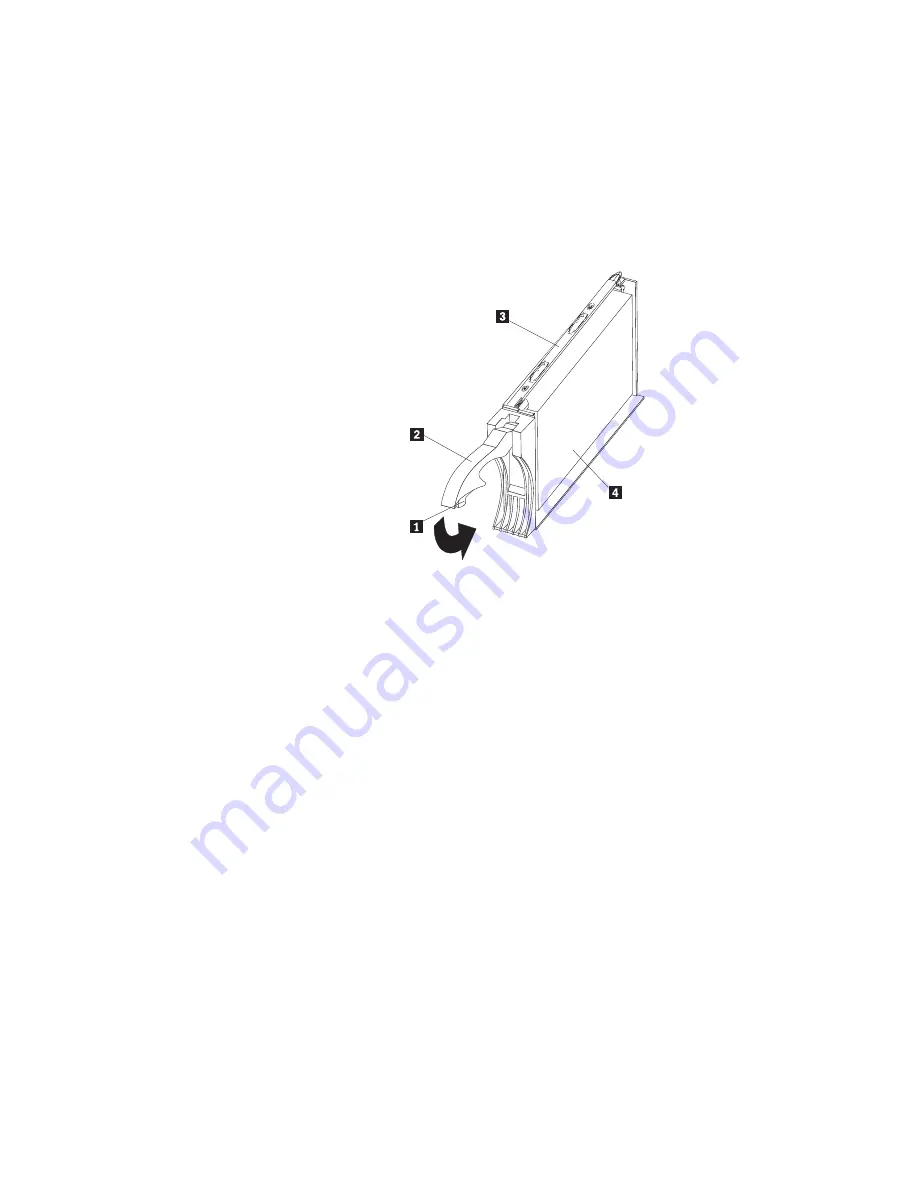
5. Install the drive CRU:
Note:
The hard disk drive comes with a tray already attached. Do not attempt to
detach the drive
4
from the tray
3
.
a. Release the blue latch
1
on the drive CRU by pressing on the inside of the
bottom of the tray handle.
b. Pull the handle
2
on the tray out into the open position.
c. Slide the drive CRU into the empty bay until the tray handle
2
touches the
storage-server bezel.
d. Push the tray handle
2
down into the closed (latched) position.
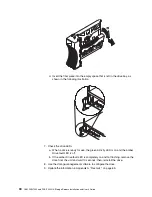
6. If you are installing a slim drive, continue with step 6a. Otherwise, go to step 7.
a. Locate the filler piece on the inside of the filler panel.
b. Pull up on the small latch
1
inside the filler panel to release the filler piece.
c. Tilt the filler piece up from the filler panel
2
; then, remove it from the tray as
shown in the following illustration.
Summary of Contents for FAStT200 HA
Page 1: ...IBM IBM FAStT200 and FAStT200 HA Storage Servers Installation and User s Guide SC21 P877 50...
Page 2: ......
Page 3: ...IBM IBM FAStT200 and FAStT200 HA Storage Servers Installation and User s Guide SC21 P877 50...
Page 10: ...viii IBM FAStT200 and FAStT200 HA Storage Servers Installation and User s Guide...
Page 26: ...8 IBM FAStT200 and FAStT200 HA Storage Servers Installation and User s Guide...
Page 34: ...16 IBM FAStT200 and FAStT200 HA Storage Servers Installation and User s Guide...
Page 42: ...24 IBM FAStT200 and FAStT200 HA Storage Servers Installation and User s Guide...
Page 54: ...36 IBM FAStT200 and FAStT200 HA Storage Servers Installation and User s Guide...
Page 88: ...70 IBM FAStT200 and FAStT200 HA Storage Servers Installation and User s Guide...
Page 94: ...76 IBM FAStT200 and FAStT200 HA Storage Servers Installation and User s Guide...
Page 112: ...94 IBM FAStT200 and FAStT200 HA Storage Servers Installation and User s Guide...
Page 113: ......

