Installing the extended-profile filter
The extended-profile filter configuration enables you to route cables through the sides of the
extended-profile collar; however, it might not allow a rack door to close completely. Complete the
following steps to install the extended-profile filter configuration:
1.
Remove the left and right screw-cover bezels from the front of the chassis and store them for future
use.
2.
Remove the eight screws that hold the chassis in the rack.
3.
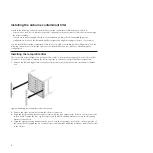
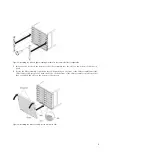
Insert the two hooks on the bottom of the extended-profile collar into the slots on the bottom of the
chassis bezel and rotate the extended-profile collar toward the chassis, aligning the eight captive
screws on the extended-profile collar with the eight empty screw holes on the chassis. Check the
hooks on the bottom of the extended-profile collar to make sure that they are still in the slots on the
bottom of the chassis.
4.
Tighten the eight captive screws to secure the extended-profile collar to the rack.
5.
Route cables through the openings in the side of the extended-profile collar as needed. Use the
following guidelines when you route cables:
v
Do not bend fiber-optic cable beyond its limited specifications.
v
Do not run cables in front of other components.
v
Label all cables so that they are clearly distinguishable from each other.
v
Make sure that the cables are in the slots on the extended-profile collar and clear of the filter
assembly when you rotate it into place.
6.
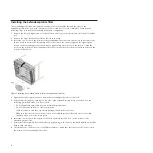
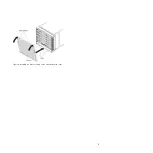
Insert the two hooks on the bottom of the filter assembly into the slots on the bottom of the
extended-profile collar.
7.
Rotate the filter assembly toward the chassis by pushing on the front of the bezel until the blue slide
latches click into place.
8.
Check the hooks on the bottom of the filter assembly to make sure that they are still in the slots on
the bottom of the extended-profile collar.
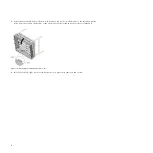
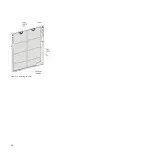
Figure 5. Installing the extended-profile collar for the extended-profile filter
4


